How to Build a Pinguicula Wall by Daniela Ribbecke
by Daniela Ribbecke on Dec 23 2020

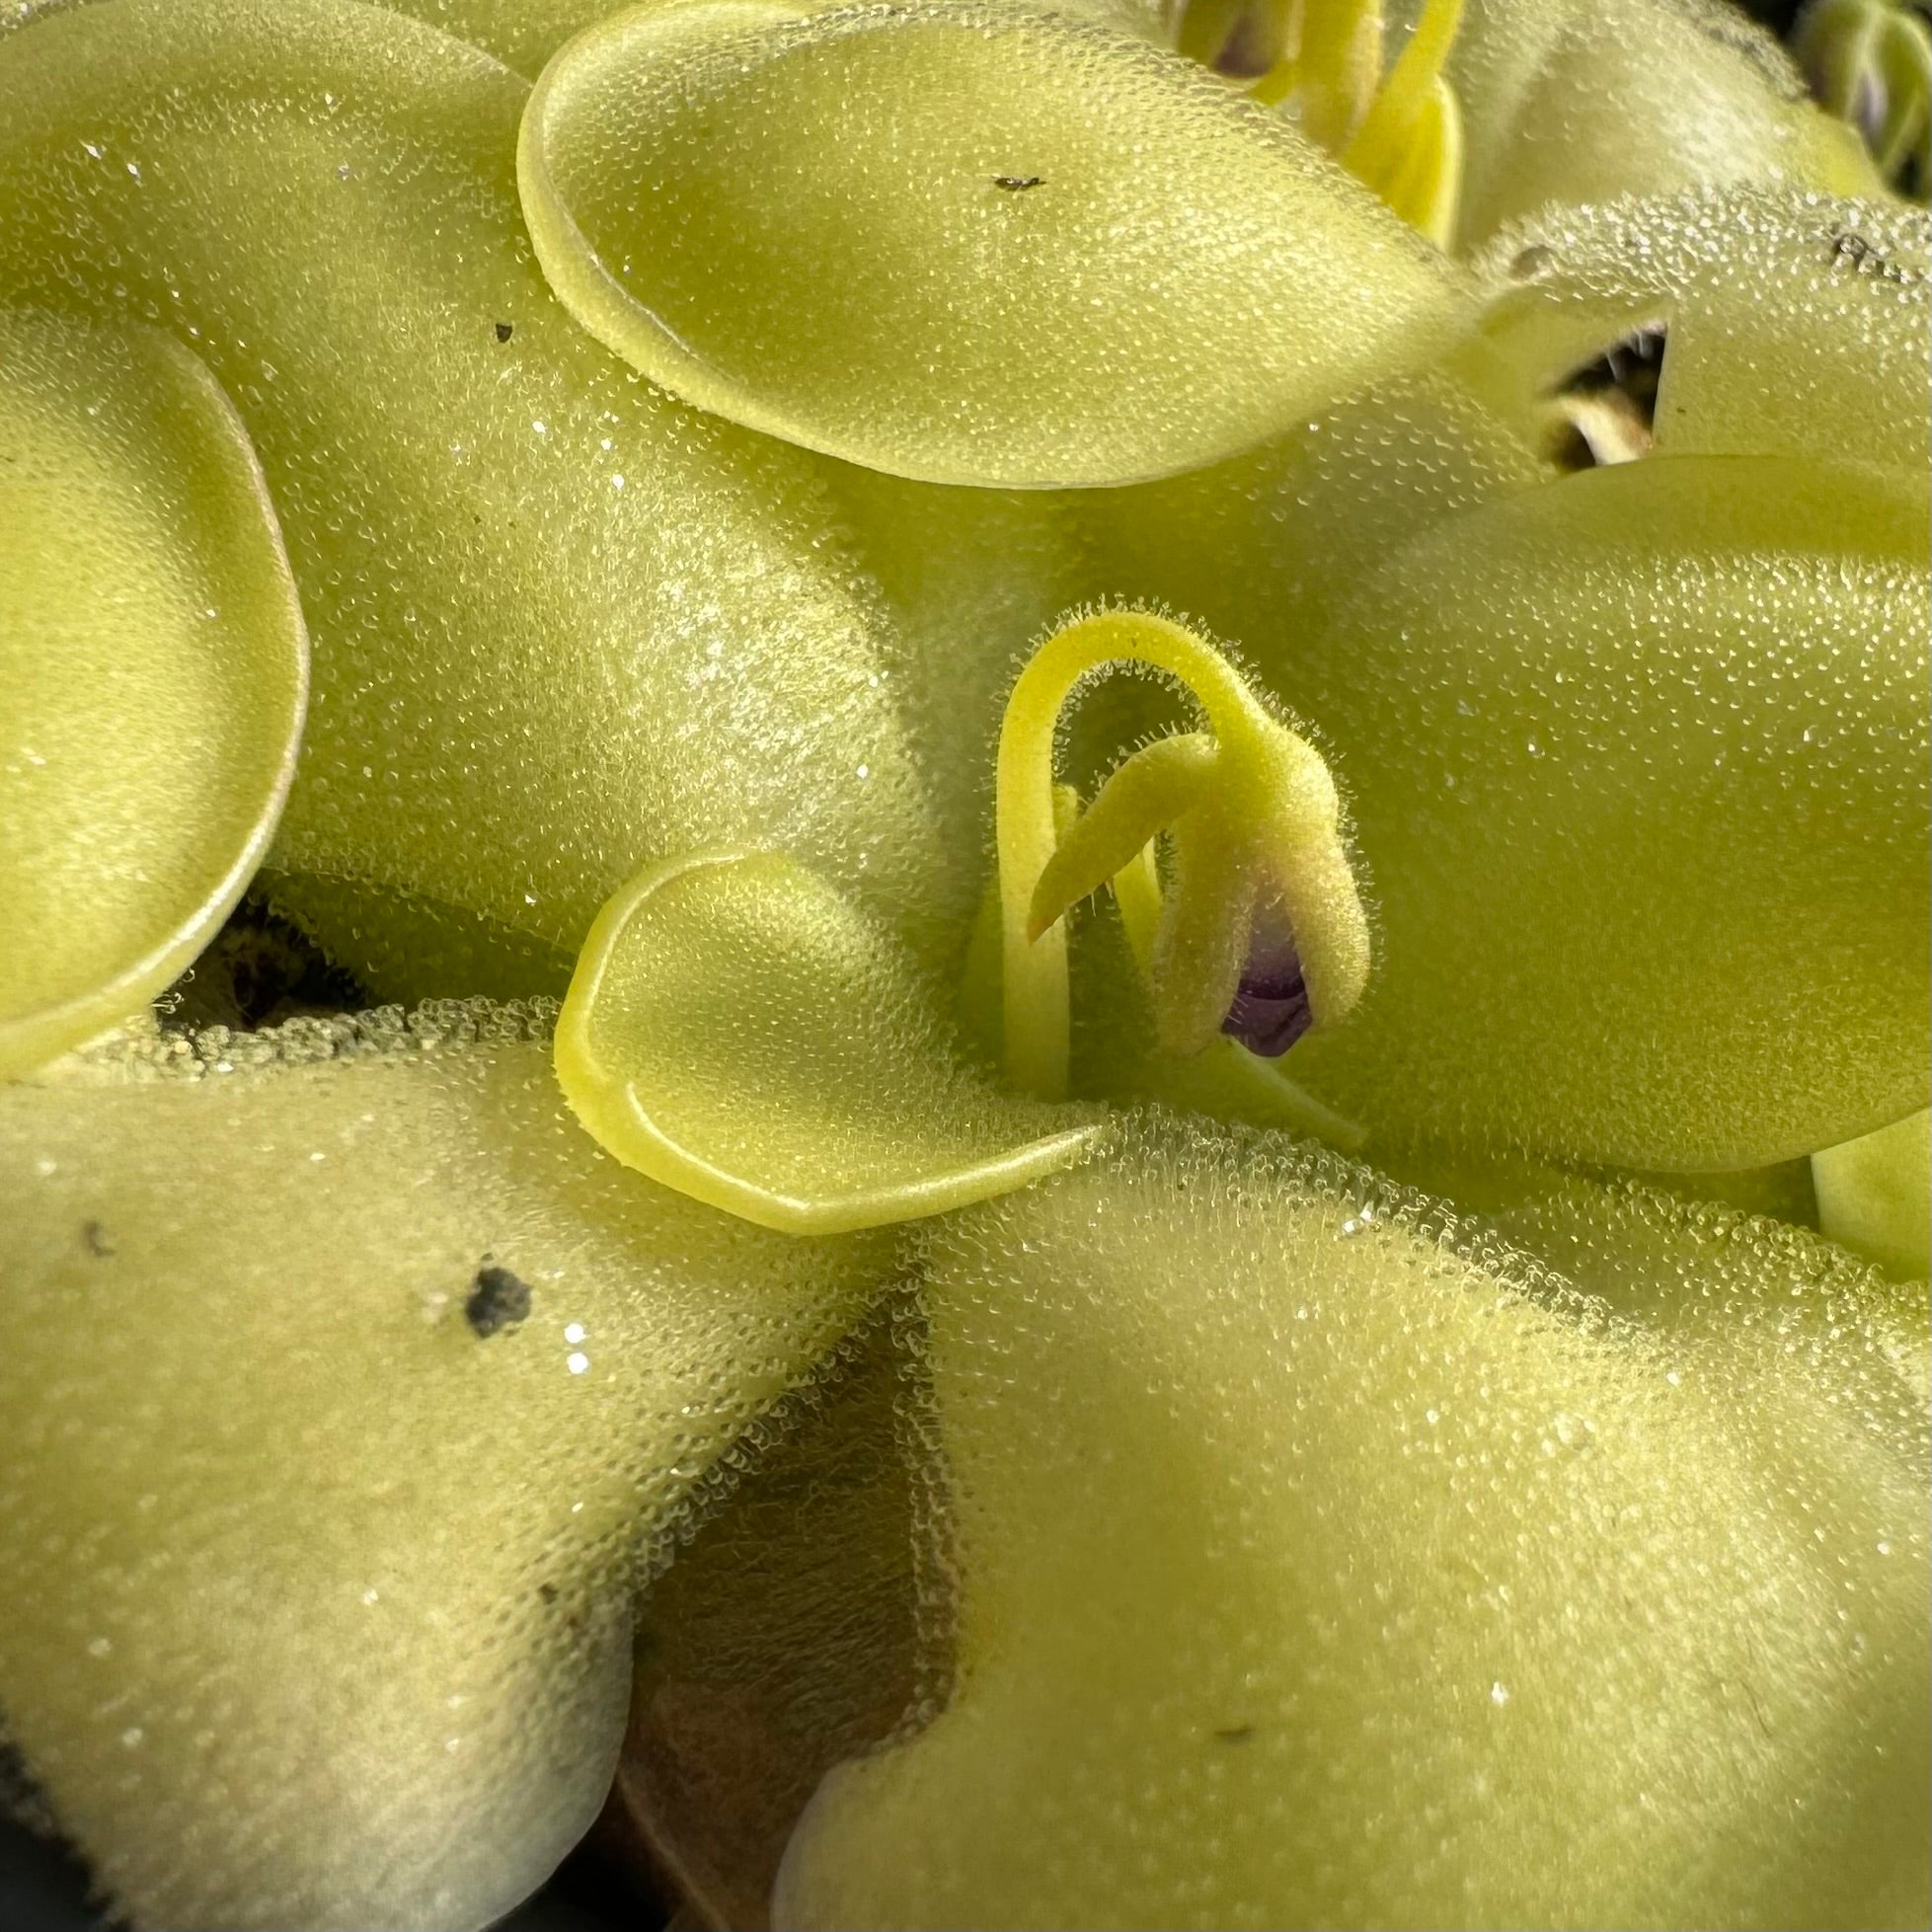
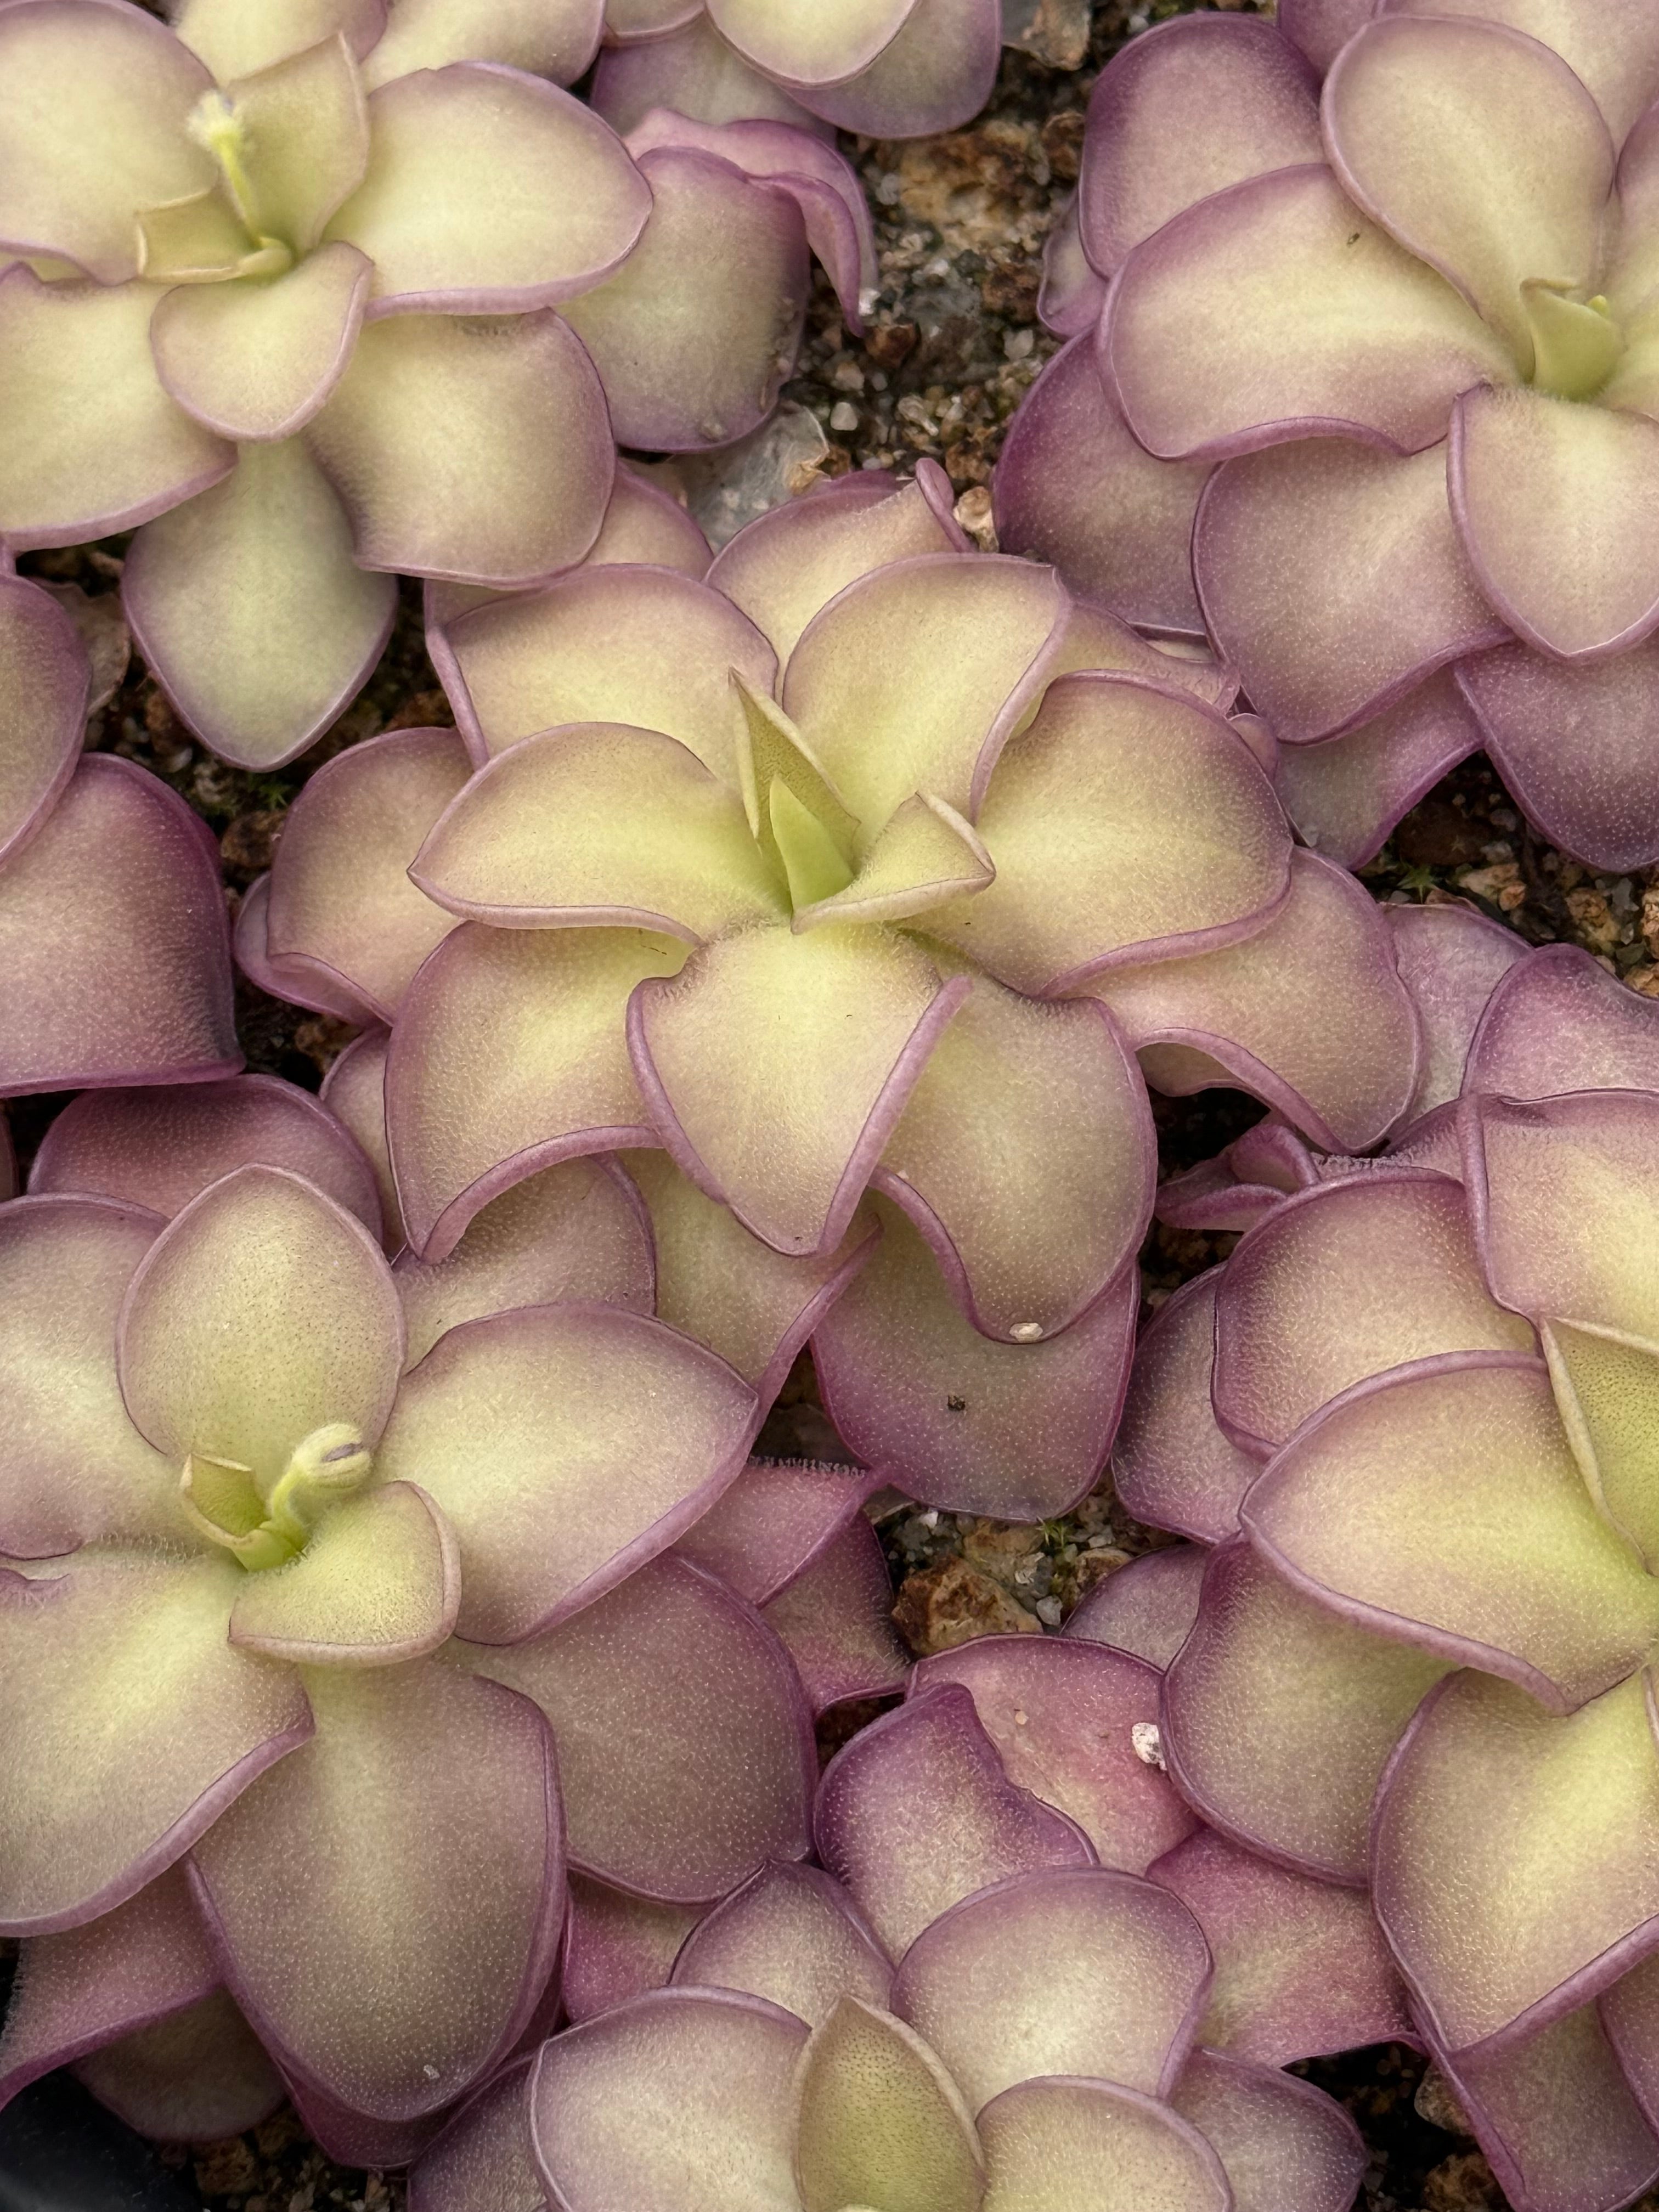
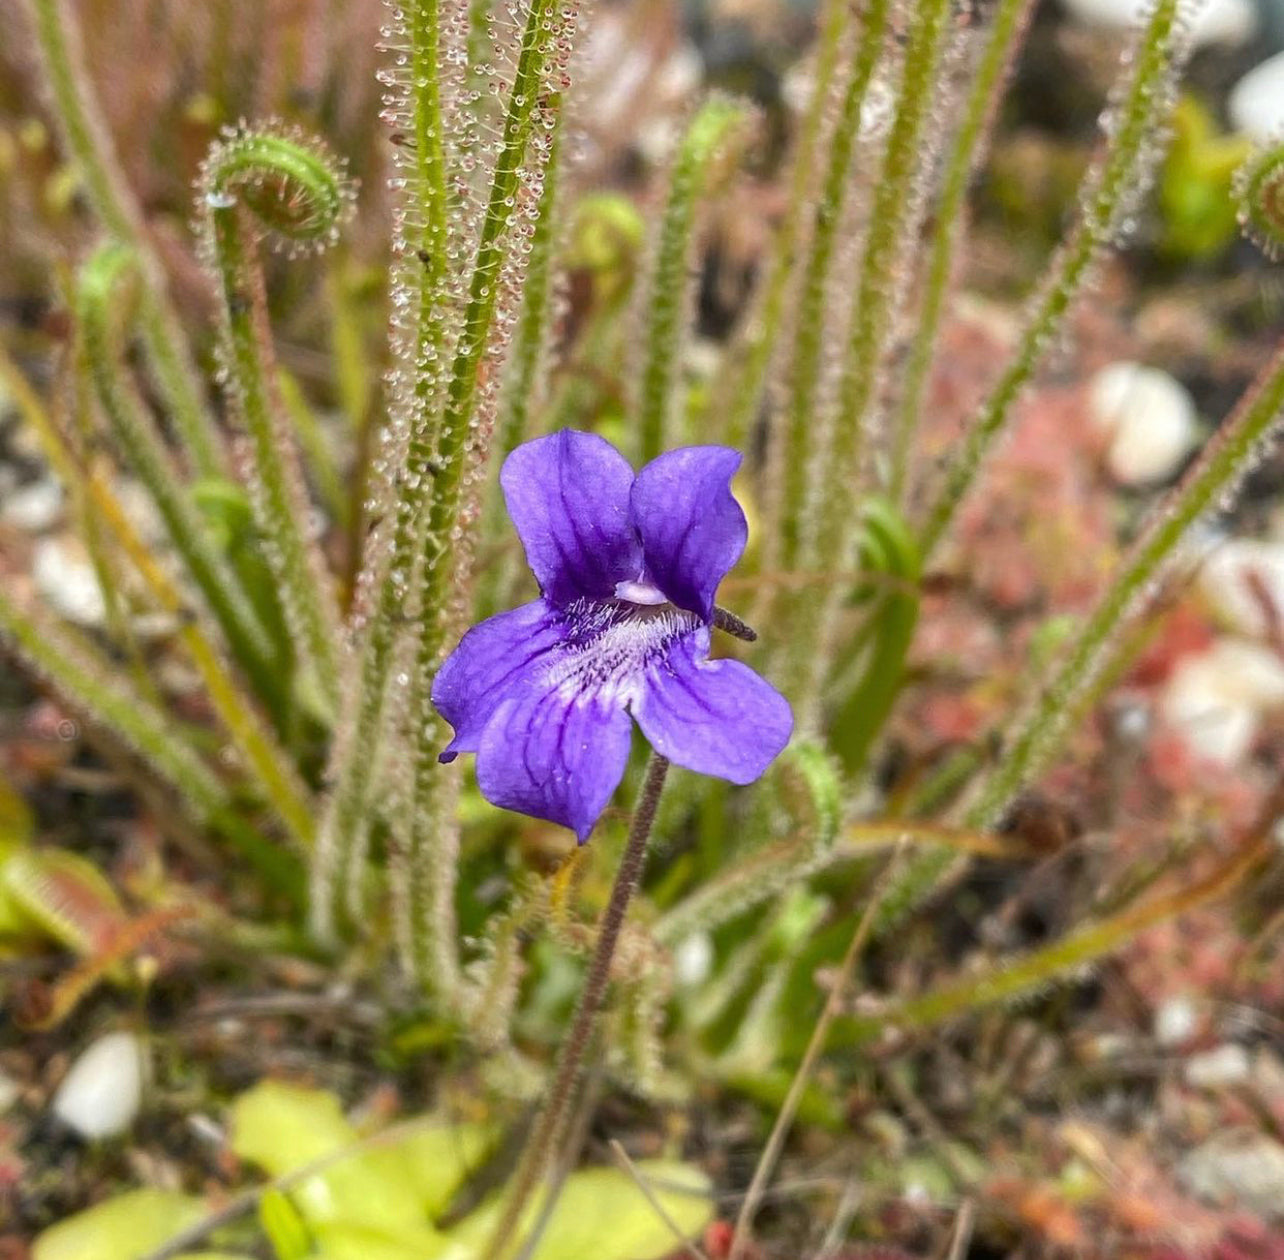
Pinguicula are charming, easy to grow and flower abundantly; what’s not to love? We often say that they are the African Violets of the carnivorous plant world. Everyone should have a Ping sitting on a sunny windowsill, brightening up their house!

Some of our most admired displays at the nursery are our Pinguicula wall, designed and built by Fernando Rivadavia and Stephen Davis, and our planted in Ping tank. These served as inspiration for my latest project; converting one of my small terrariums into a planted in tank.
With my plan in mind, I recruited Damon to come over on our day off and help me repurpose a ten gallon aquarium into a planted in tank with a custom butterwort wall. (This is a sign of a true carnivorous plant addiction; discussing, playing with, geeking out and generally fixating on carnivorous plants even on your day off from the nursery, where you work with them.)
For this project you will need the following supplies:
- Tank or aquarium
- Plastic Egg Crate Light Diffuser
- Bird Netting
- Pliers
- Scissors
- Zip Ties (we were able to find green ones which we really liked, the color blended well into the wall)
- Optional: Long Handled Tweezers
- Long Fibered New Zealand Sphagnum Moss
- Soil Mix: Equal parts sand, perlite, peat moss and pumice or lava rock
- Wall Mix: Two parts chopped up NZ Sphagnum moss to one part fine orchid bark, pumice and perlite
- Pinguicula!
STEP 1:
First you will need to measure and cut your plastic egg crate to fit your tank. This egg crate is used to go over fluorescent lighting in ceilings and can usually be found in the hardware store lighting department. I decided to have the entire back wall of my tank covered with the wall and added a small panel on the side of the tank with a more natural, sloping angle across the top.


STEP 2:
 Now that you have your panels cut, it is time to lay the top layer of sphagnum moss. Thoroughly wet your long fibered New Zealand sphagnum moss. I actually put mine in a large mixing bowl at the start of our project, filling the bowl with reverse osmosis water, so that the moss had a nice, long soak before use. (And yes, I routinely use my kitchen ware for plant projects. Like my favorite small soup pot that is perfect for scooping peat and perlite into bogs and then, after a wash, makes a nice pot of ramen. That’s totally normal, right?) Squeeze out the excess water and start laying the moss out, in long strands across the egg crate. You can cross the strands vertically and horizontally until you have covered all of the visible crate. The sphagnum creates the top layer of the wall, holding your soil mix in place, holding in moisture and creating a place to tuck your Pings so you want the coverage to be thorough.

STEP 3:

Take out your bird netting and cut a large piece that will wrap around the entire piece of egg crate; like you are wrapping a present. You want a little overlap on the sides.
Once you have cut your netting, lay it over the top of your sphagnum with enough at the top to tuck about an inch of the netting underneath the top edge of the wall. Starting at the top corner, insert a zip tie through the bird netting, through the sphagnum, through the egg crate and out the other side of the bird netting that you have overlapped. Bring the zip tie back up through everything and secure it in place. This will lock the netting in place in that corner. Proceed across the top of the wall, securing with zip ties. You will want to be firm but delicate as the netting can tear. If it does, just use your zip ties to secure it back in place around the tear. Once you have secured the top you can pull the bird netting tightly across the top of the sphagnum and hold it all in place.


STEP 4:
Holy cow! Now it’s going to get interesting because you are ready to flip your work over, revealing the egg crate on the other side. Holding the netting in place, firmly, across your sphagnum, flip your work over and rest it on the table.


Now you can take your Wall Mix and spread it across the egg crate. Gently push the mix into the holes in the egg crate until it is all thoroughly filled.


STEP 5:
Repeat Step 2; cover the soil mix with a layer of long fibered sphagnum moss.

STEP 6:
Pull your bird netting down over the sphagnum moss and secure it in place with zip ties. Be free with your use of zip ties along the edges, sides, top and bottom, to hold the sphagnum and netting in place. Once you have secured the sides, go along the interior, securing the wall with zip ties through all of the layers, like buttons on a mattress. Clip off the tails of the zip ties.


STEP 7:
Place your wall in the terrarium and see how it looks! It should fit snugly and this will help hold it in place. Pour your soil mix into the bottom of the terrarium and press it firmly in. Be sure to press the soil firmly against the wall as this will help secure it in place as well. I built my soil up a bit unevenly as I prefer a more natural look but you can lay your evenly if you like. Just make sure to build up at least an inch and a half of soil.


STEP 8: (aka the more fun part)
Now you’re ready to place the Pings! This is where the long handled tweezers really come in handy. Using the tips of the tweezers I made a small hole in the corner of the bird netting, where I wanted to place my bare-rooted butterwort. Tuck the plant into place and then gently scrunch the sphagnum moss in place around it.

As you are bare rooting and planting, you can remove leaves from your plants and tuck them into the bird netting with the tips in the sphagnum to grow new pings from the leaves.

When I planted in the bottom of my tank, I had many dormant pings so I left them lots of room for when their carnivorous leaves grow later this year. For the first watering, be very gentle and expect that you may knock a few leaves or plants loose from where you tucked them. Just place them back in a little more securely and they should be just fine. I currently mist the wall daily and overhead water the soil once a week. As the warmer months come on, I will increase water as needed.
I already have new flowers emerging from the Pinguicula emarginata I planted that are growing happily upright, towards the light! The tank took about three hours to build and setup. I am so pleased with the outcome and encourage everyone to at least try growing a Ping or two if not building your own wall!


Share


