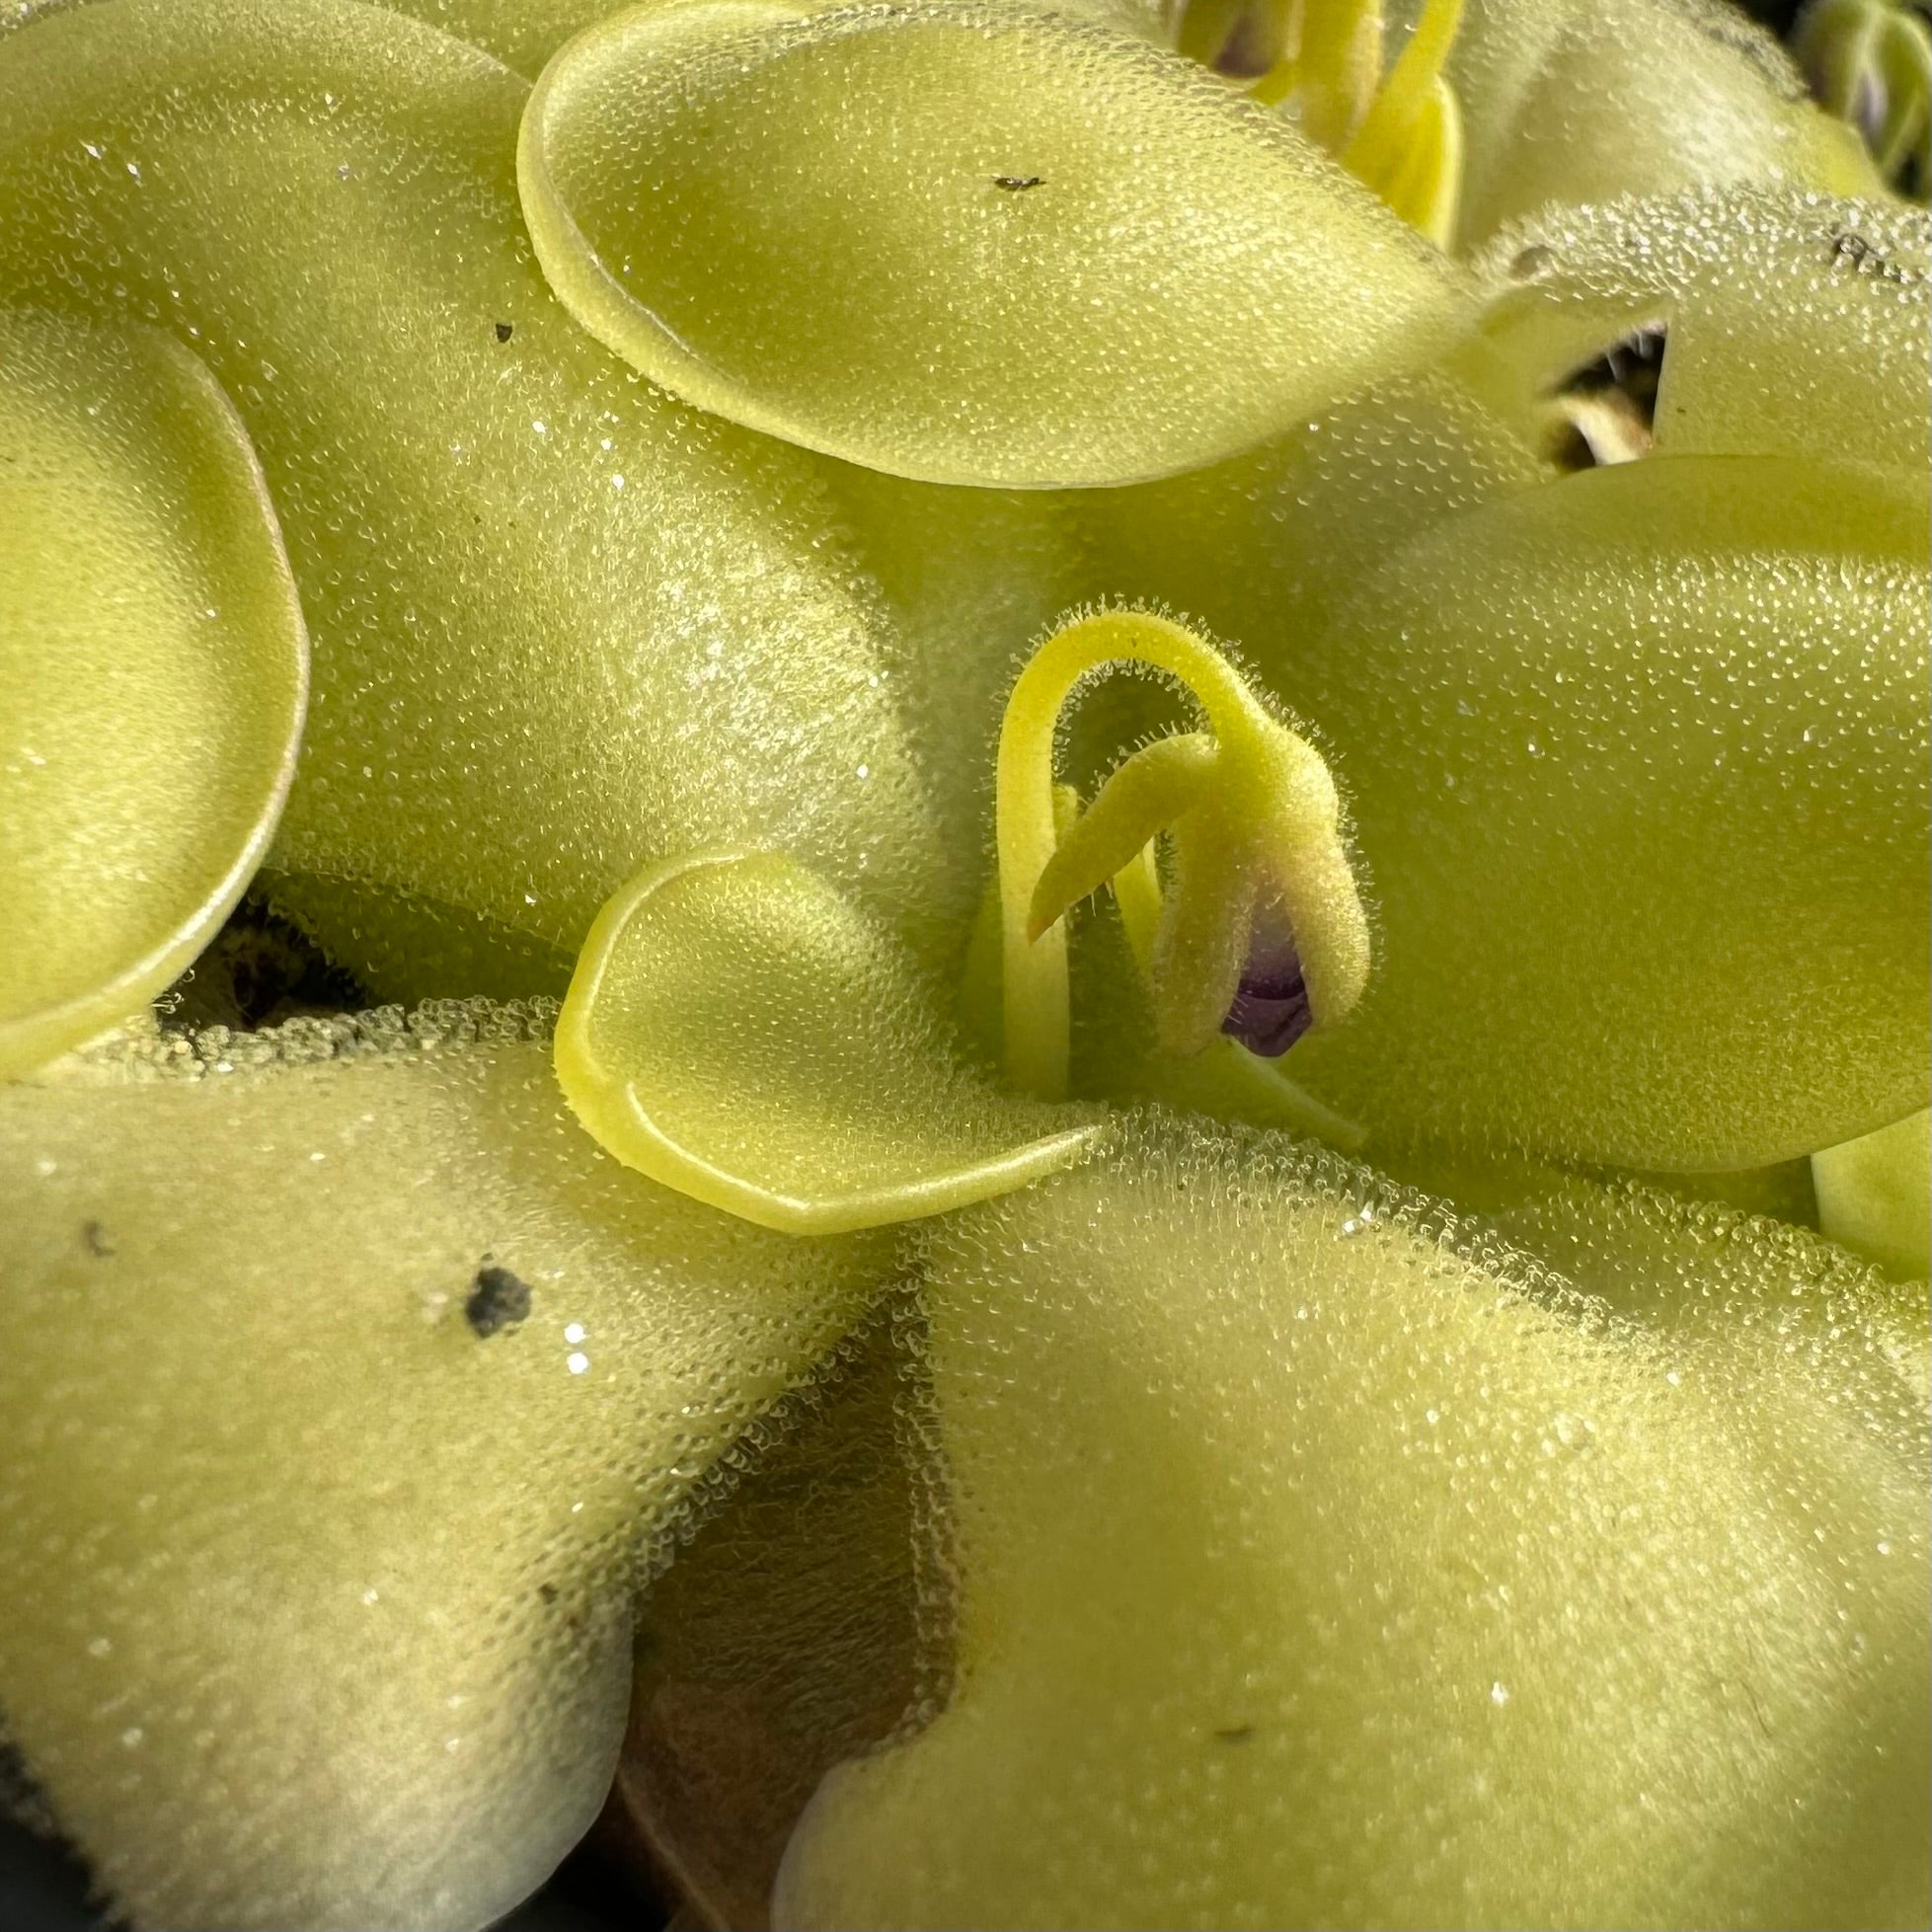
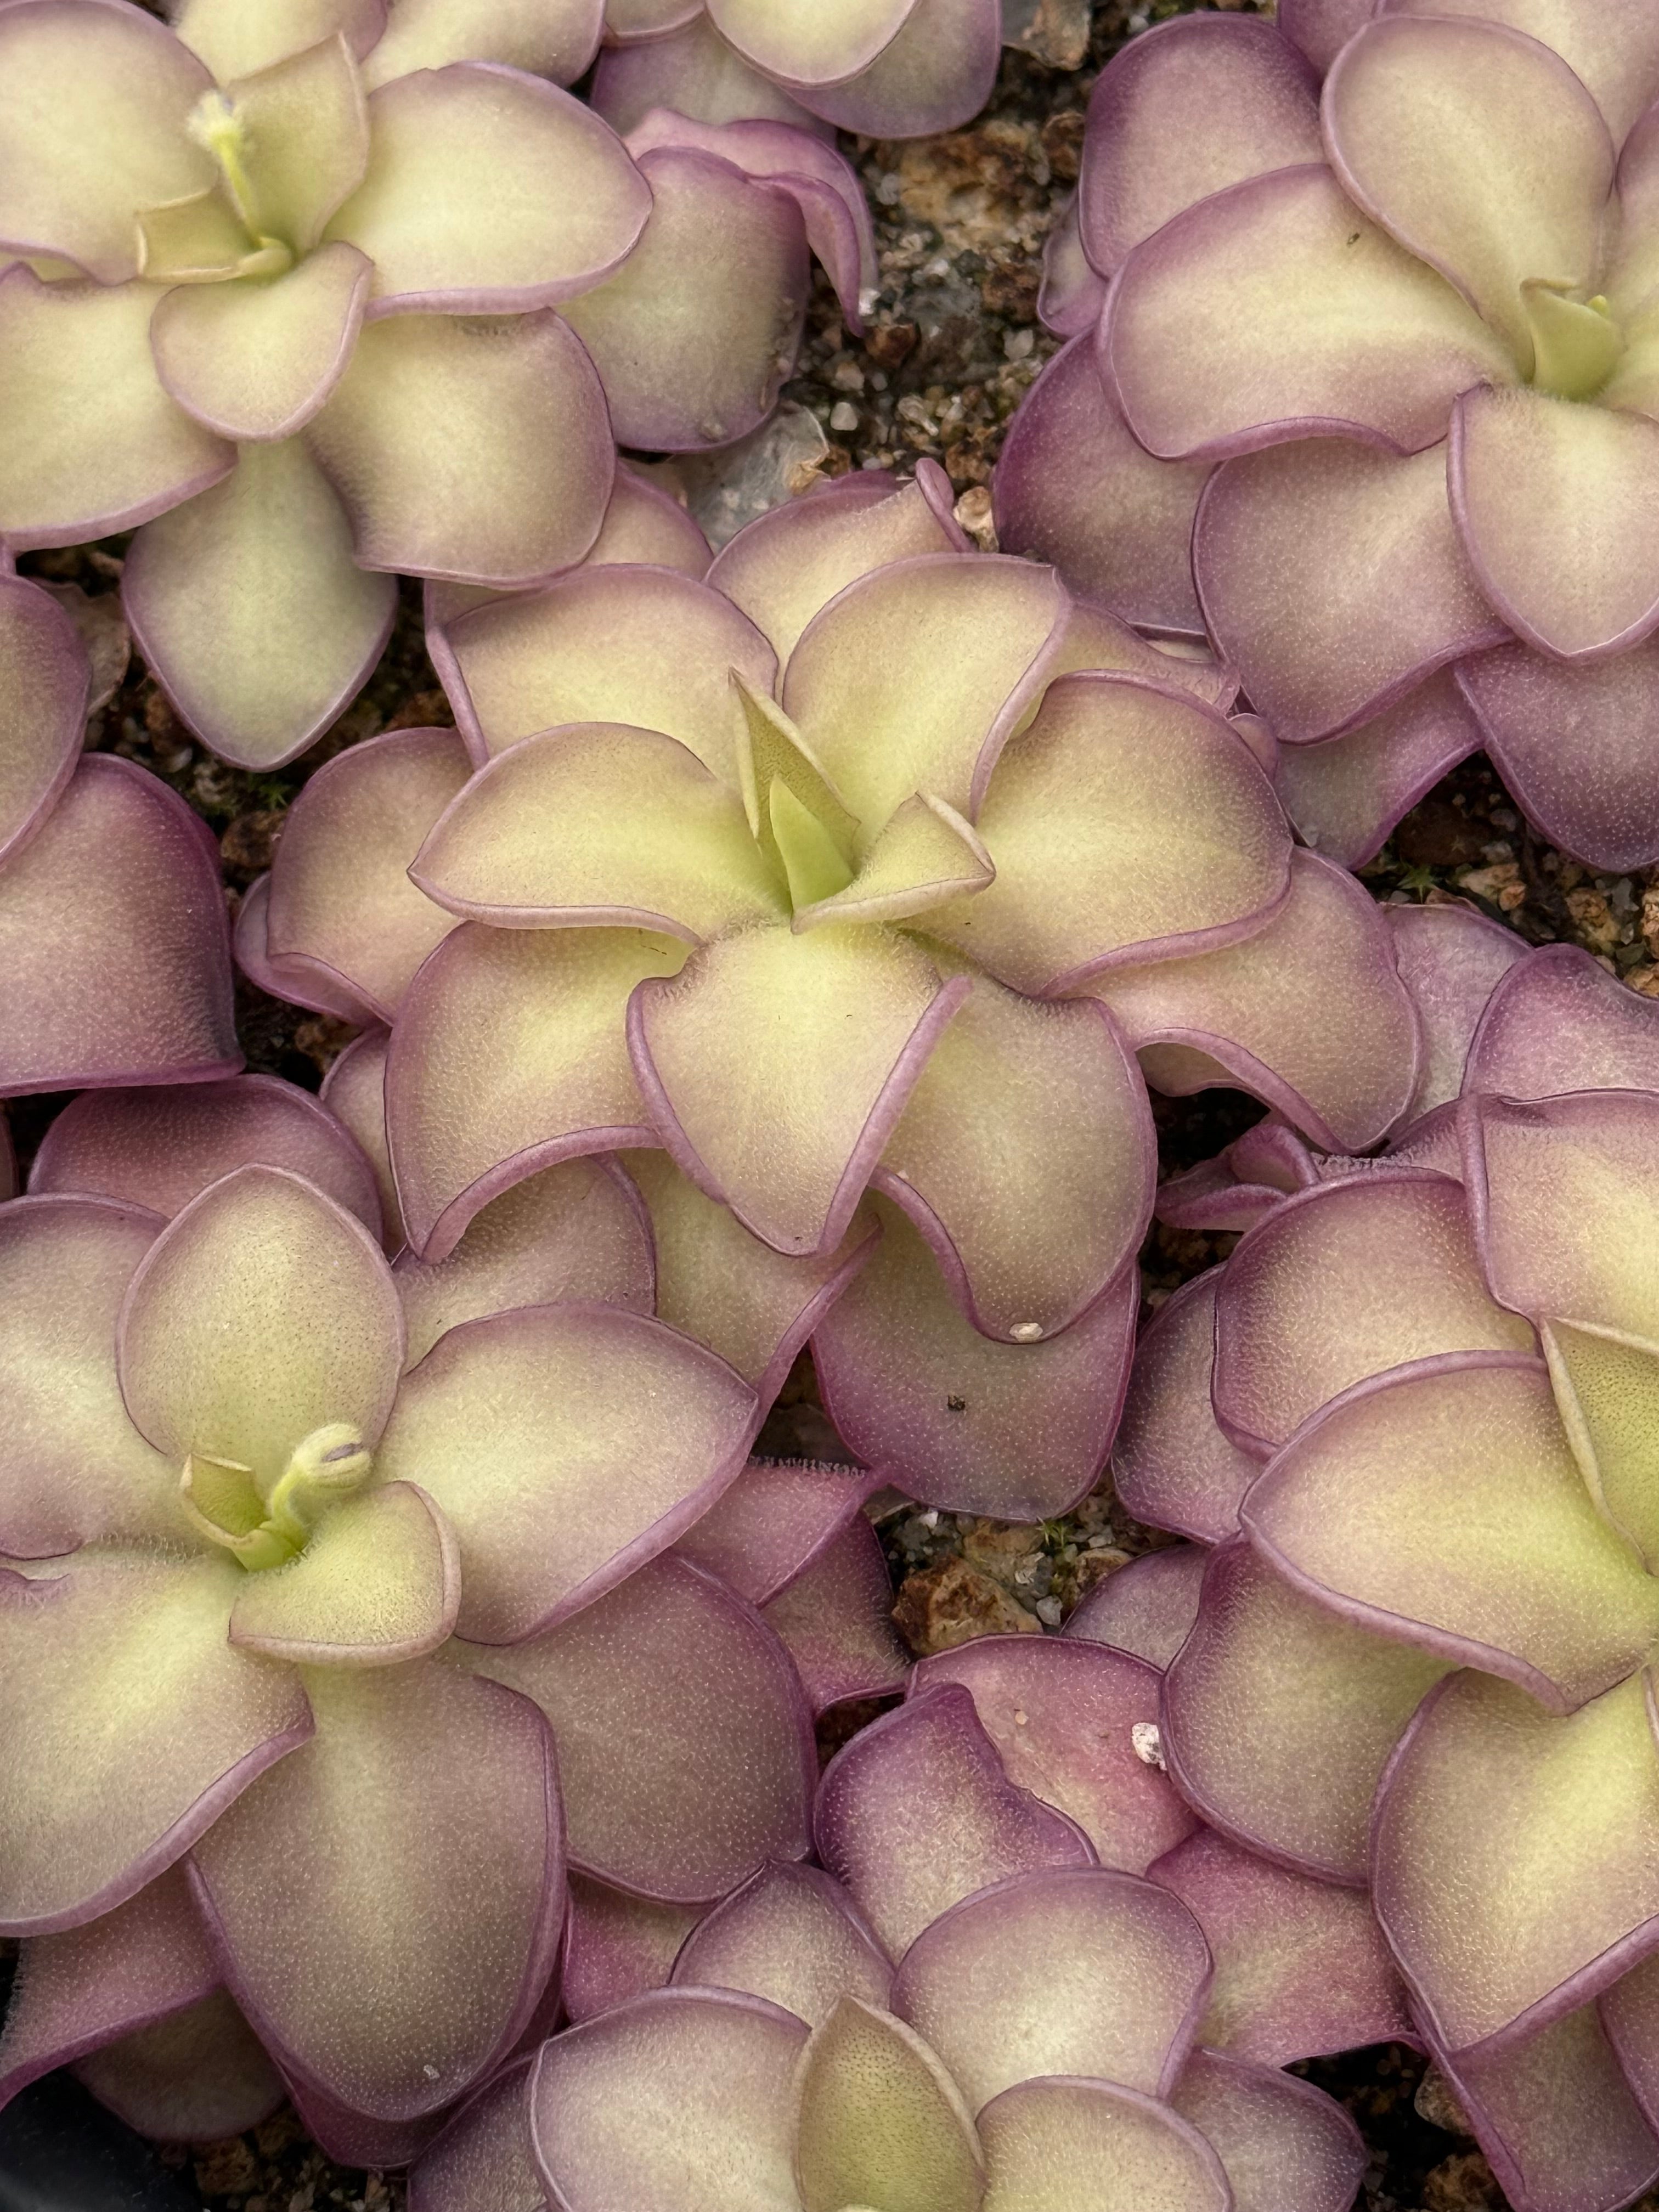
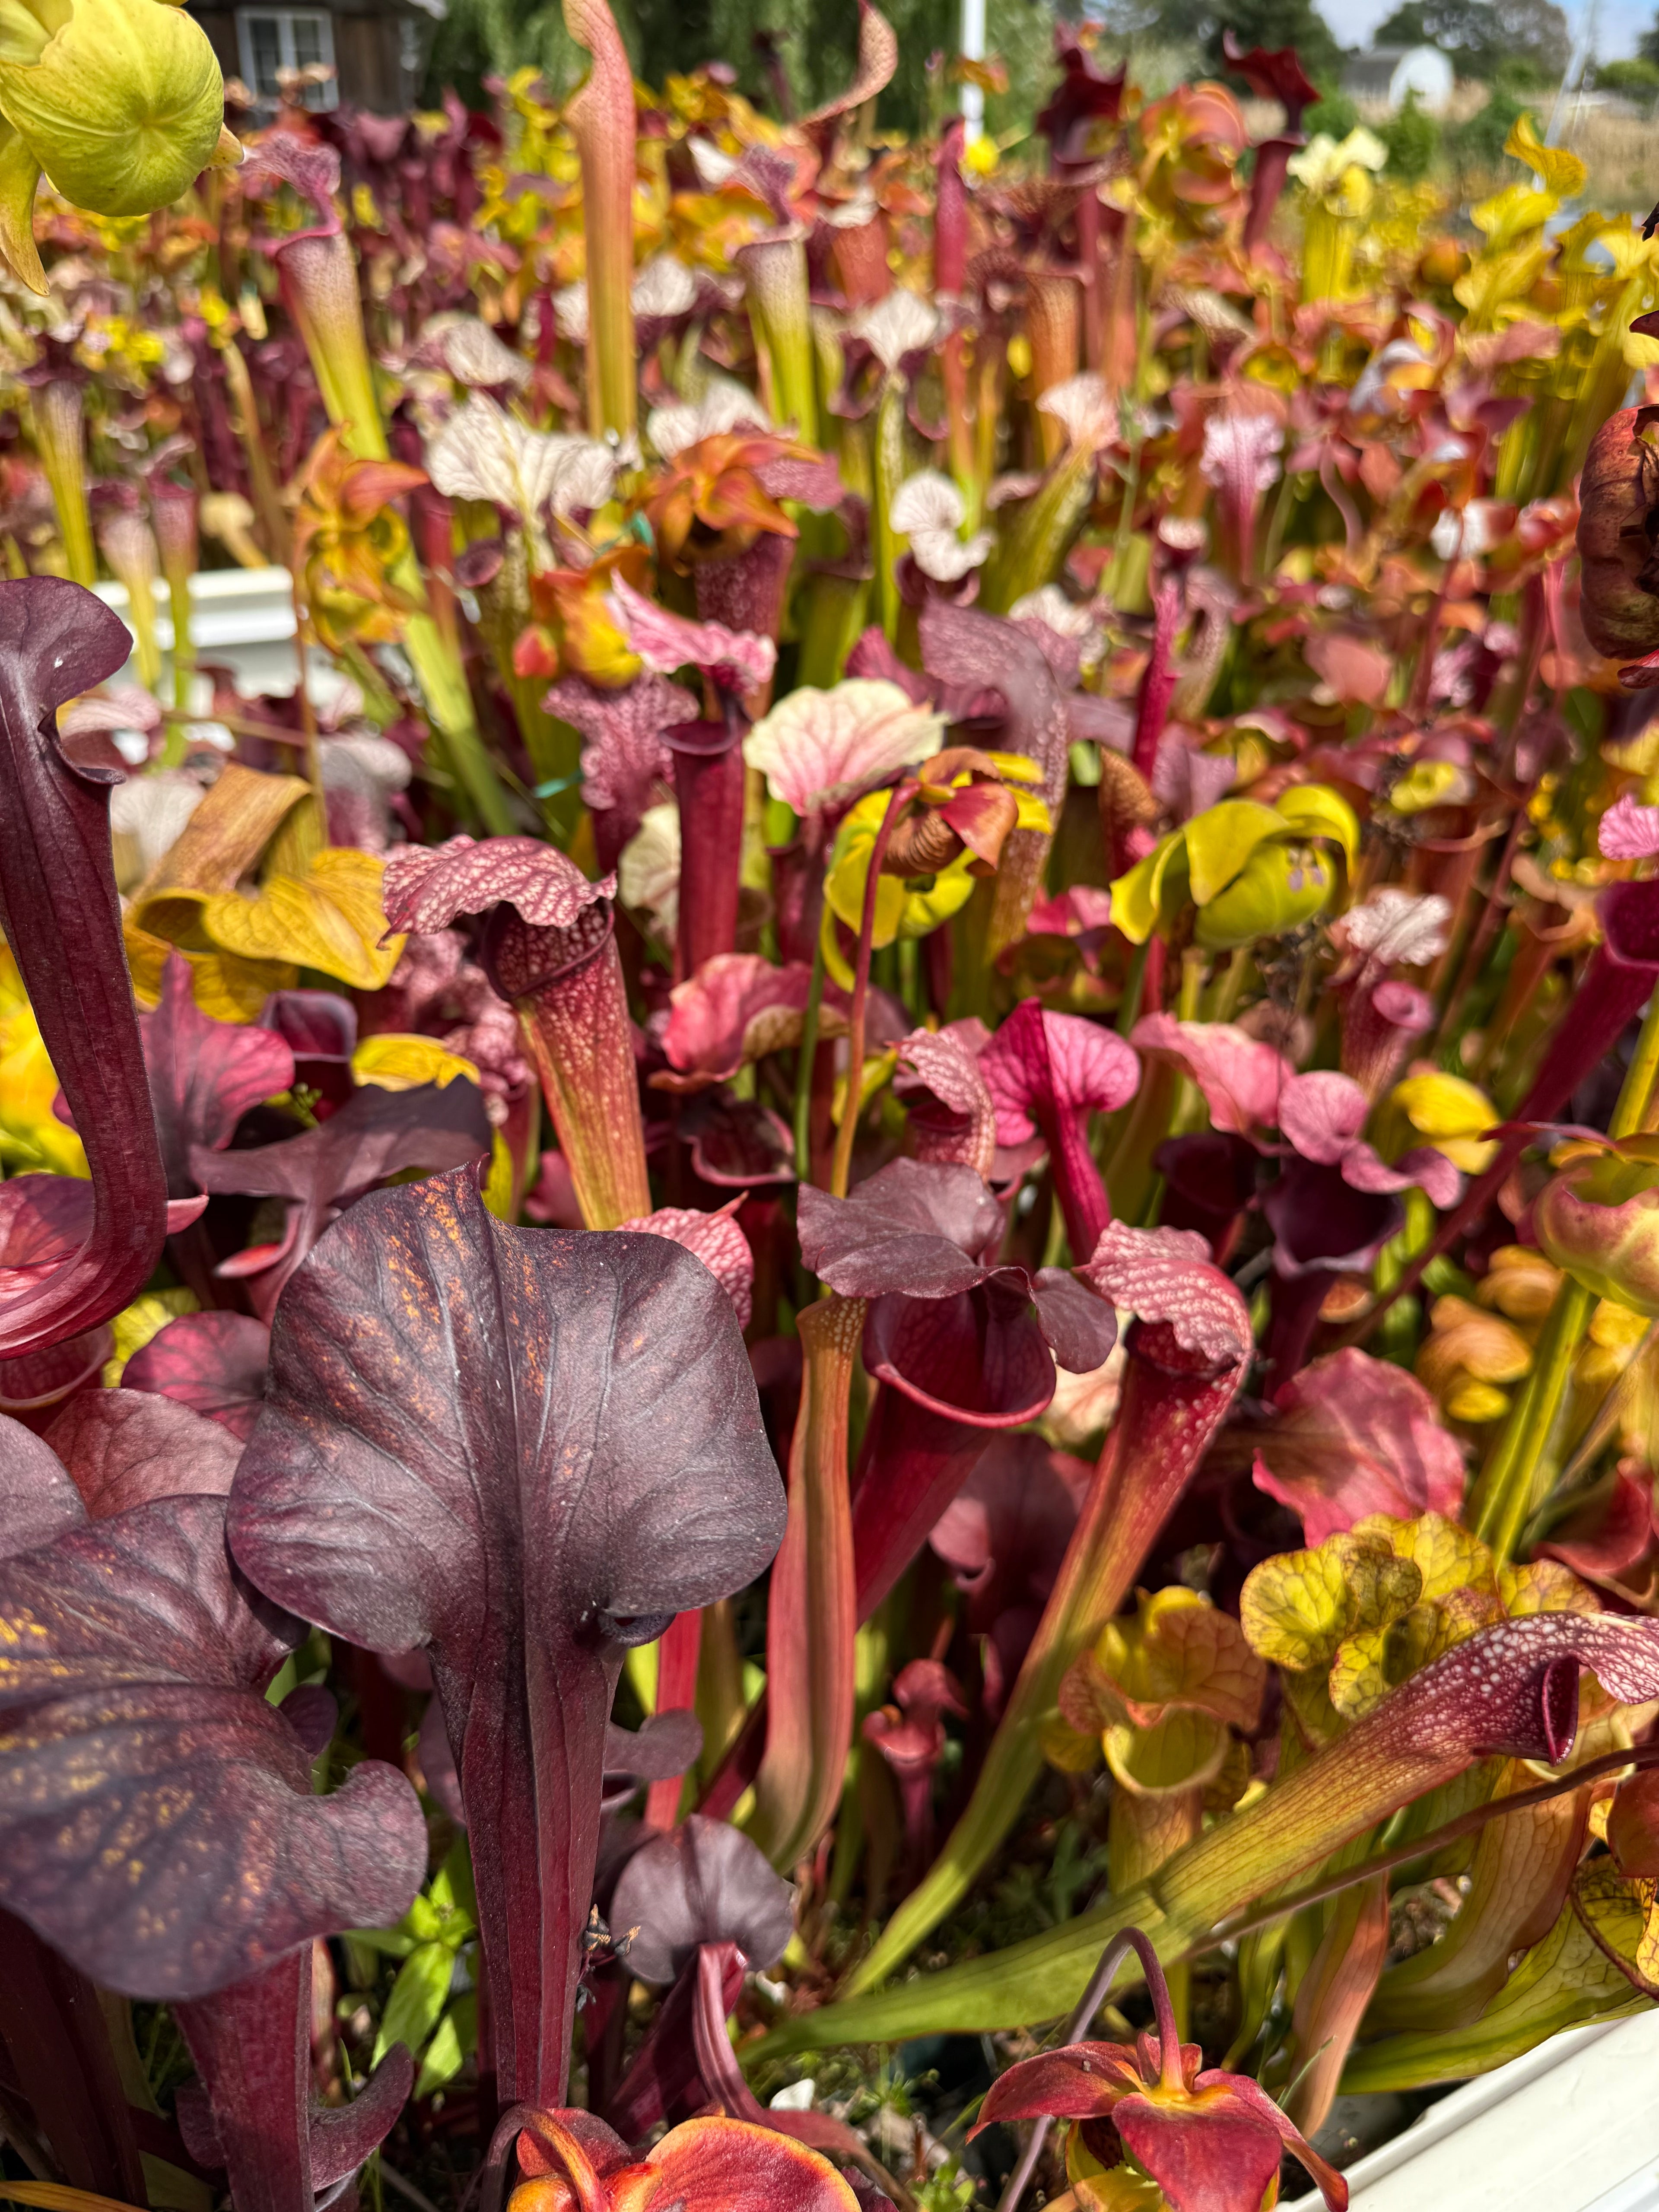
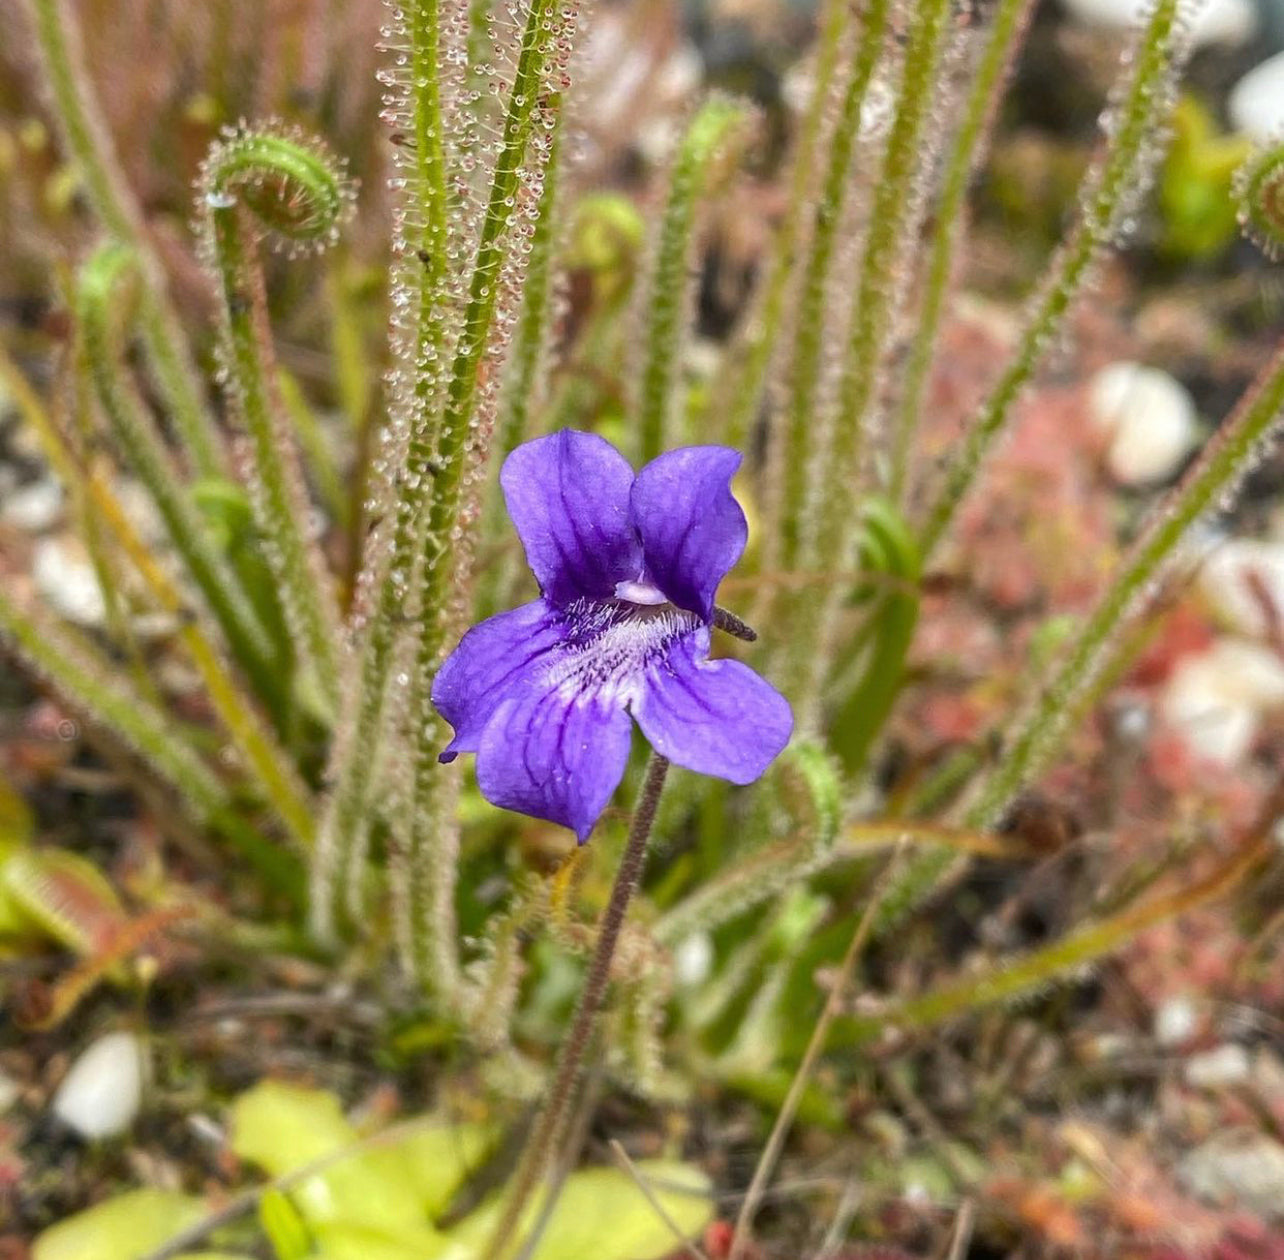
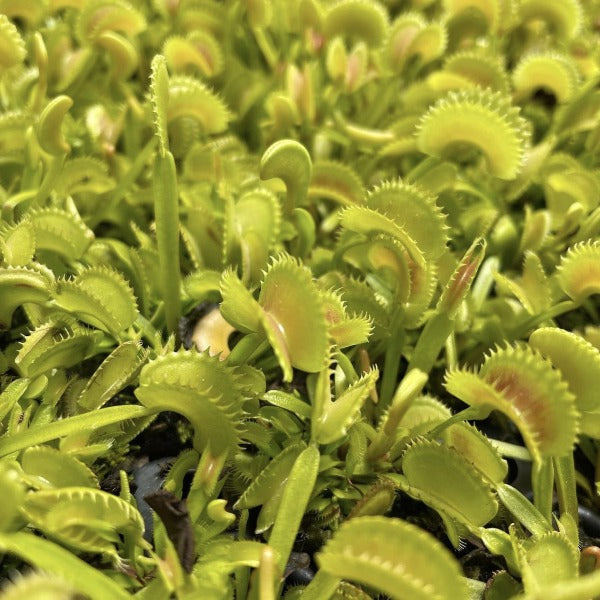
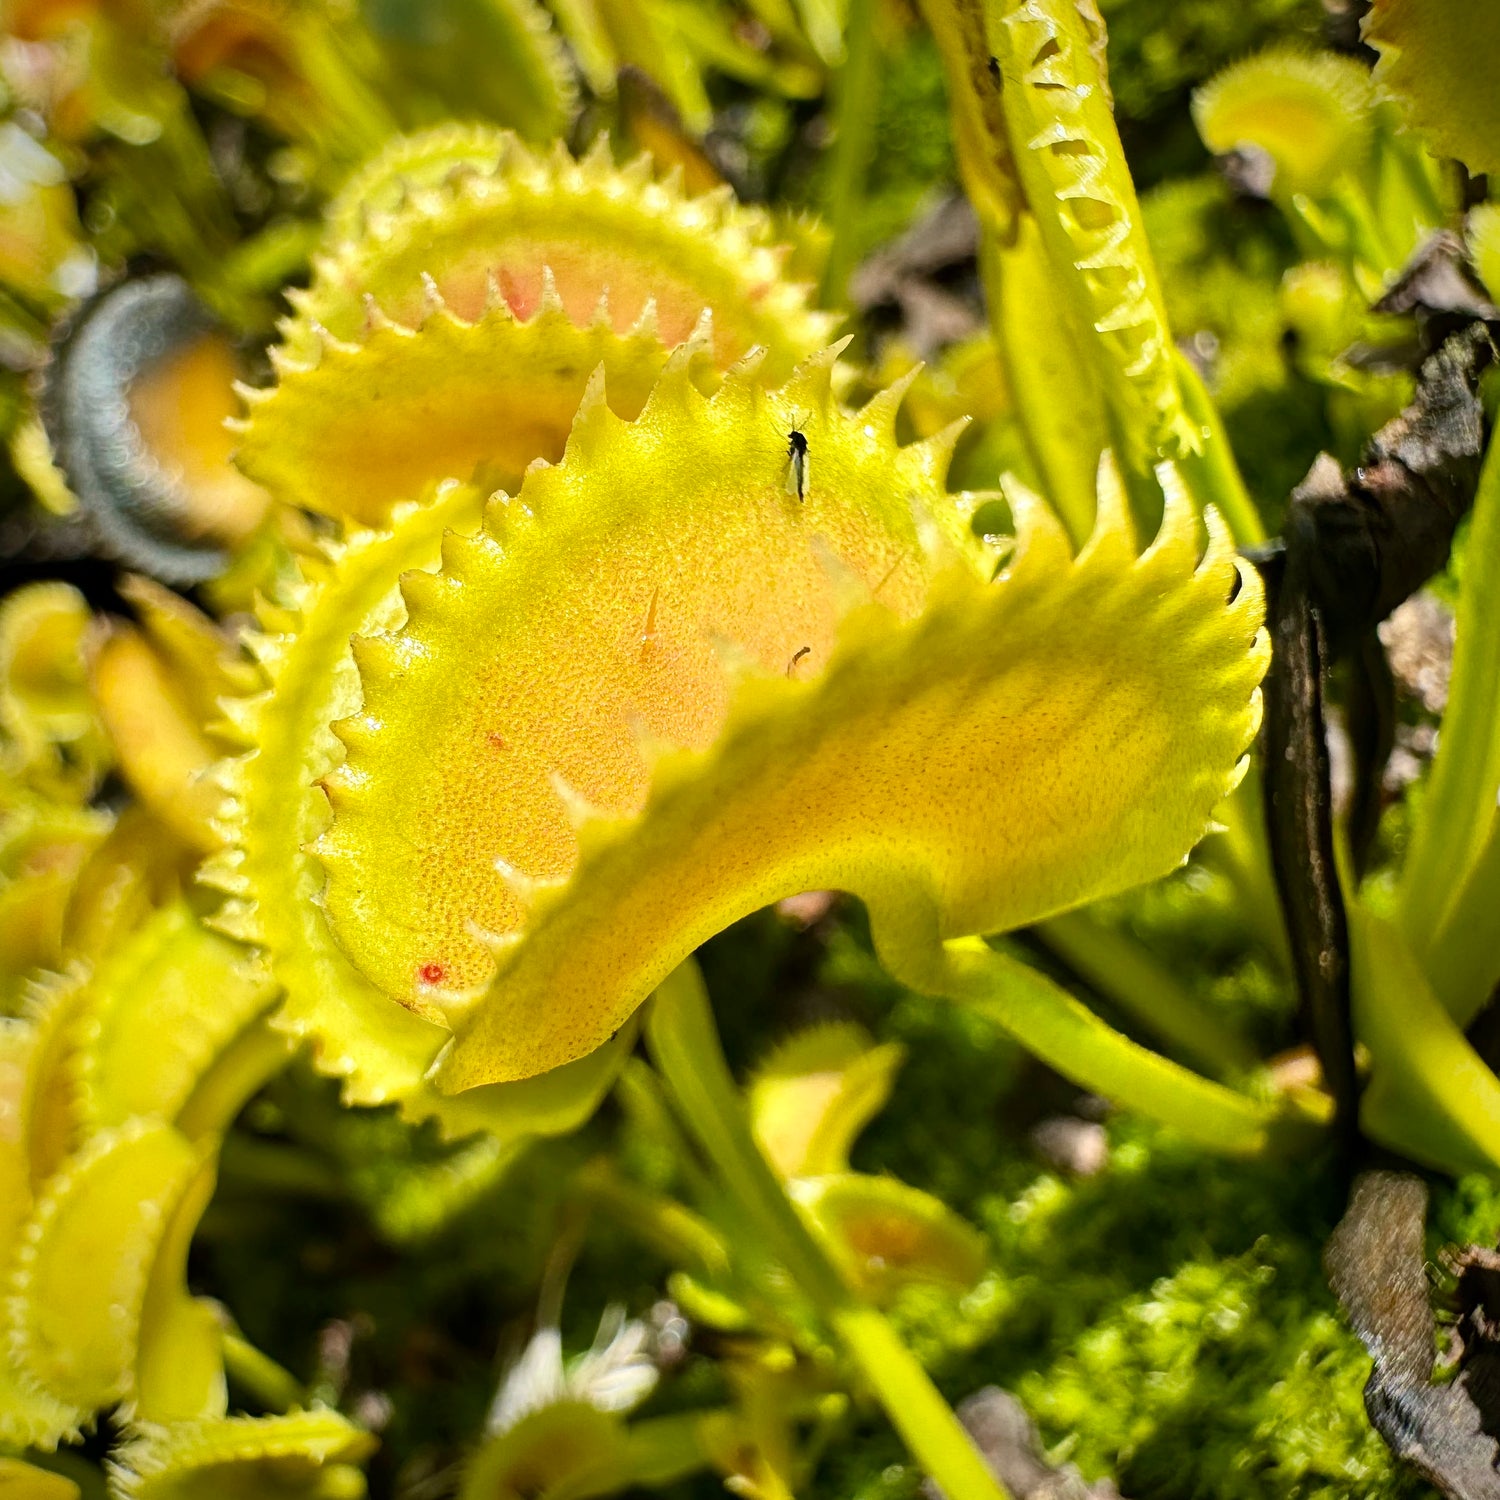
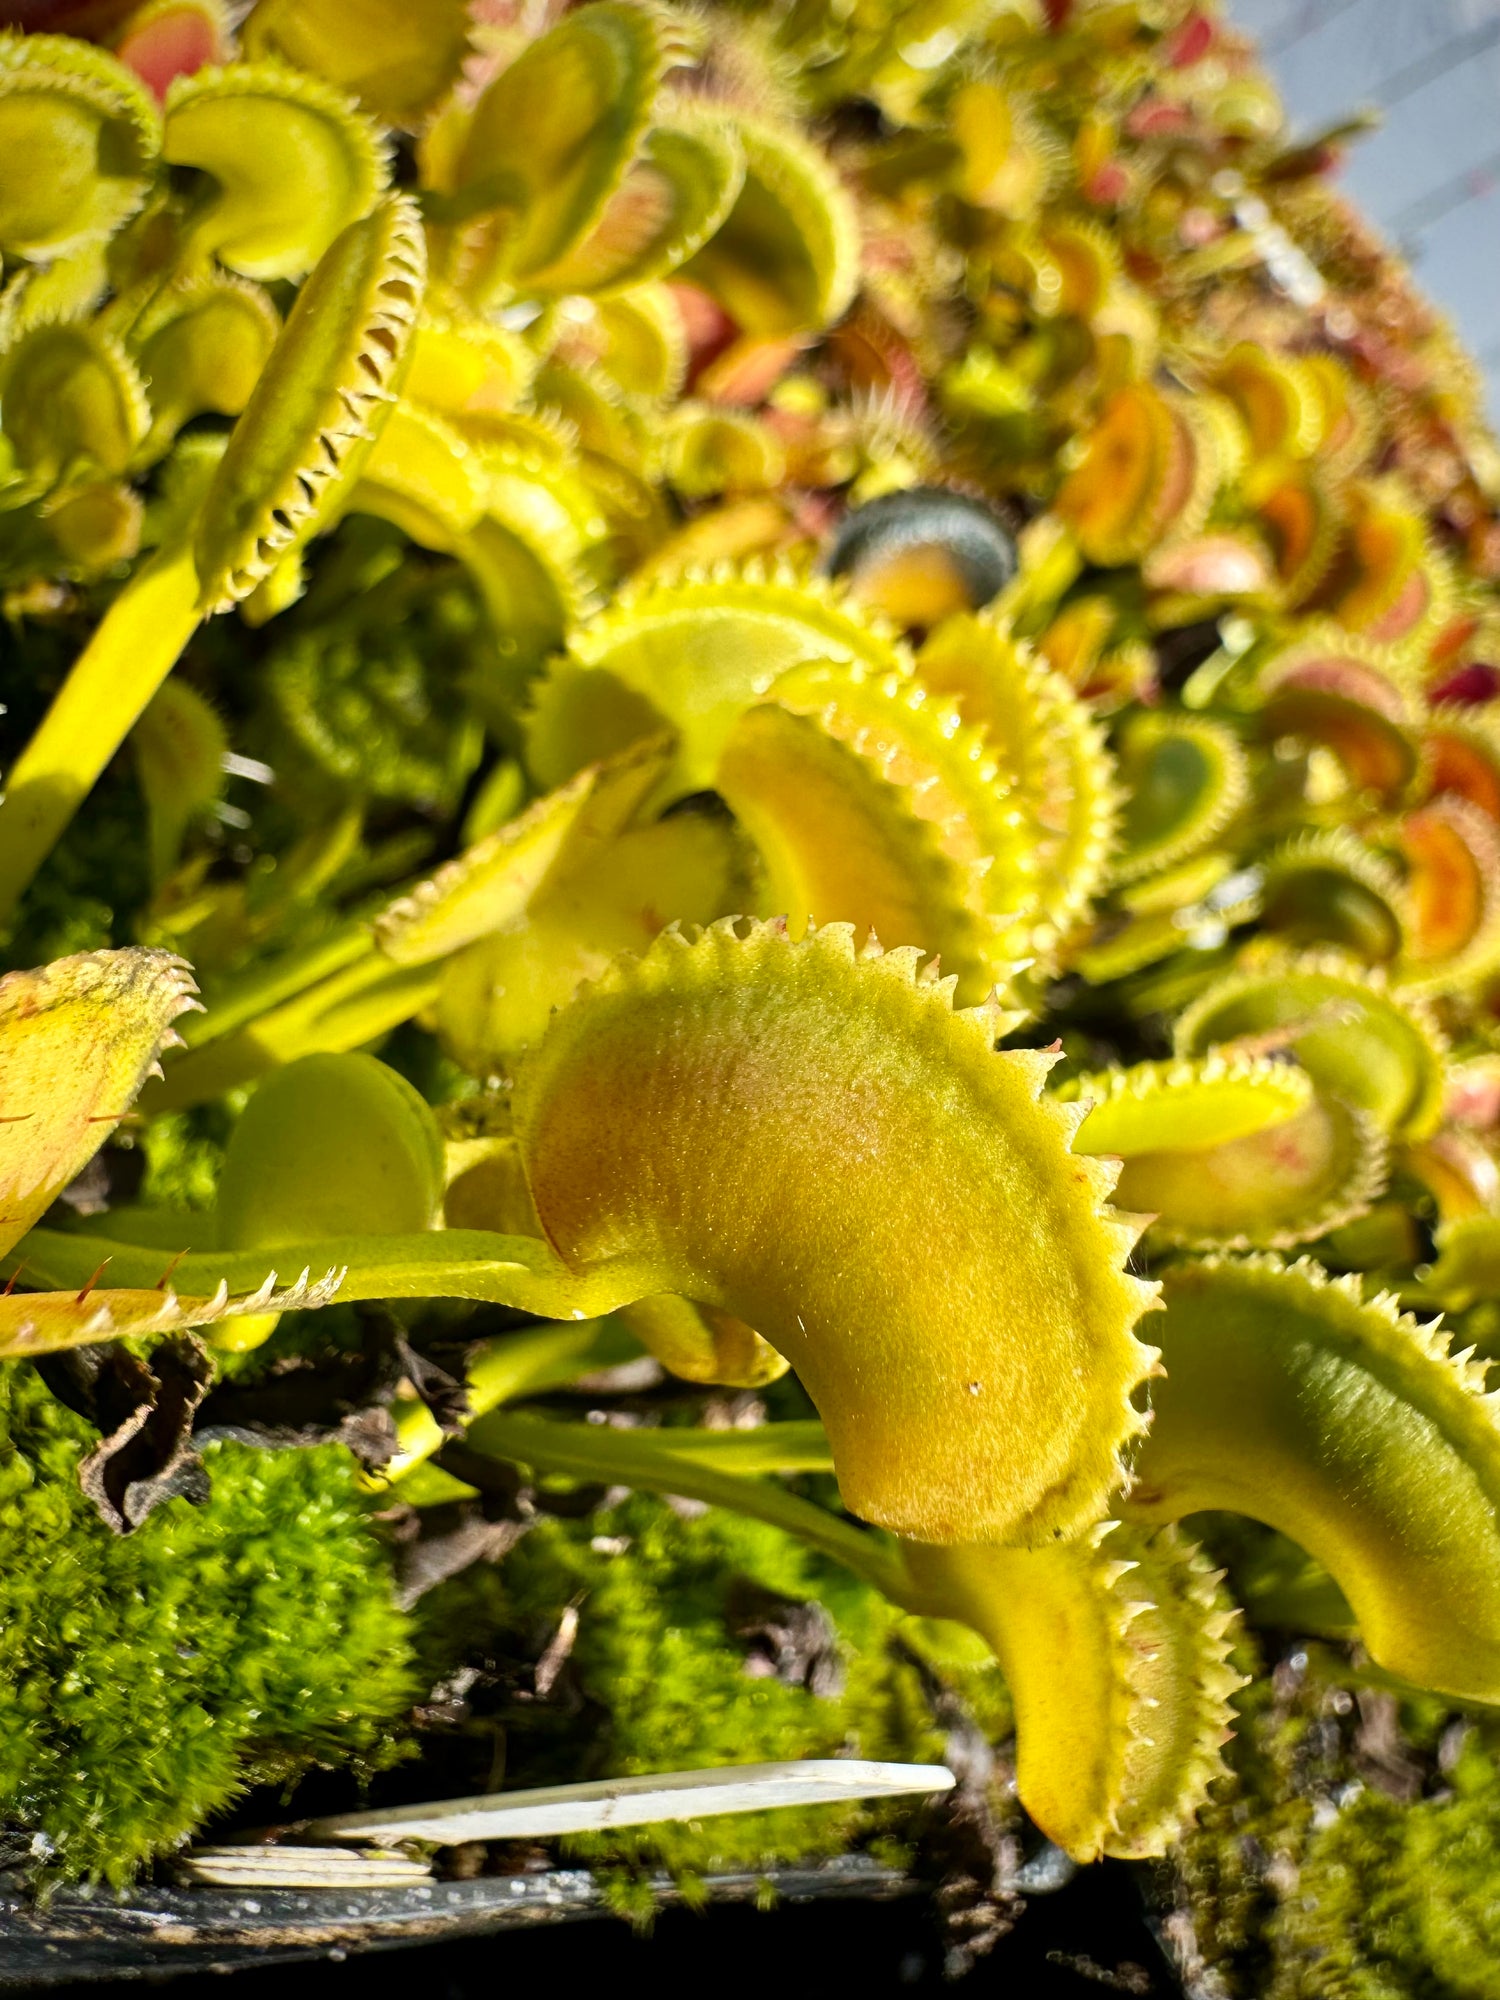
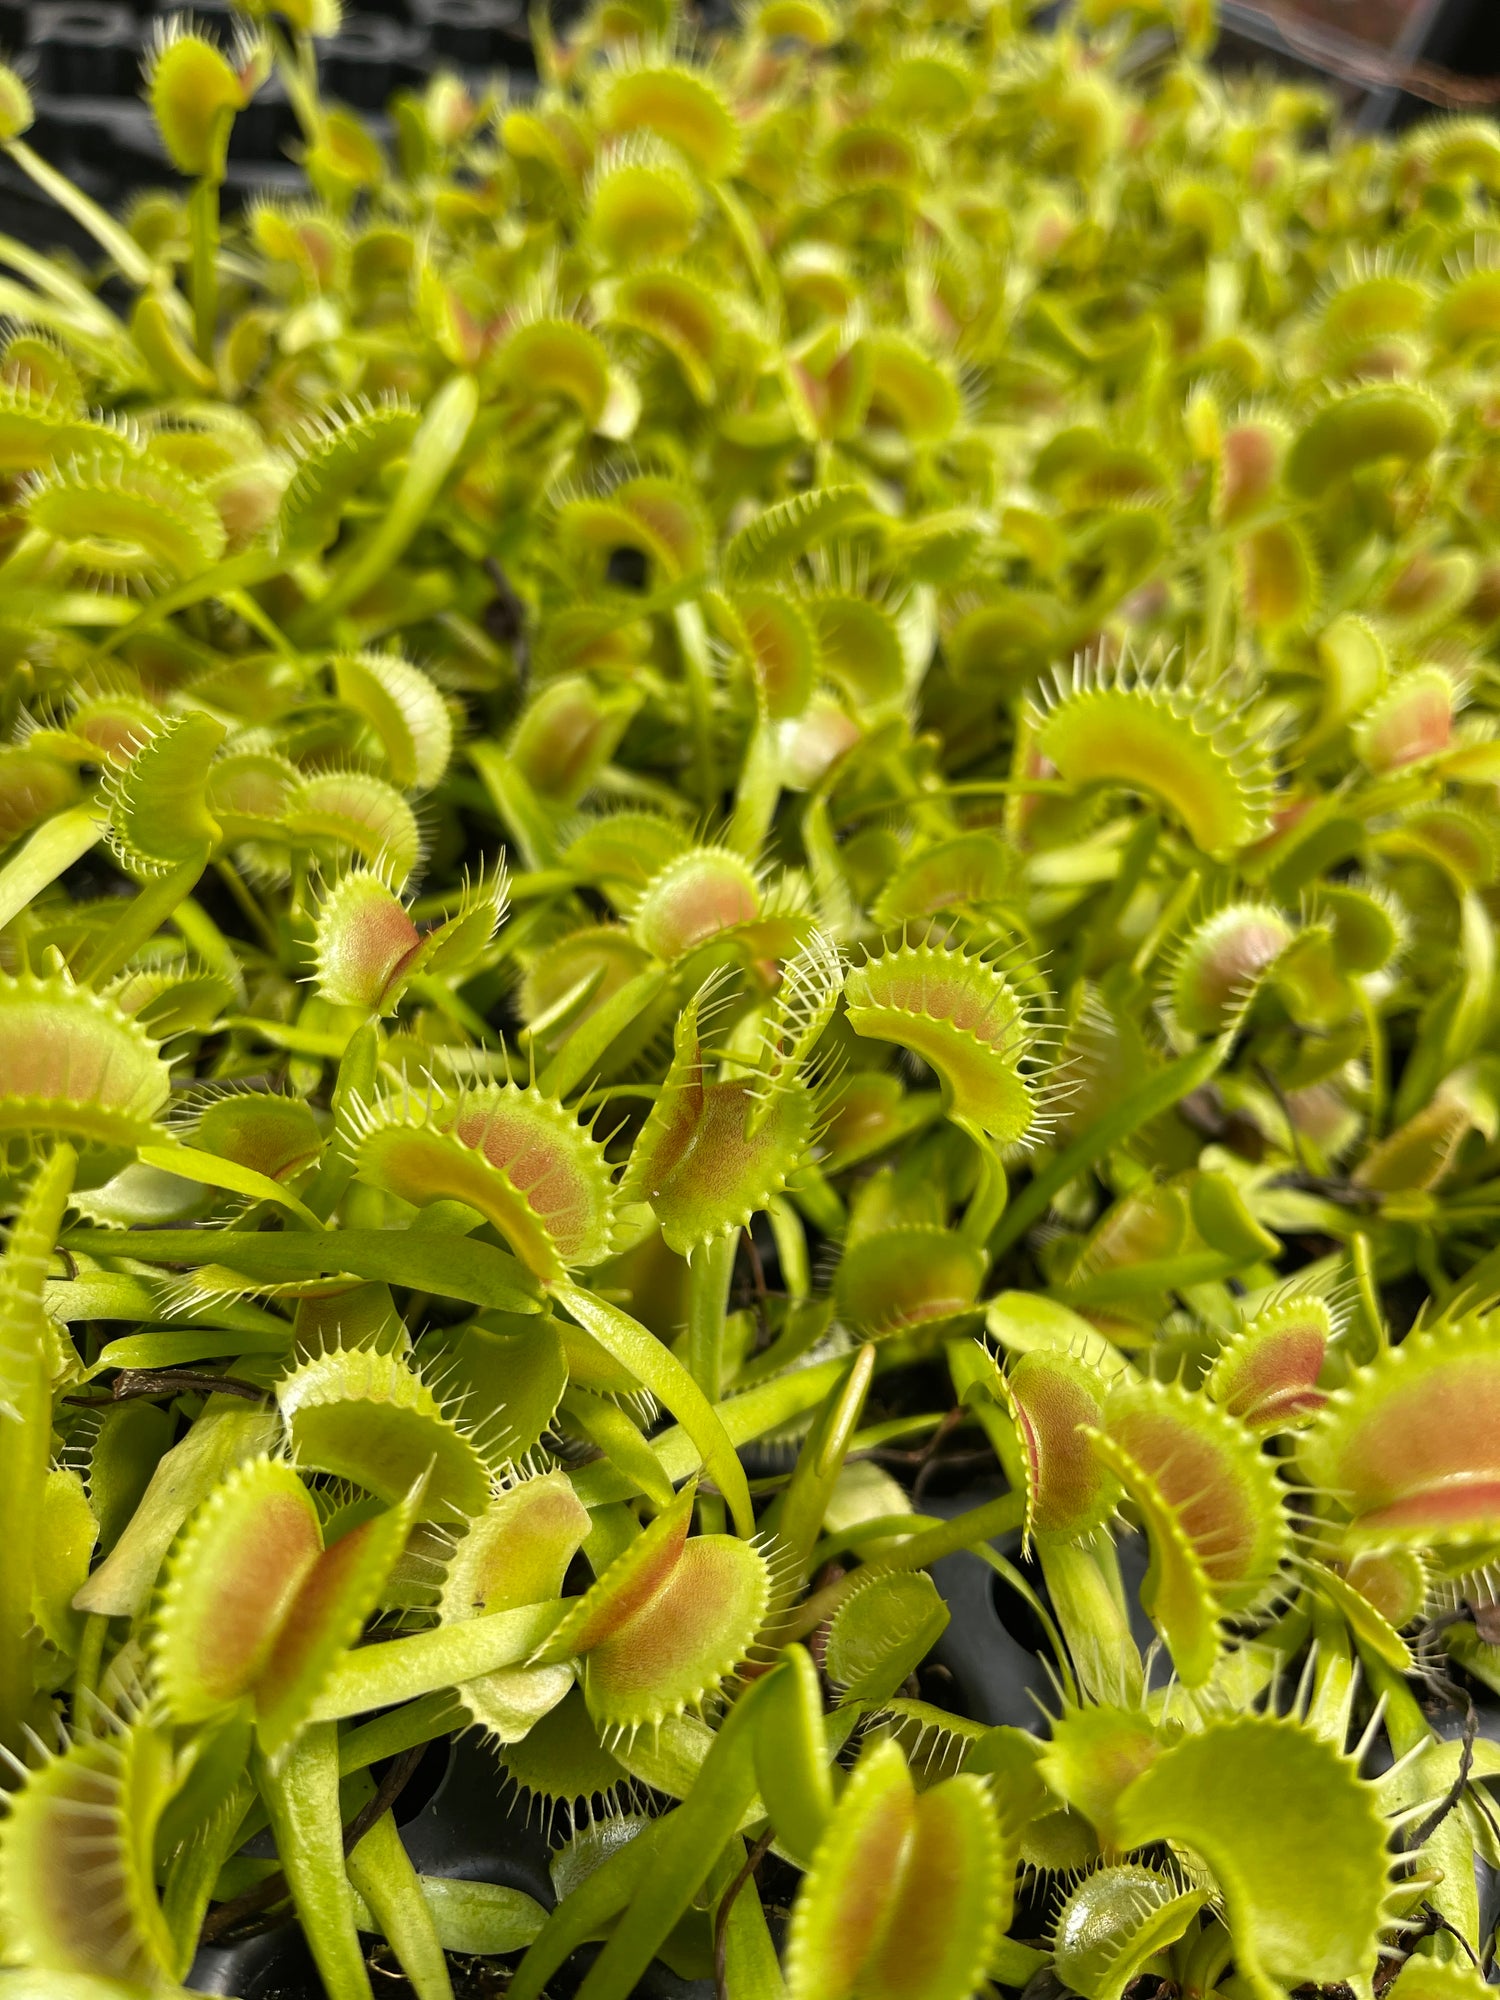
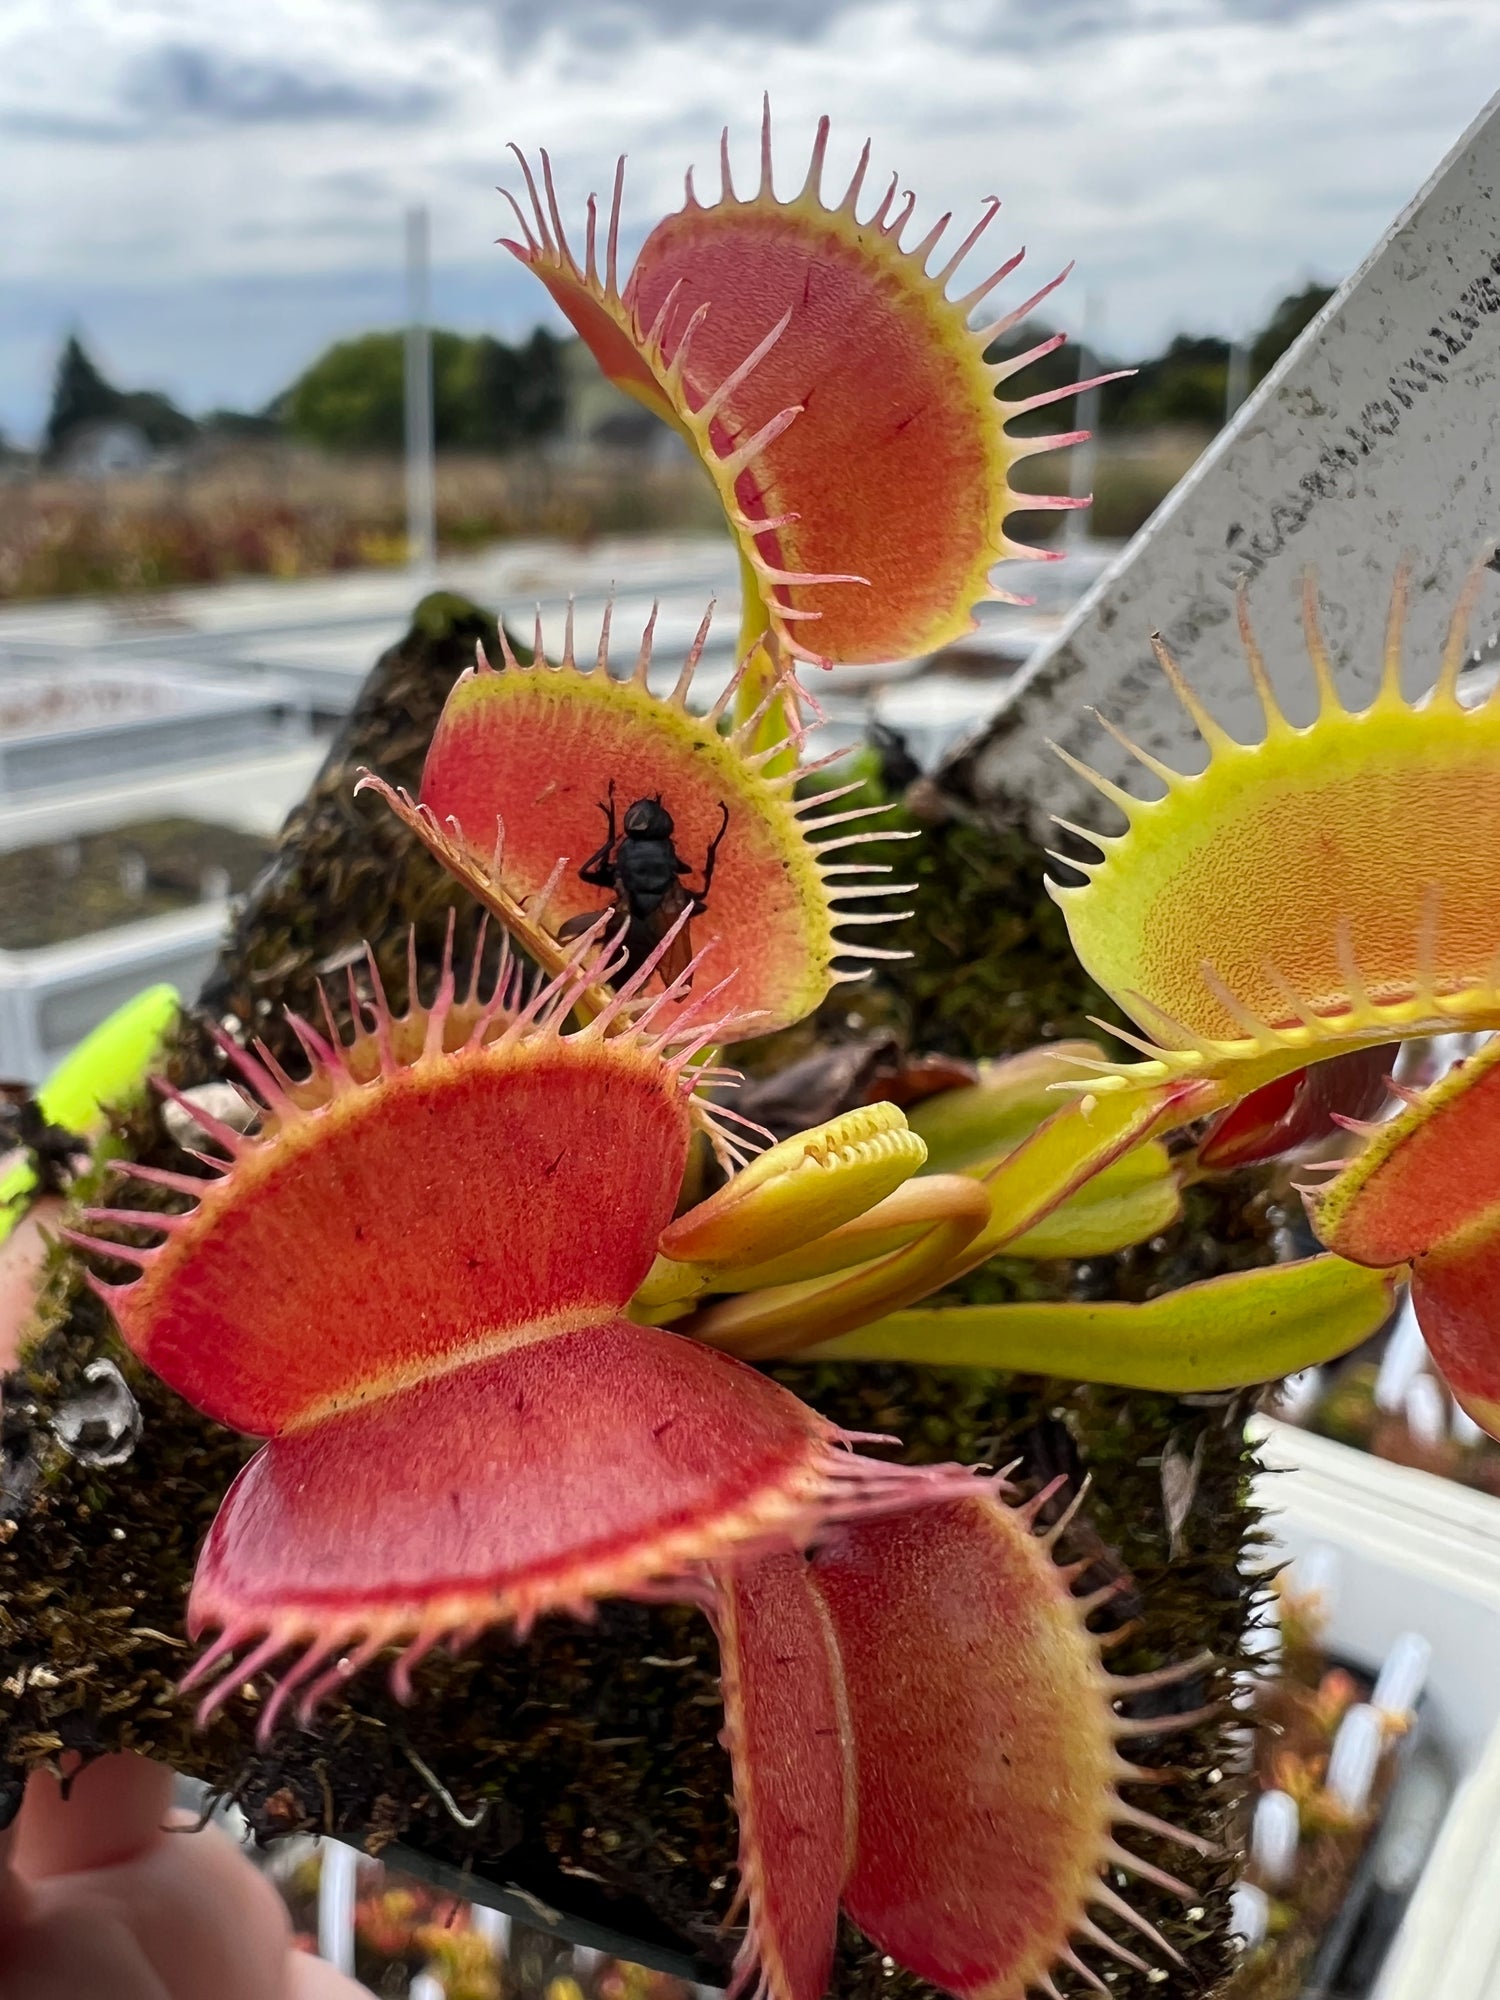
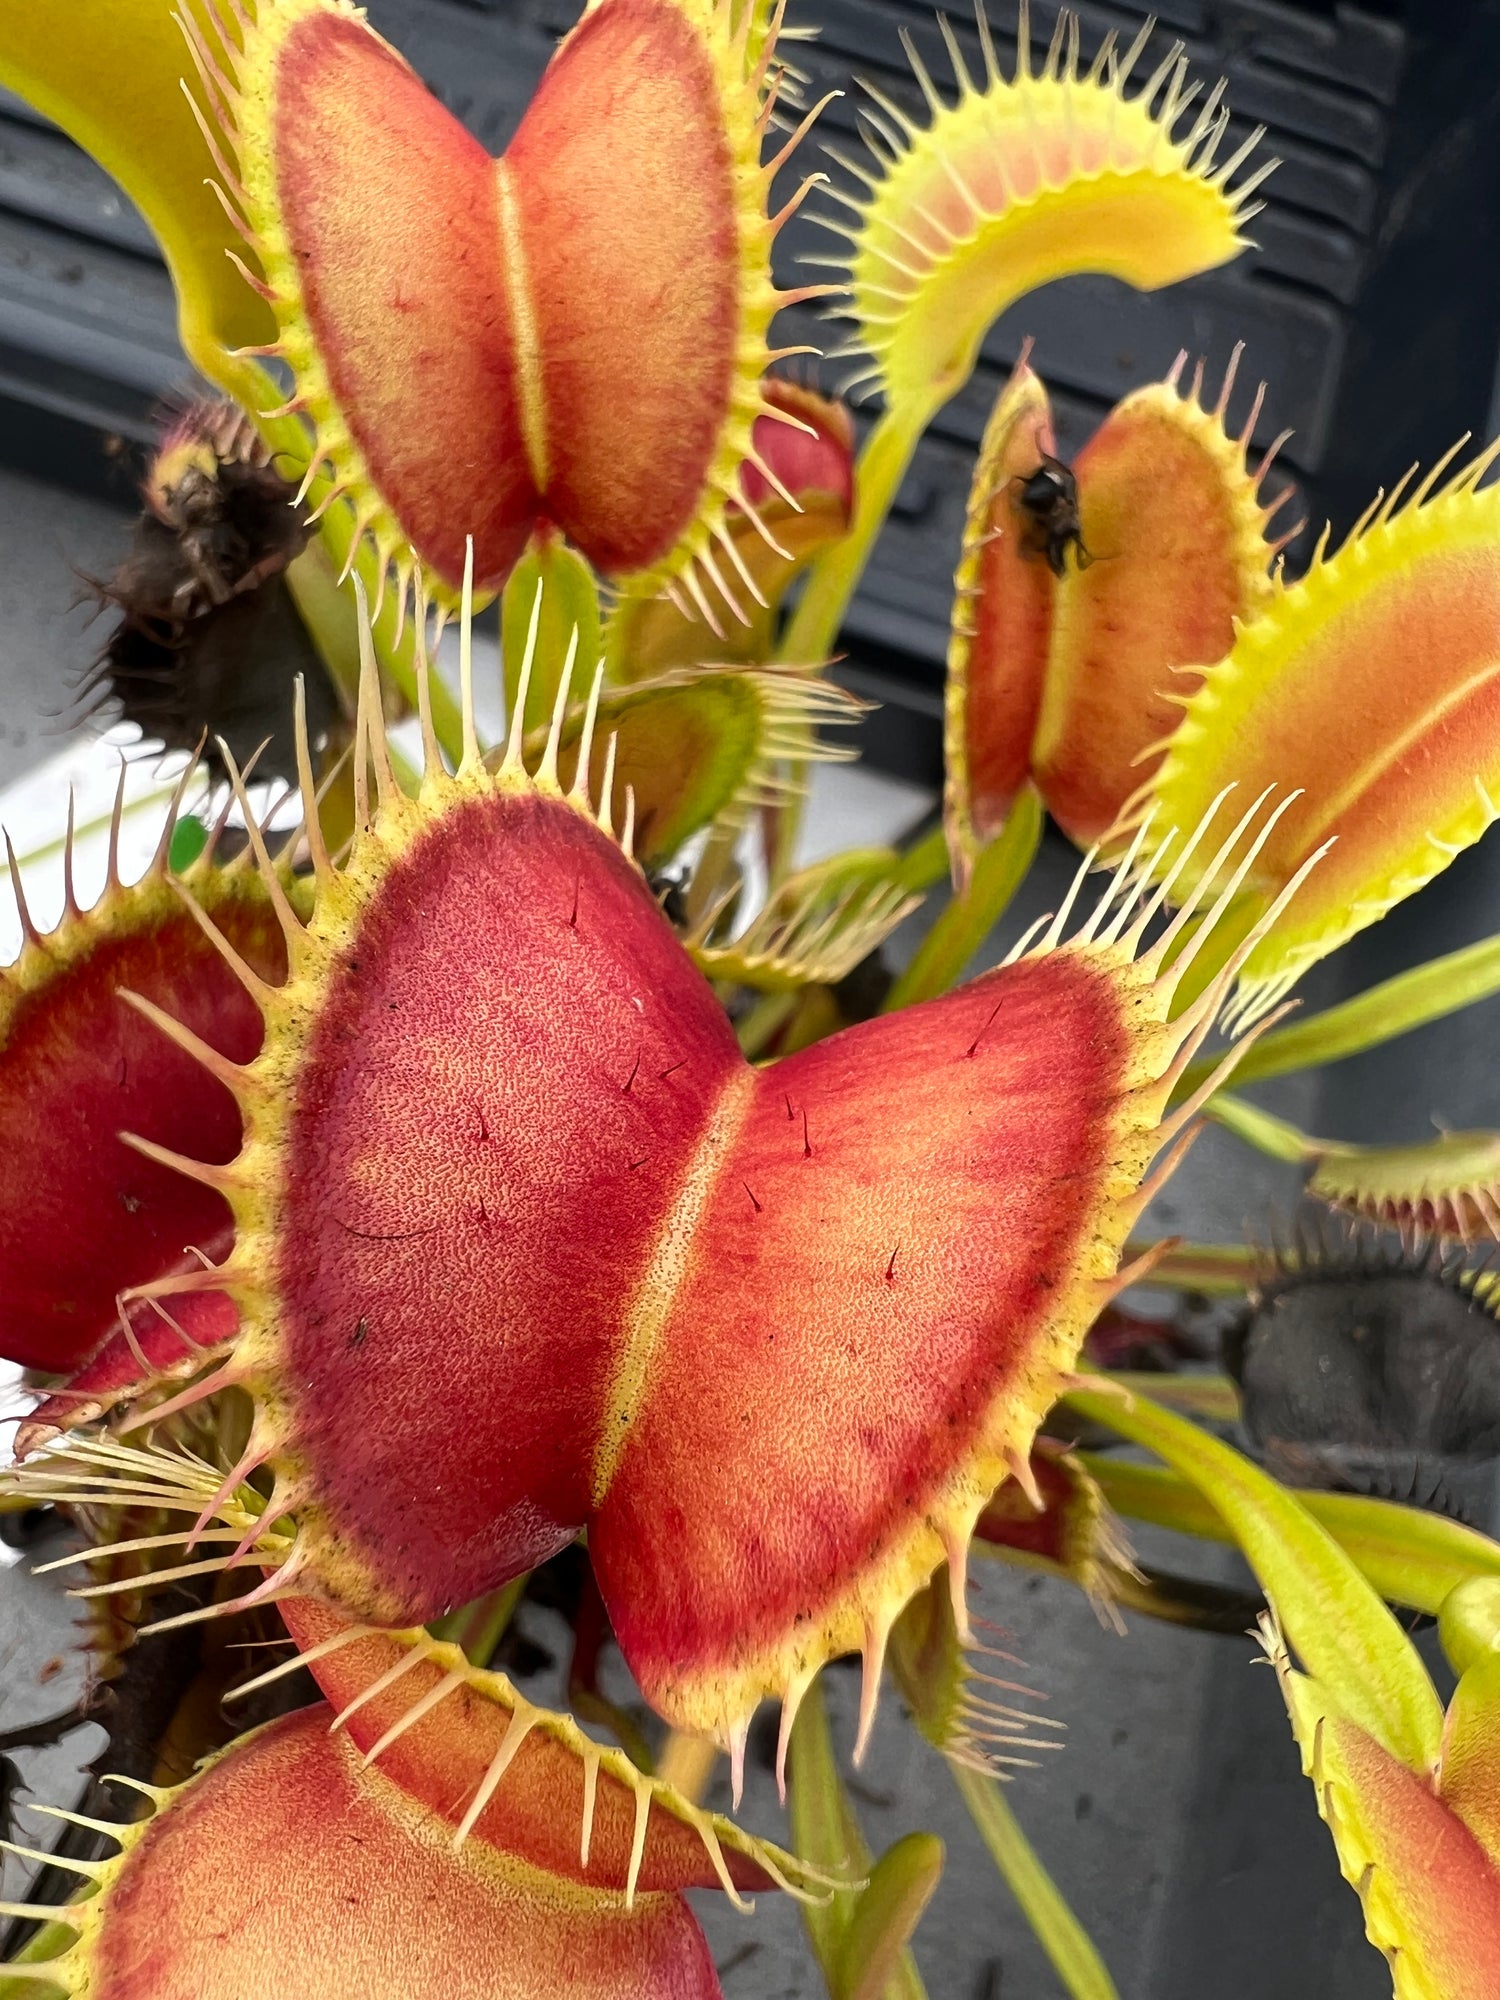
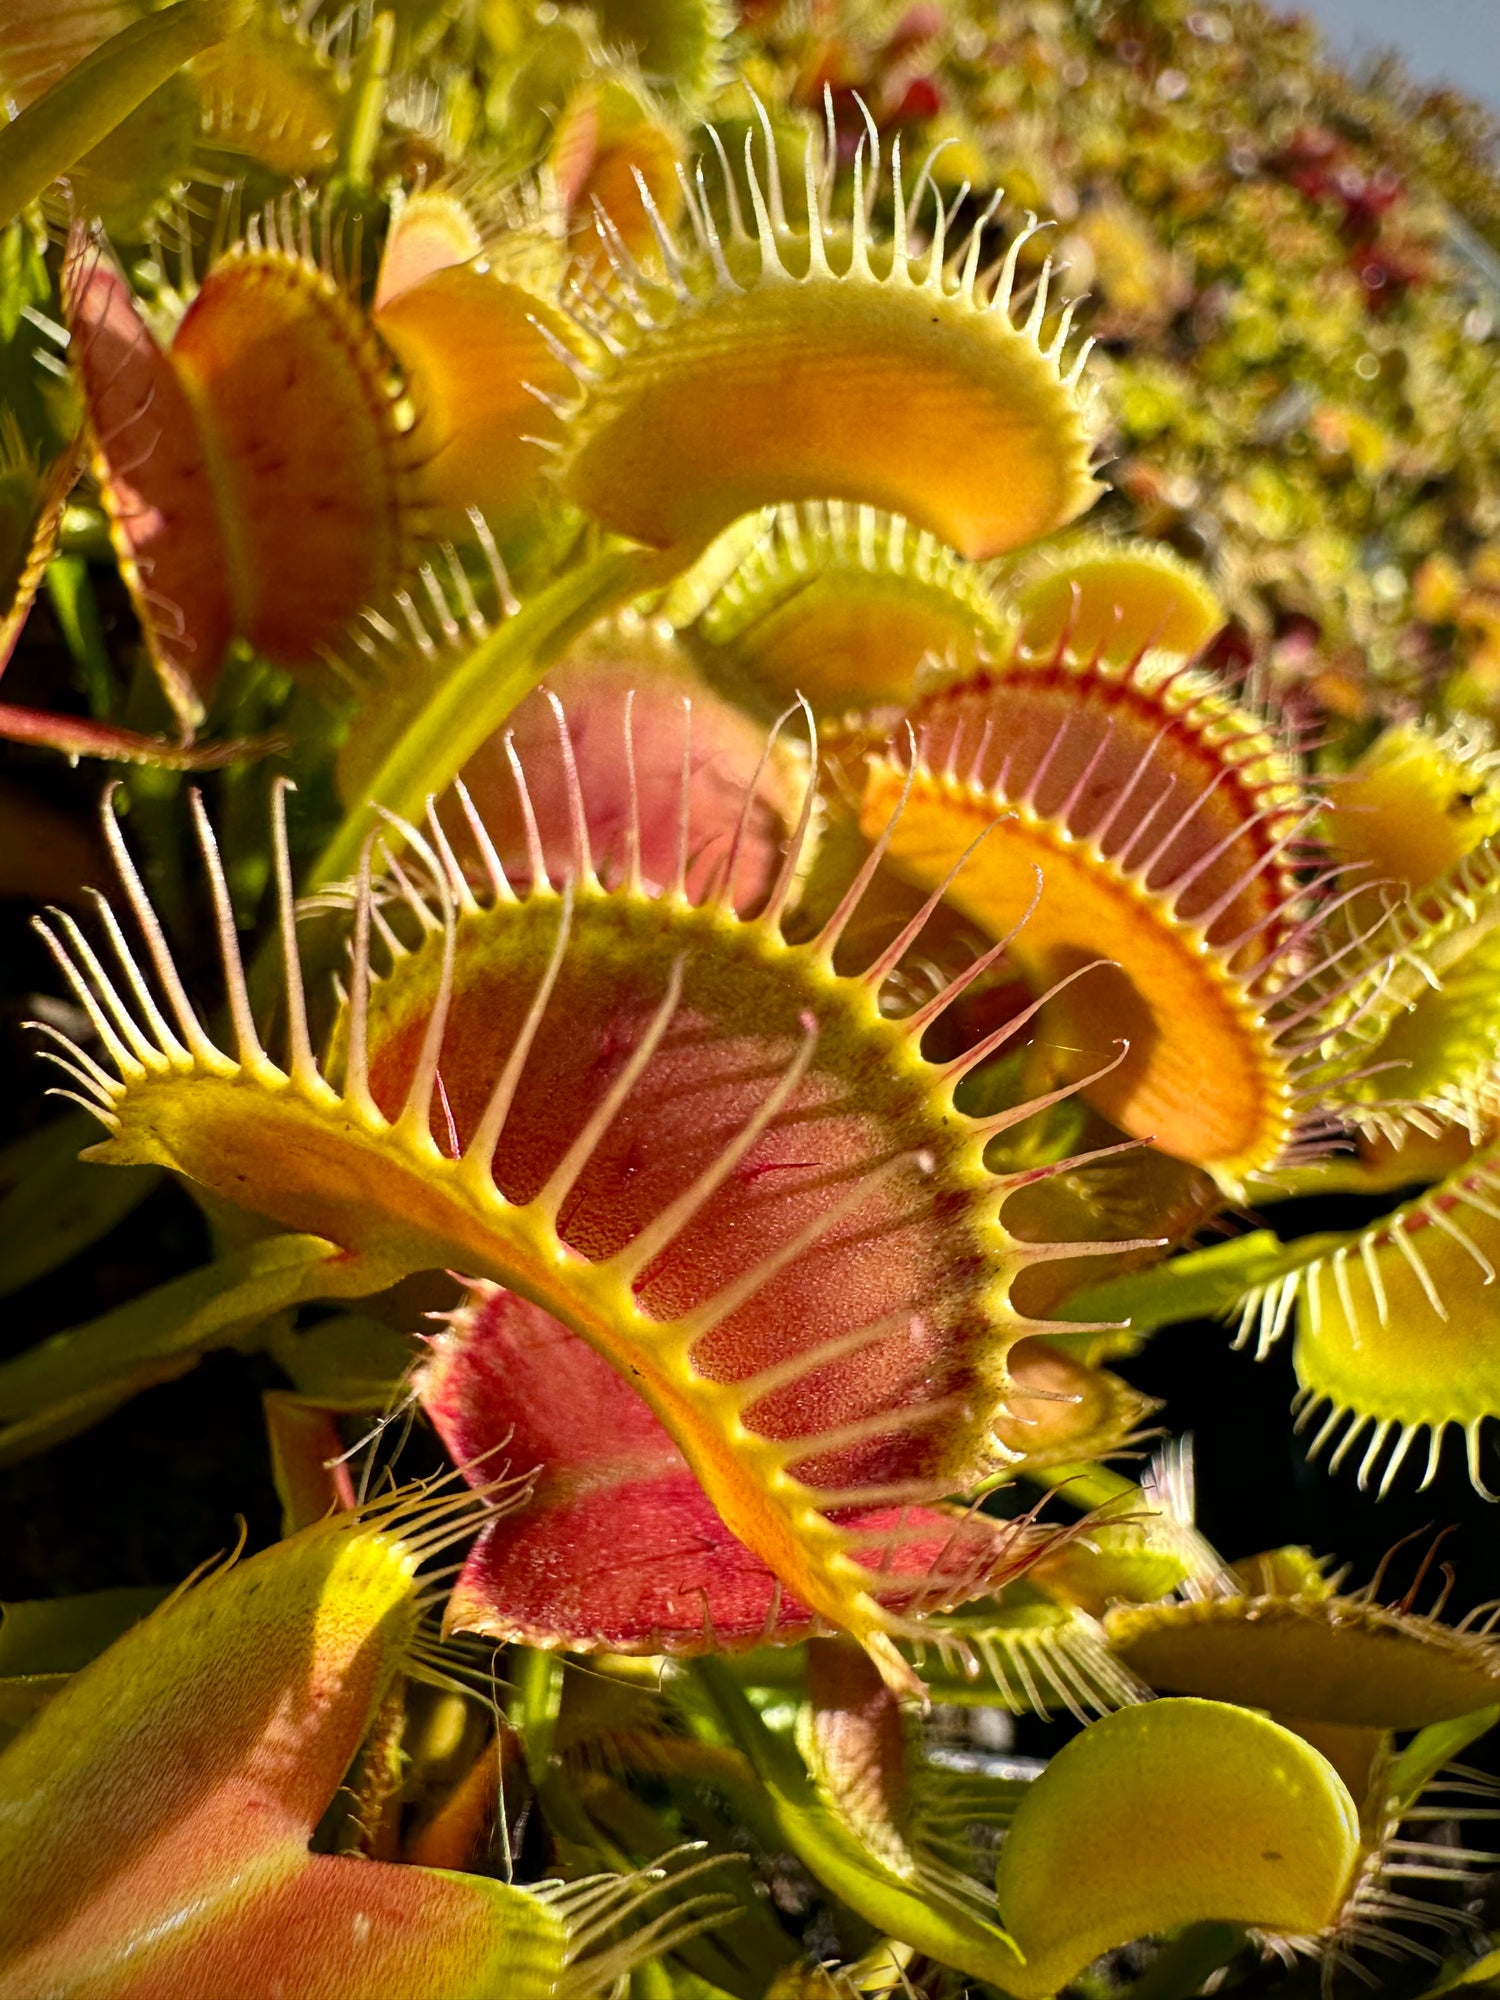
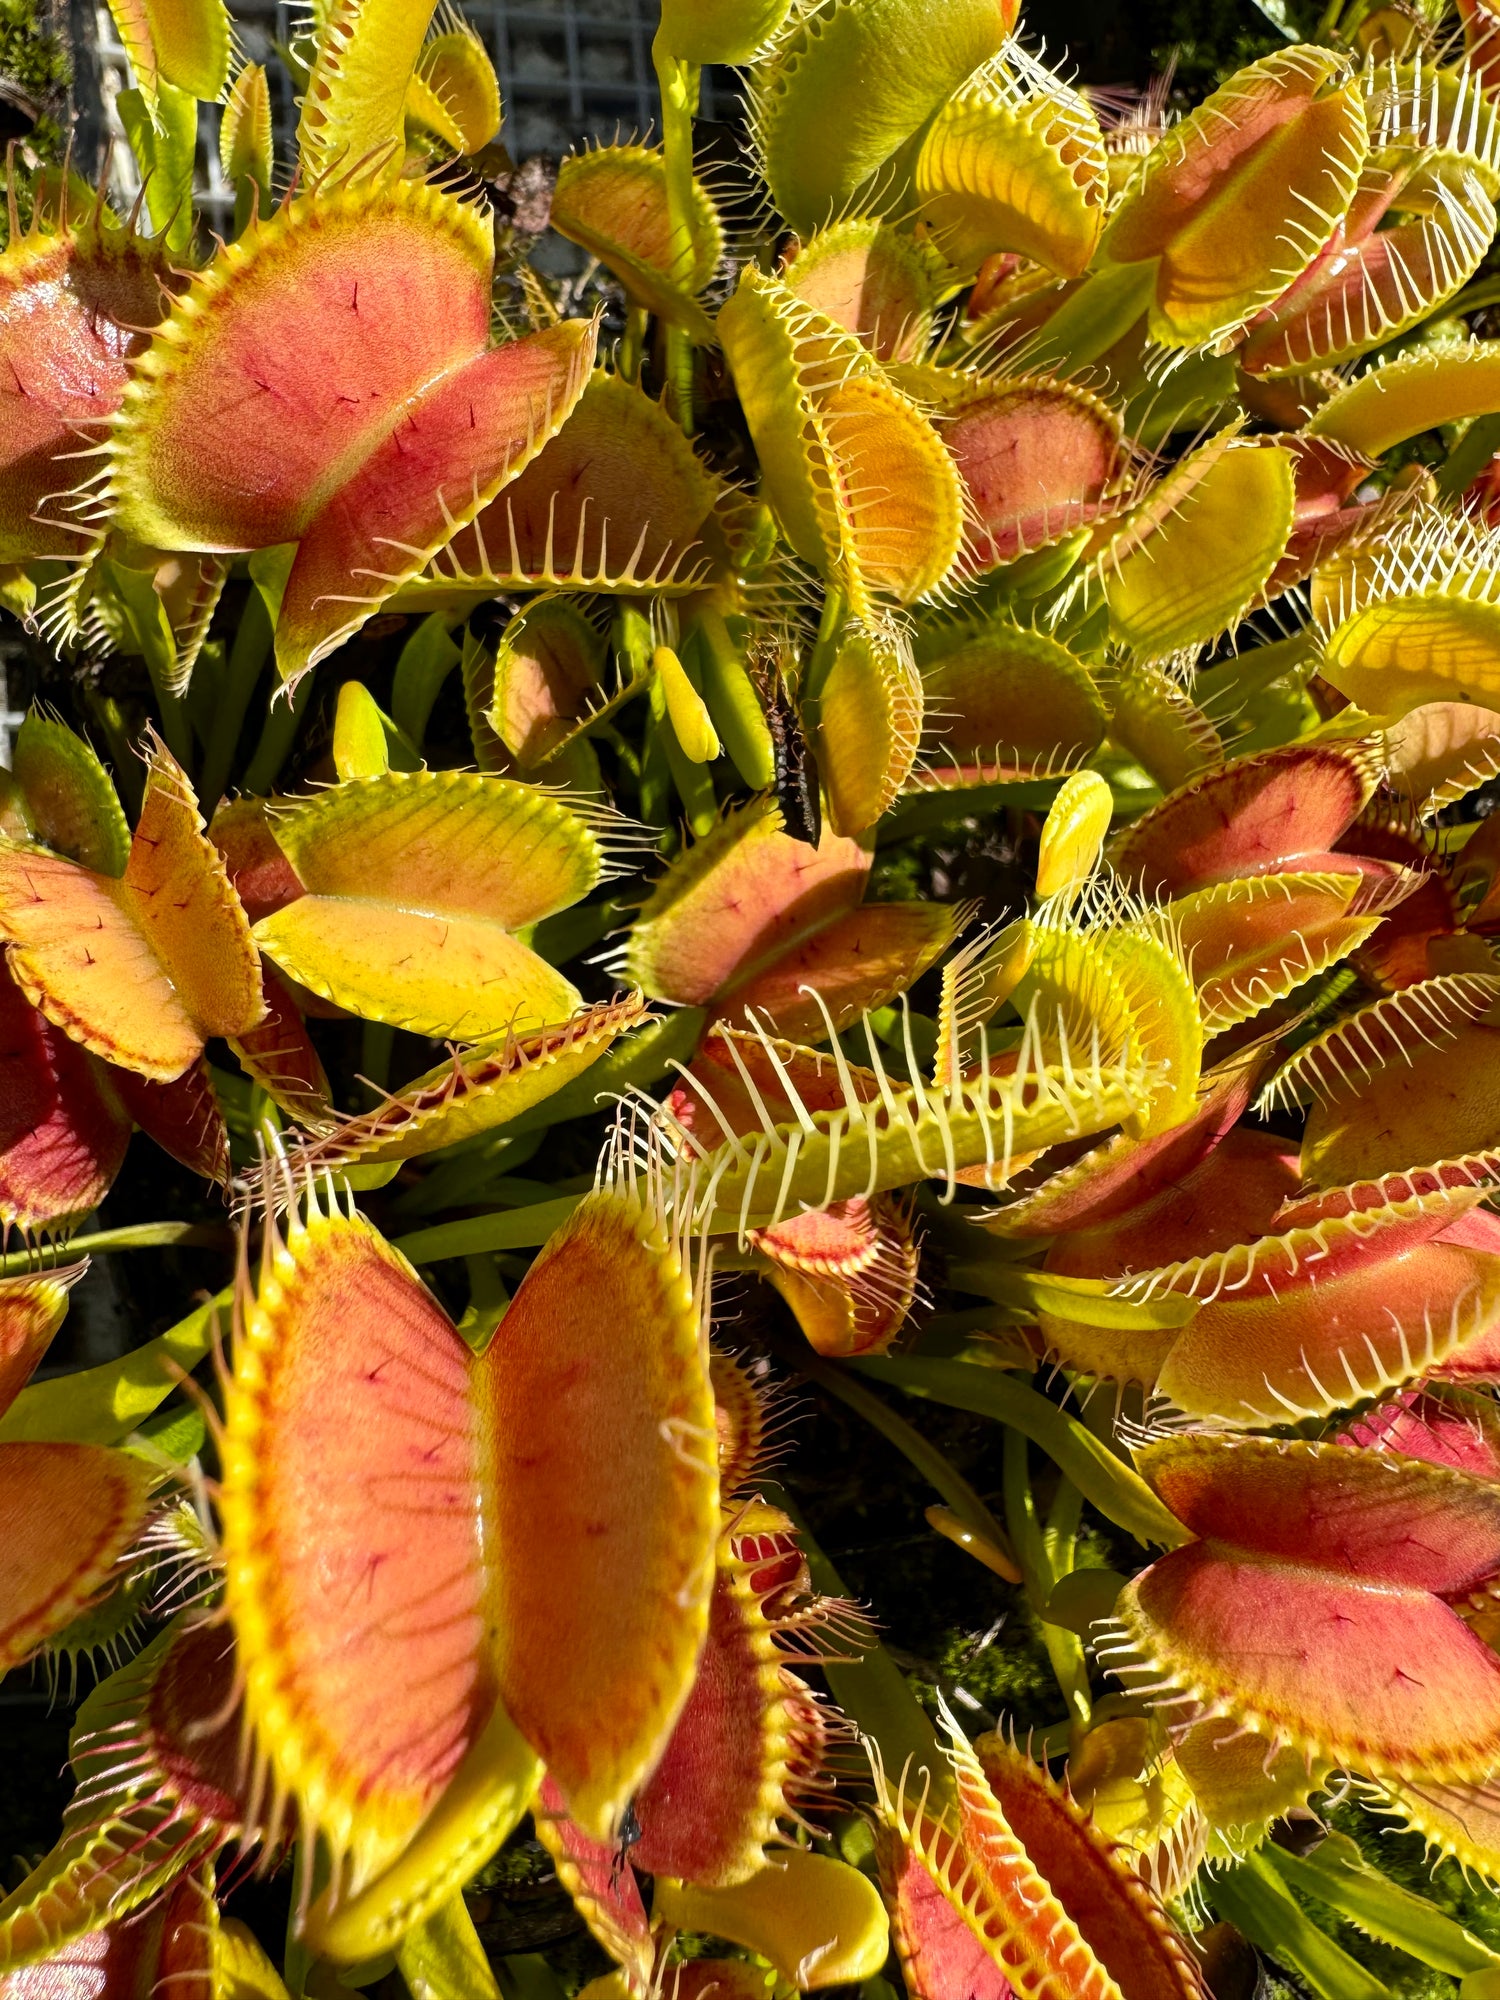
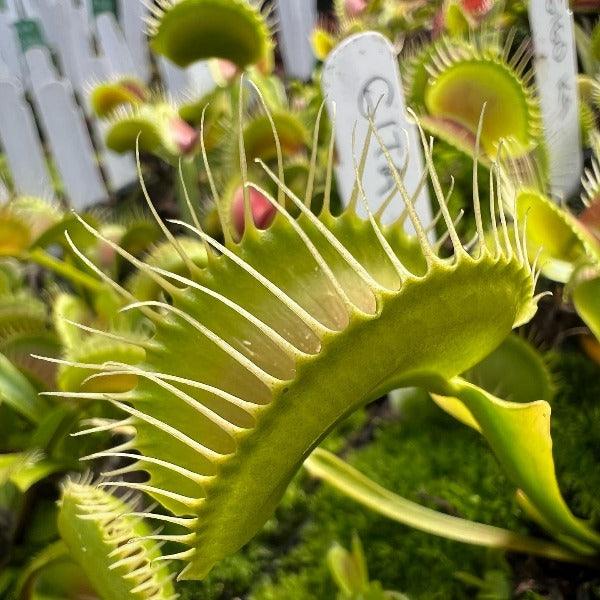
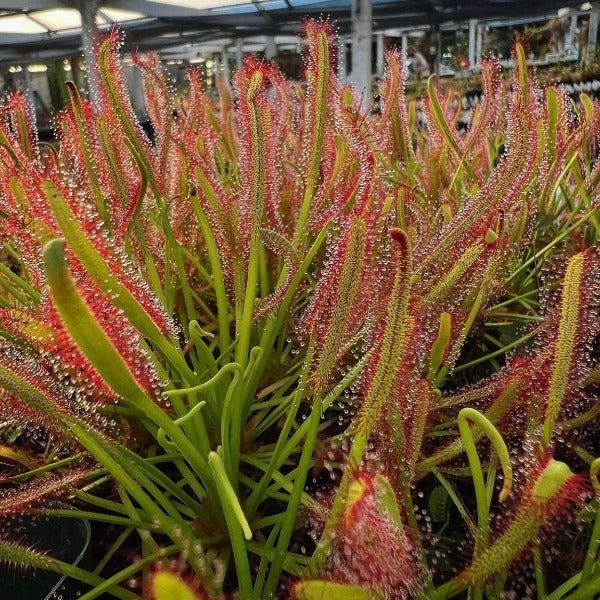
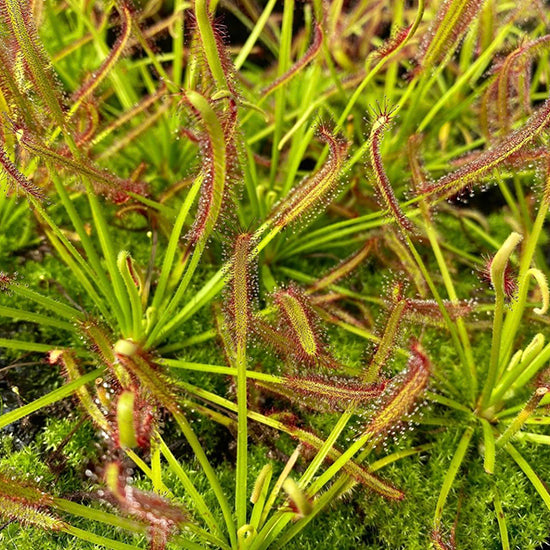
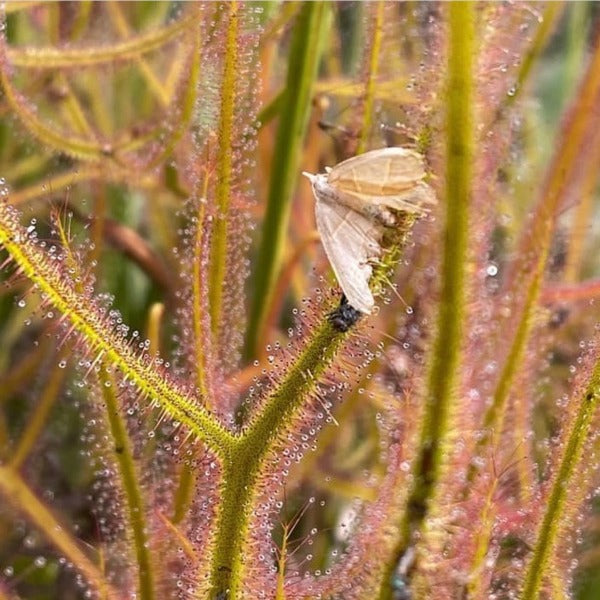
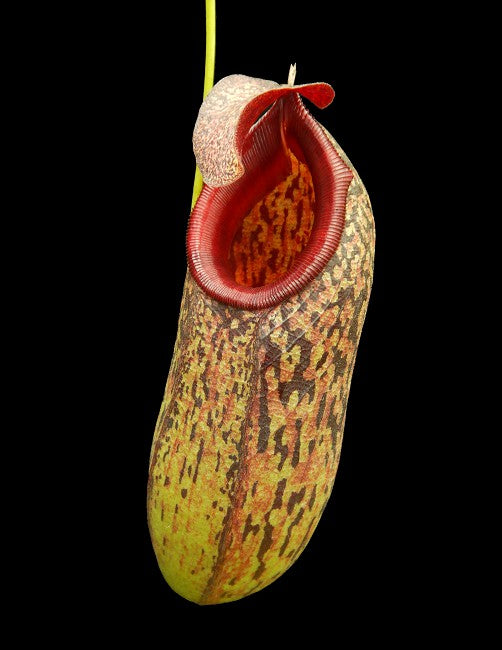
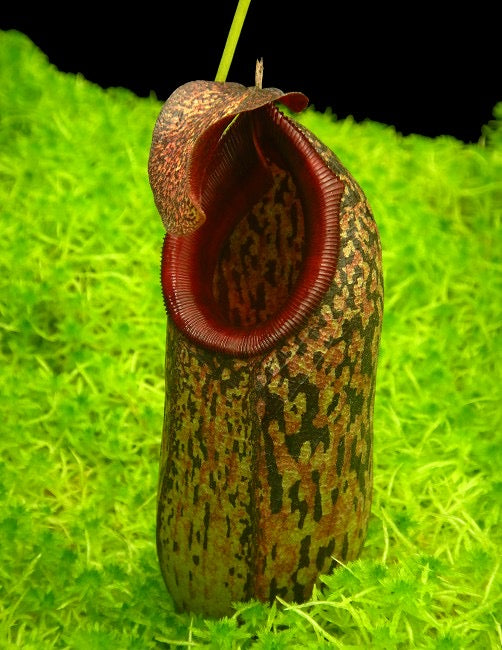
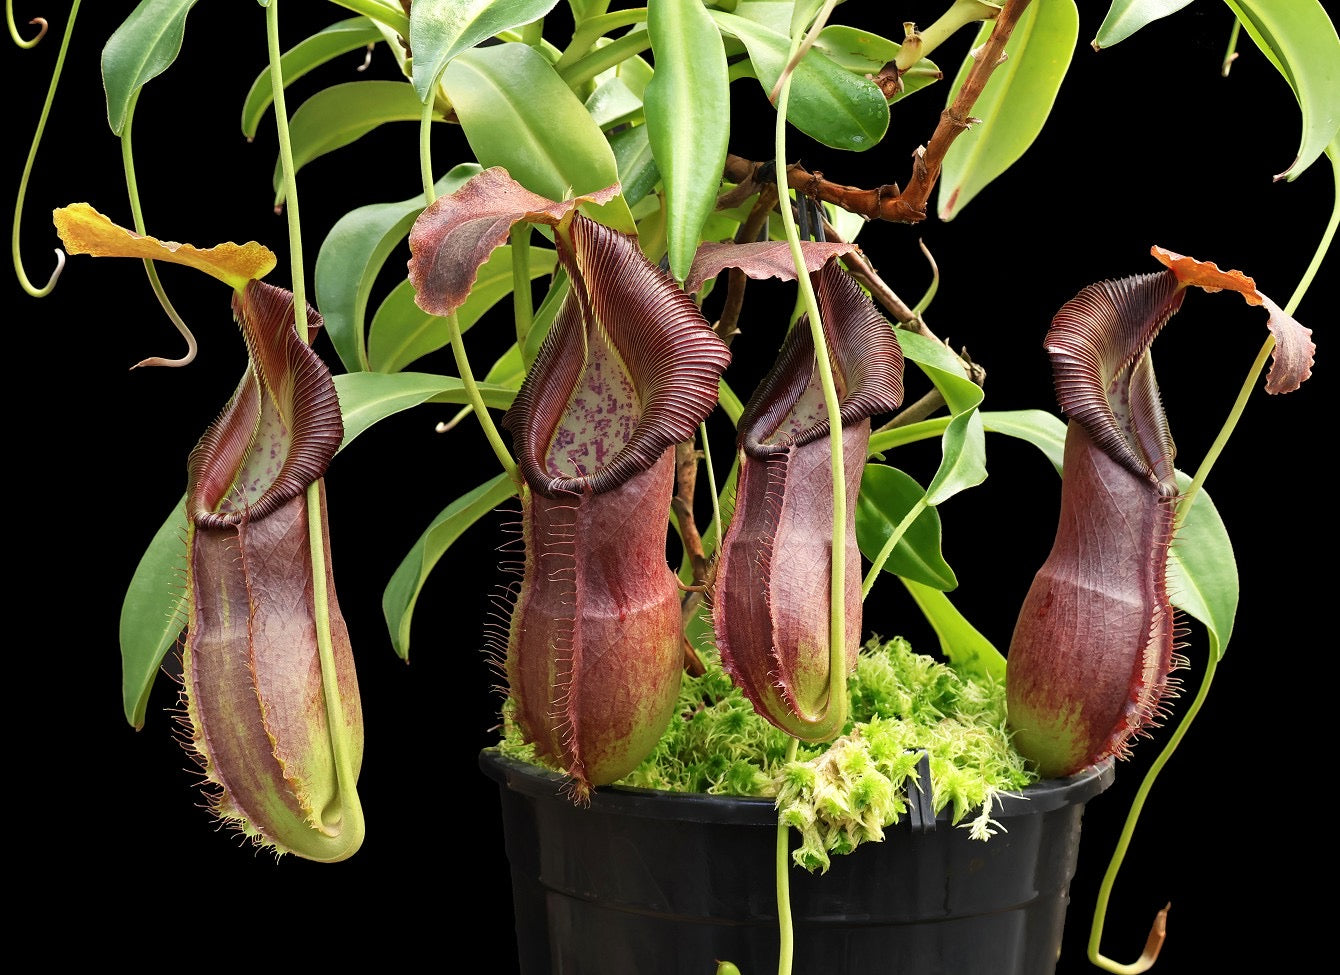
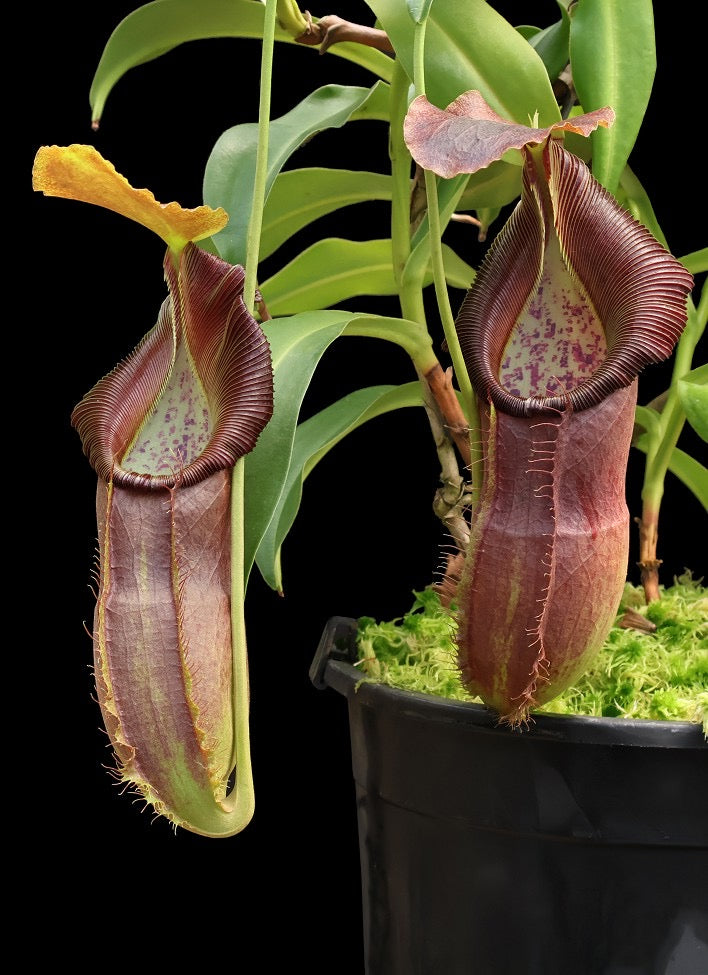
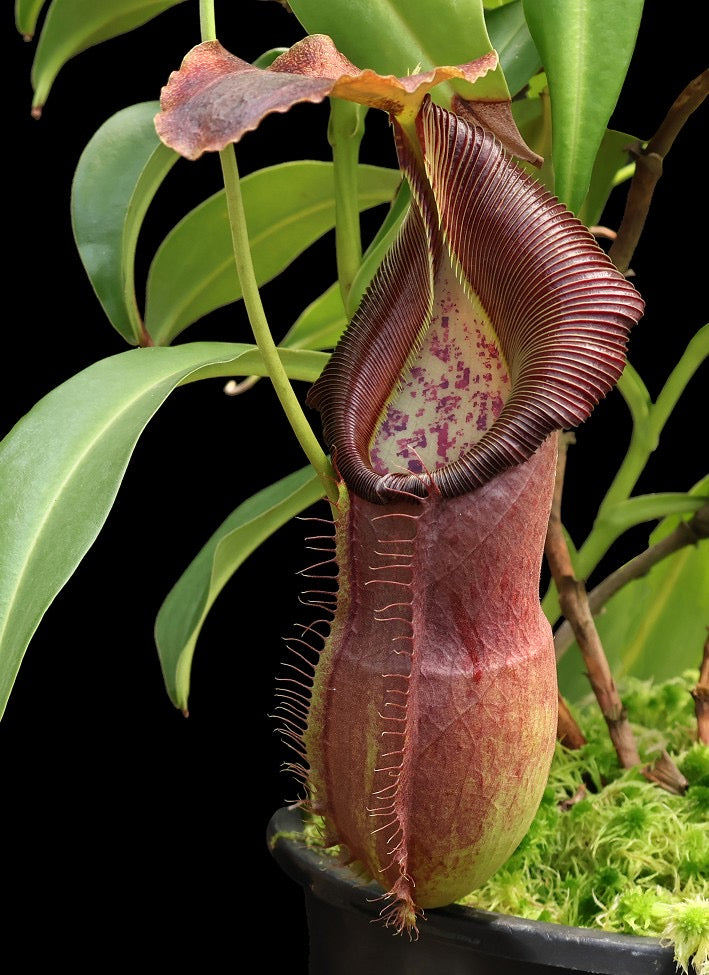
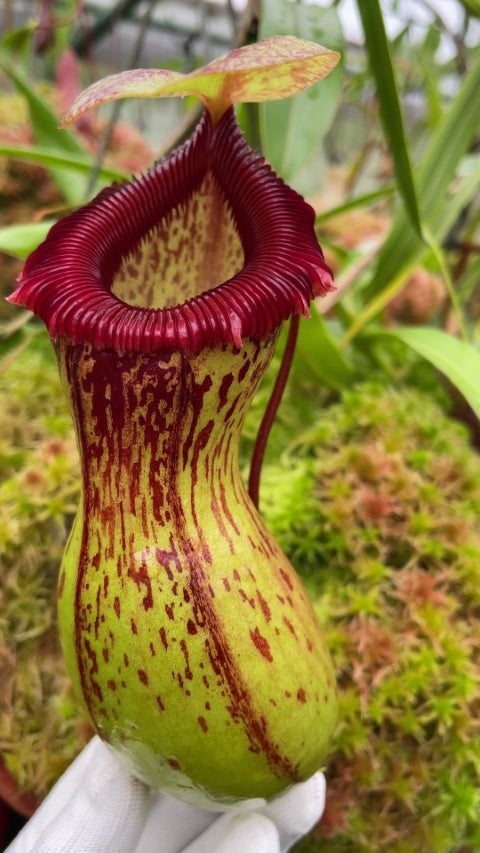
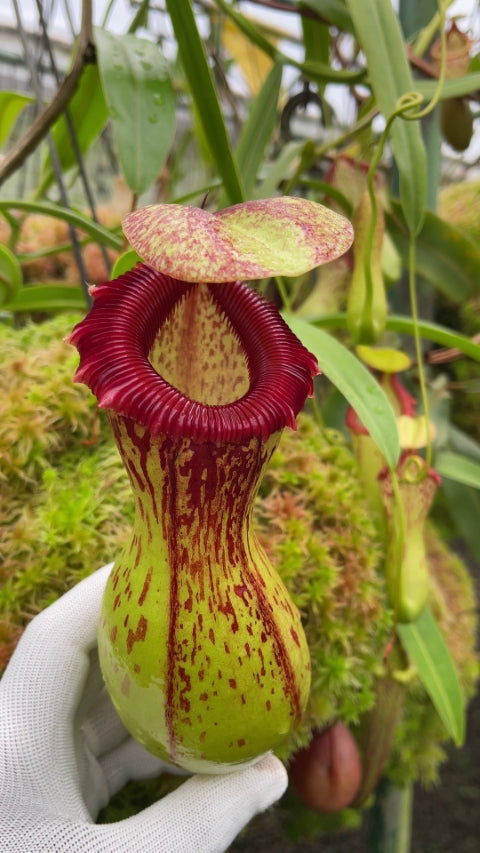
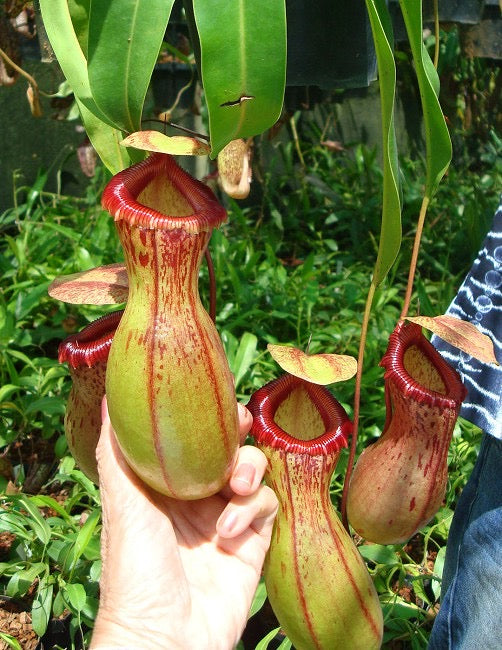
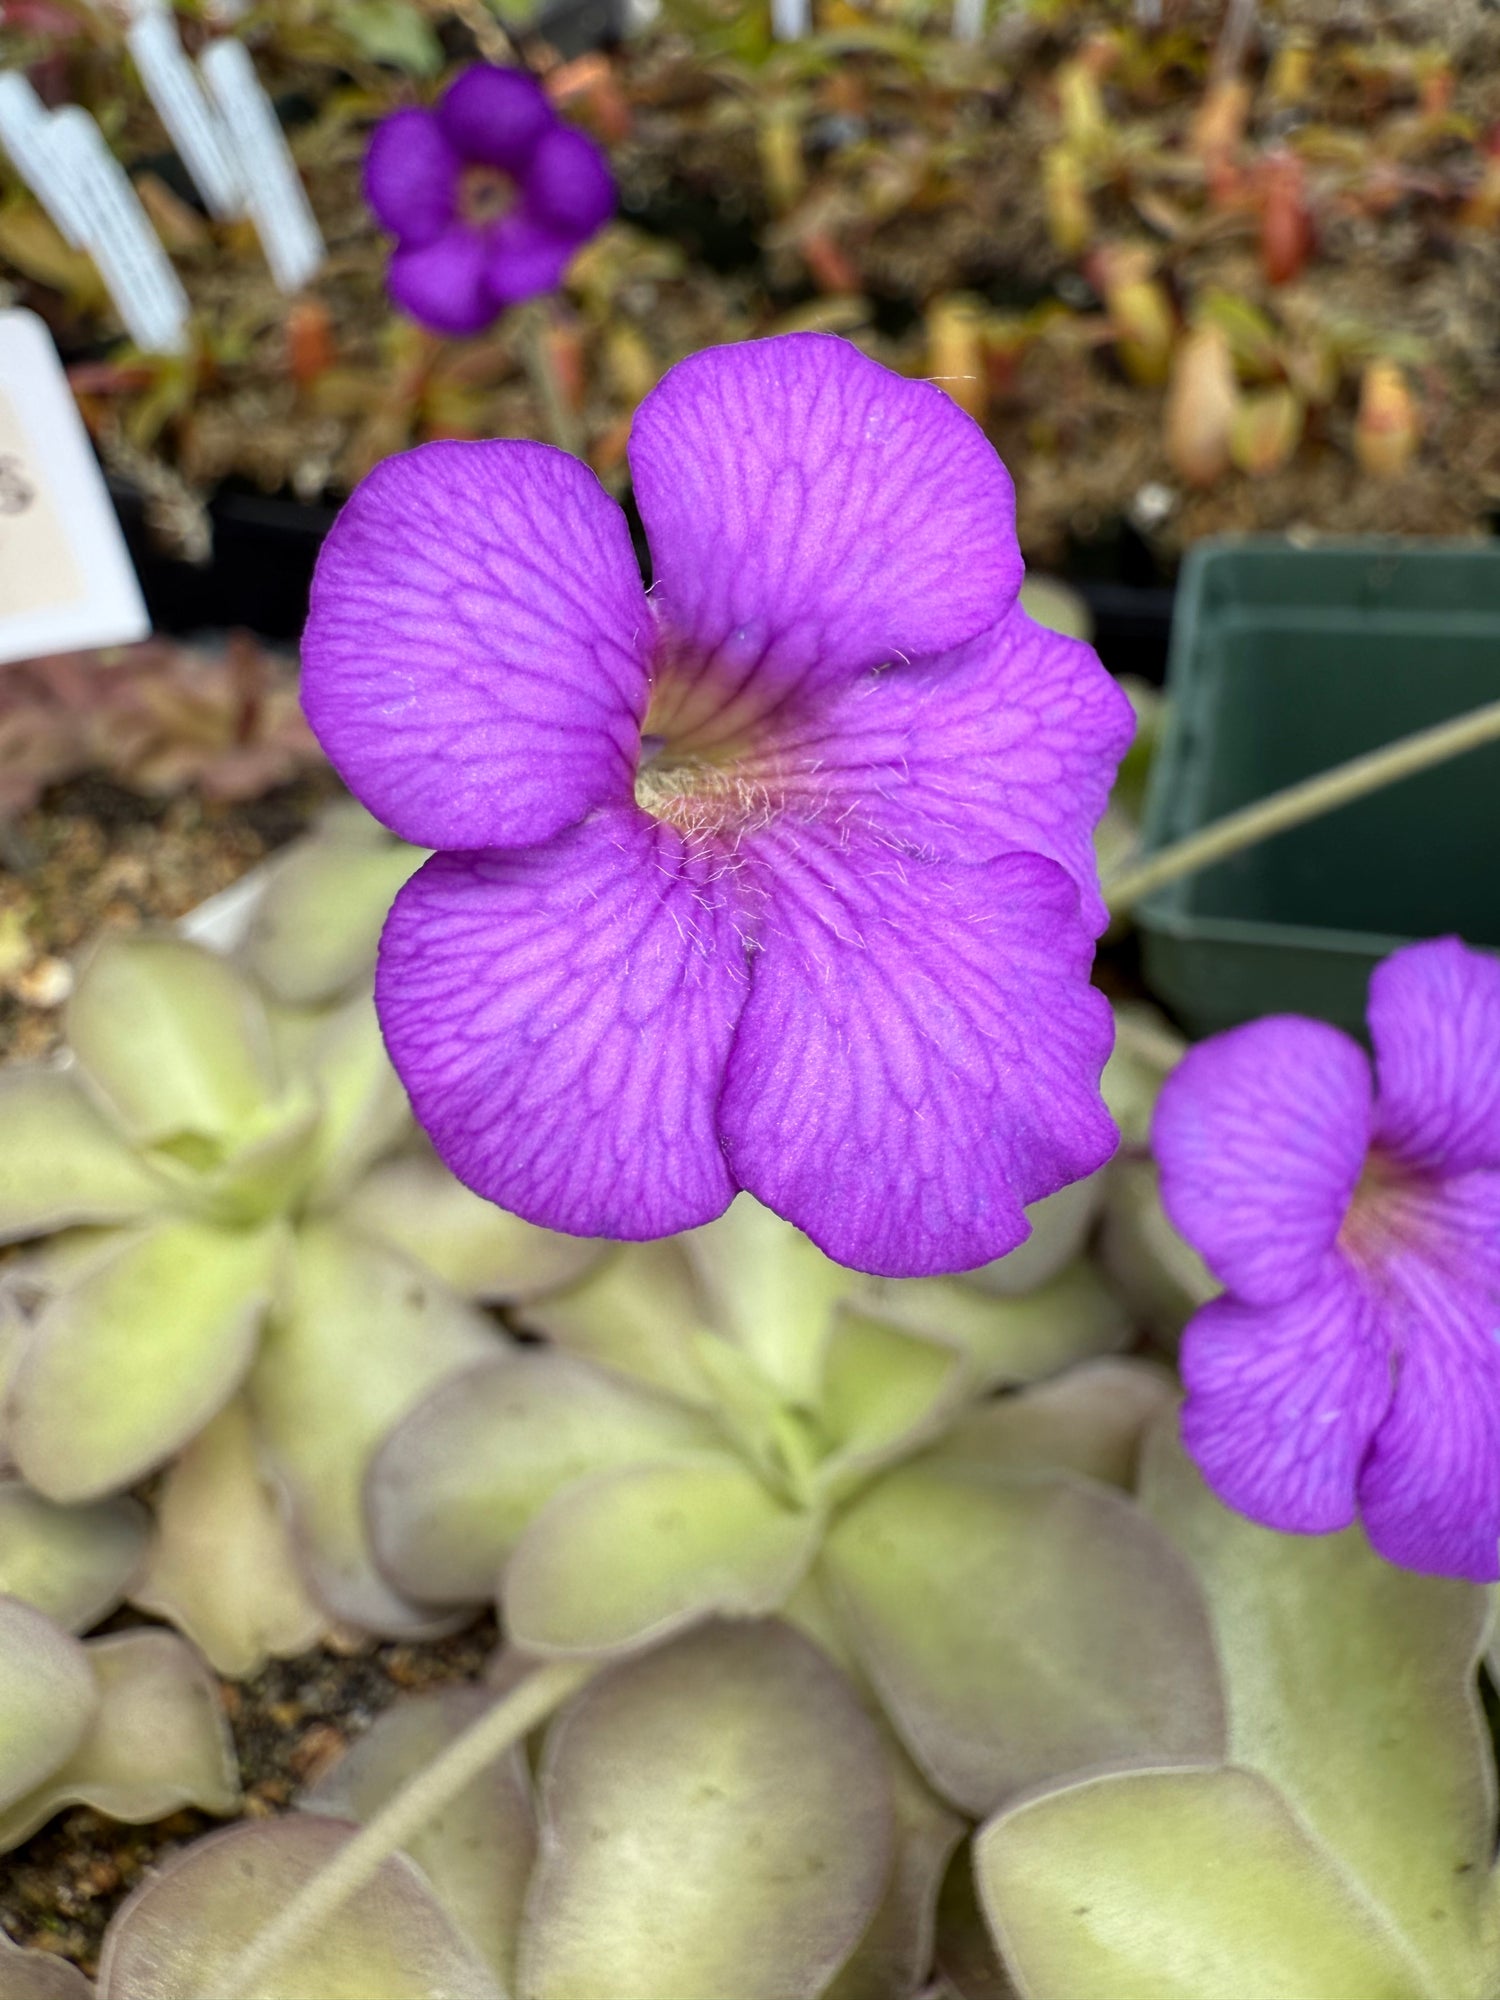
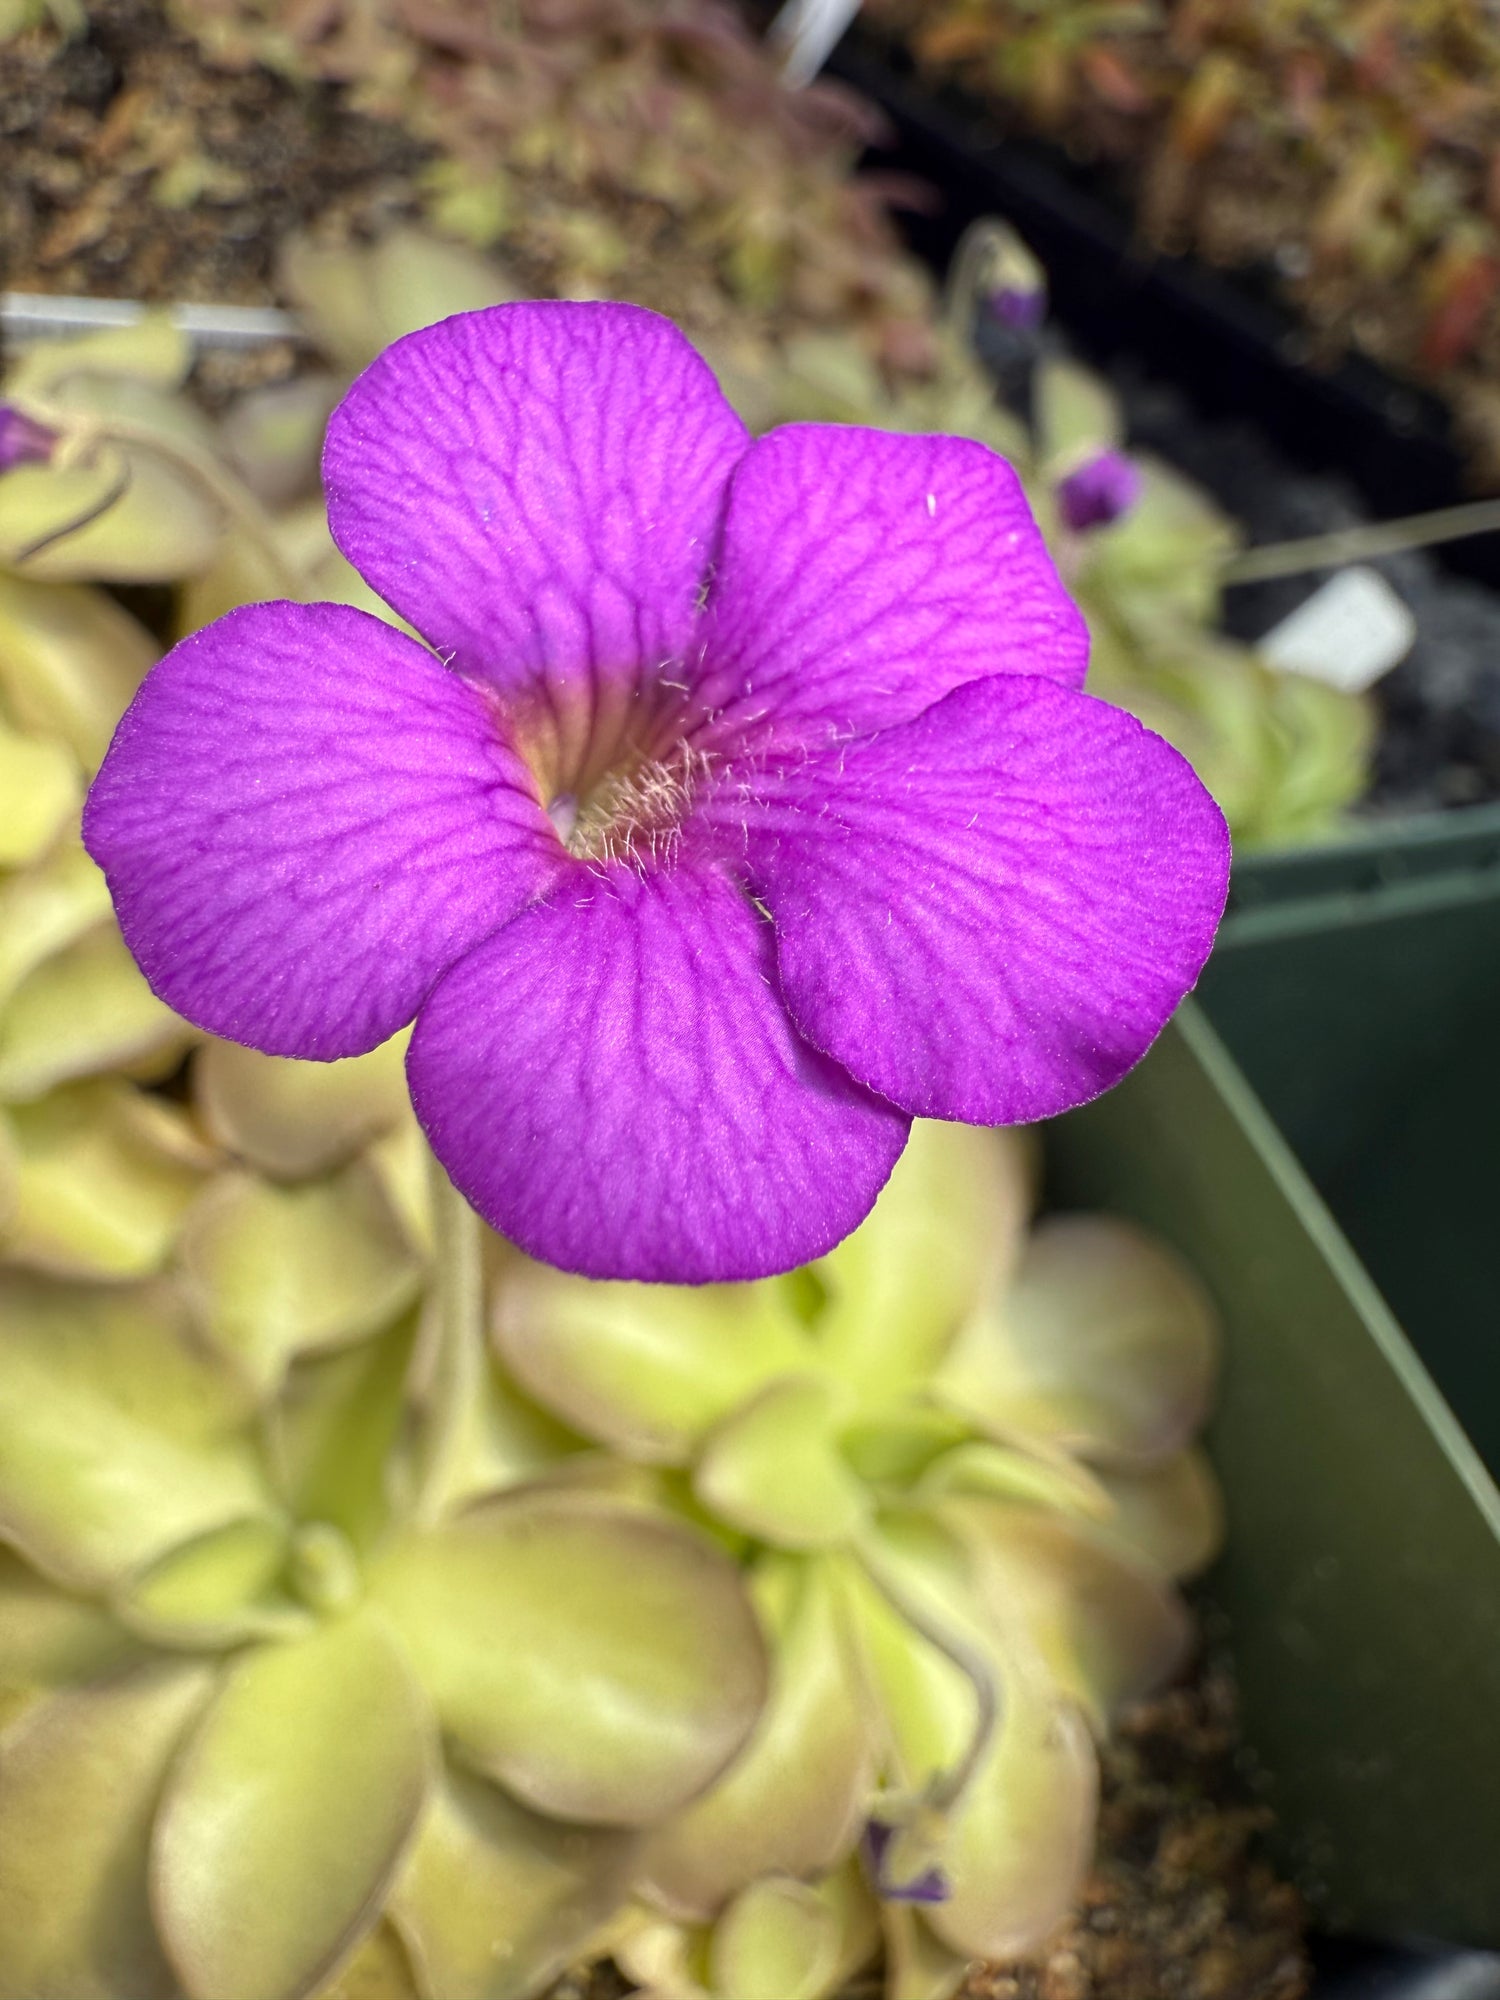
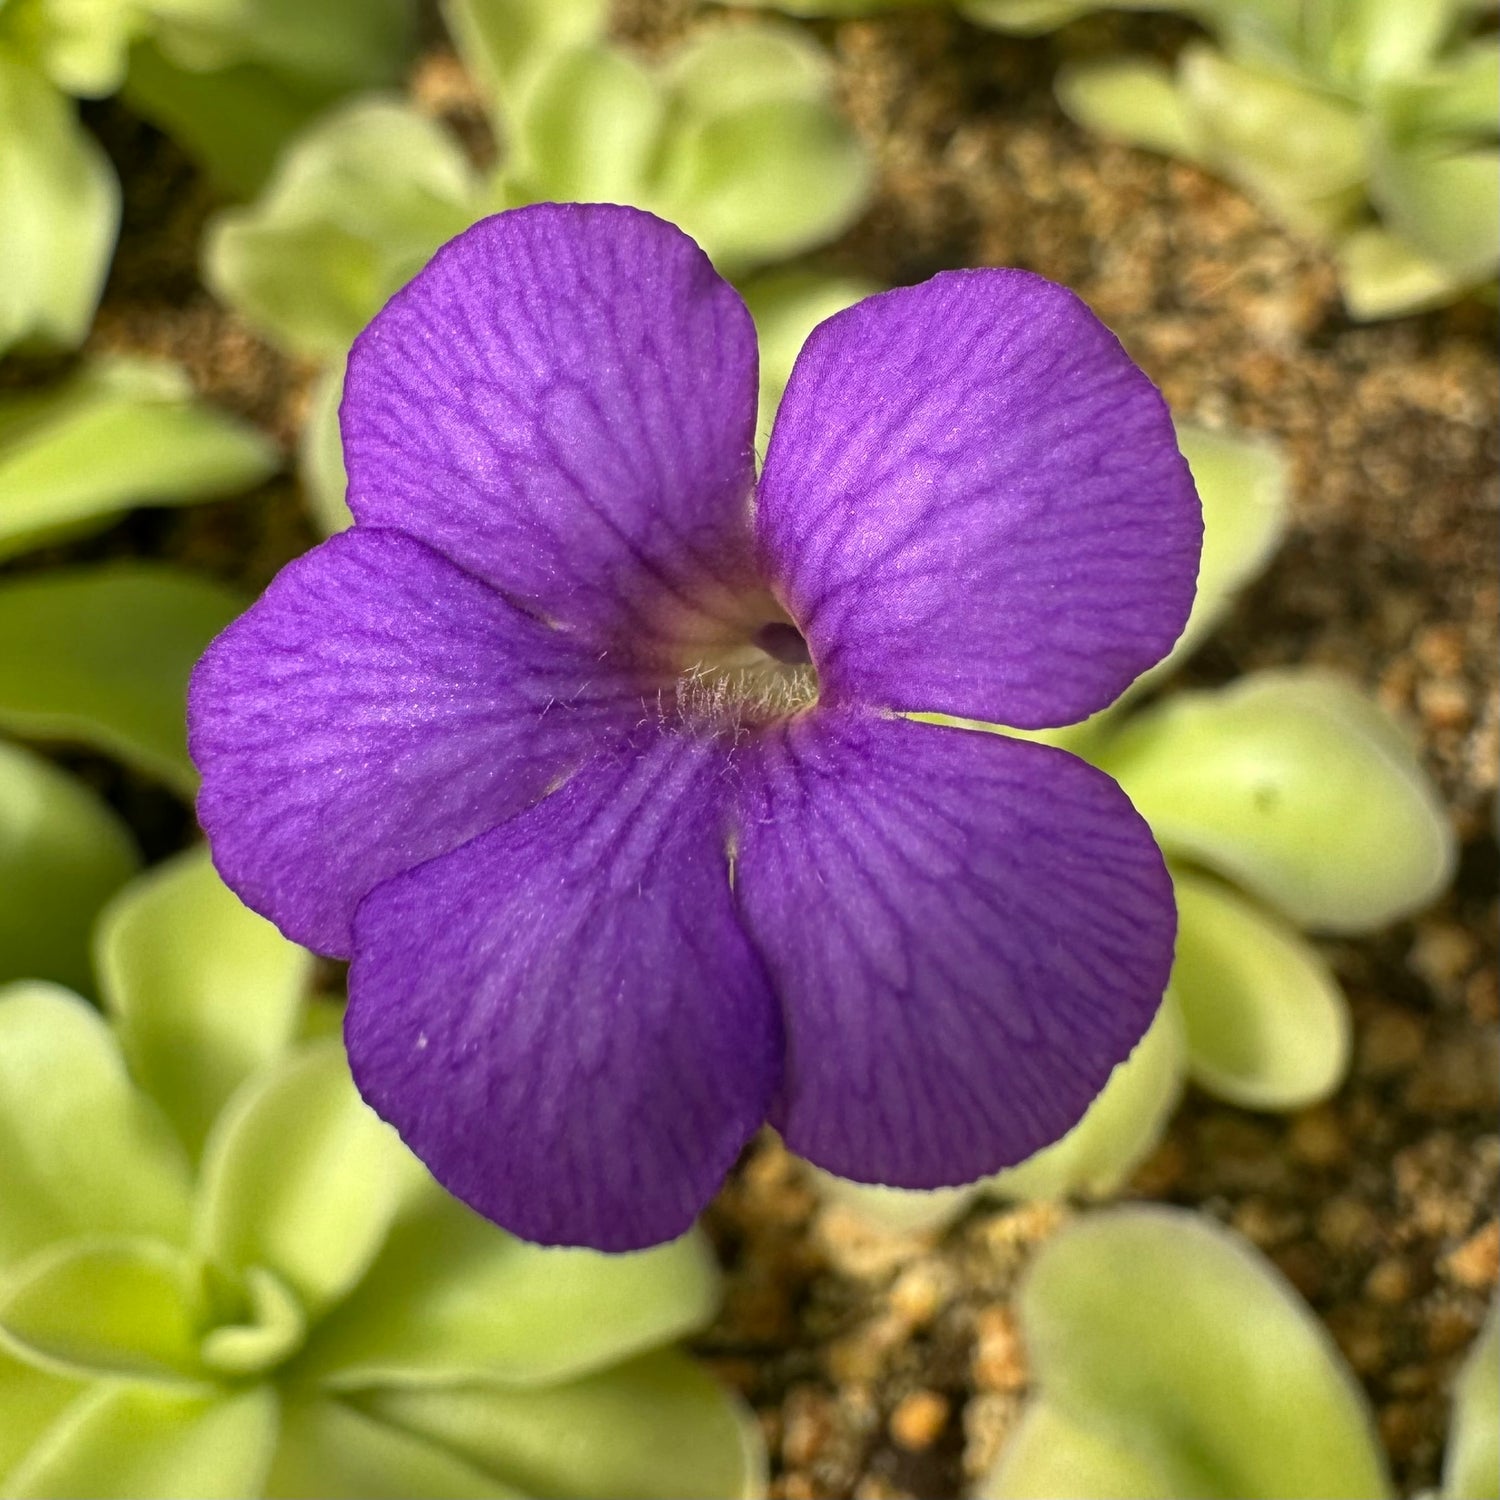
Arrived healthy and well packaged for the journey. Potted it up and it immediately put out new roots. CalCarn plants don't skip a beat. It's pushing out new carnivorous leaves and flowers within 30 days. This ping colored up as expected given the right conditions.
Sort by:
47 products
47 products
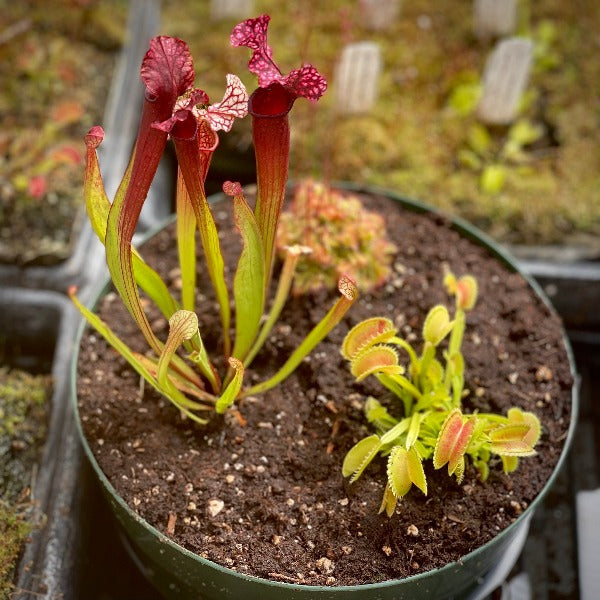
This is a great kit to make your very own container planting of a few different kinds of temperate carnivorous plants. These plants will enjoy being grown outdoors, in many areas and will catch tons of flies, yellow jackets, and gnats. Our kit is great if you are new to carnivorous plants, want a fun planter for your garden, or just want to get planty! And we will ship this kit for free!
If you order this kit in the summer, it’s best to place it in full morning sun outside, where it will be protected from the afternoon sun a bit, just to reduce the shock to the plants. By the next year, they’ll be fully acclimated and will not need as much protection.
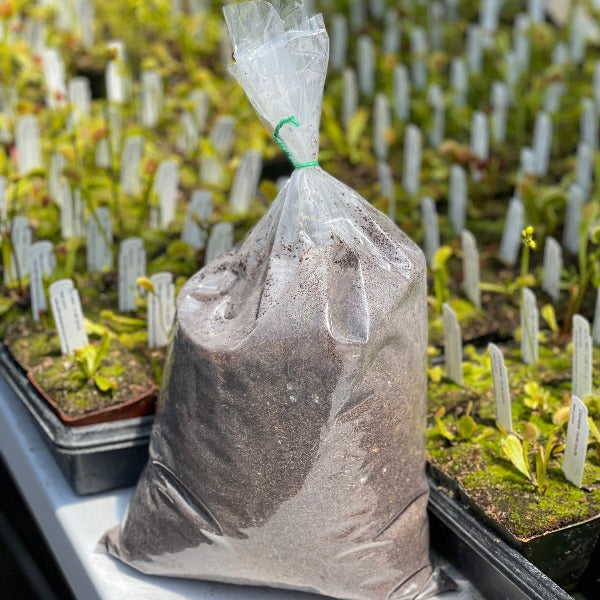
We send you an 8x6 inch plastic pot, XX-large water saucer, our peat moss and perlite mix (premixed), a little long-fibered sphagnum moss to cover holes on the bottom of the pot, and a selection of temperate plants. The plants we send vary by month depending on what we have available but in general, you will receive:
One Venus Flytrap (Dionaea), one American Pitcher Plant (Sarracenia), and one Sundew (Drosera). We send you plants either potted or in plugs based on availability. We cannot customize these collections.
Daniela will walk you through building your own bog and care instructions in this video:
Care Instructions:
Growth Habit: Venus flytraps are low-growing bog plants native to North and South Carolina. These plants grow their traps, modified leaves, from a rhizome that spreads over time. The traps will die back frequently all year, have high leaf turnover, and many new traps will grow throughout the spring and summer. In spring, the traps grow, often low to the ground and small. In summer, they grow their best traps, taller and more prominent. As Fall comes on, the traps start to die back, growing lower to the ground and smaller, and by winter, the plant will be dormant, with many or all of the traps gone, but the rhizome remains healthy and intact throughout winter dormancy even if you cannot see any traps growing.
Sarracenia will grow tall modified leaves, pitchers, that vary greatly in size and shape by the hybrid or species of Sarracenia. Each plant grows many pitchers from the rhizome in the soil over the spring, summer and fall. These are temperate plants like Venus flytraps, growing actively in the warm sunny months of the year and dying back to the rhizome in winter.
Drosera are found all over the world in many different forms, they have sticky leaves that catch small flying bugs. They have high leaf turnover, dying back frequently but growing lots of new leaves. Many of the temperate Drosera sent in this kit will die back to a hibernaculum in the soil in winter.
Sun: Full sun. These plants require lots of direct sun to grow and produce leaves. In many areas, they can be grown outdoors in full sun. If you live in a very hot AND very dry place like Arizona or Sacramento, for example, you will want to grow your plants in full morning sun with protection from the afternoon sun or under 30% shade cloth. It is common for several leaves to "burn" and die back when you first place your plant into the sun; your plant is acclimating to your conditions, and in most cases, new leaves will soon grow and fully acclimated. Thead can be grown indoors and on extremely sunny windowsills that receive all-day sun, but they will require a grow light in most circumstances due to the amount of light the plant needs. Grow lights should be 6-12” from the light depending on the light and a 10-12 hour day. These plants generally are not a good candidate for a terrarium as they need intense light and good airflow. Grow outdoors if possible for best results.
Water: Always keep them in a saucer with a few inches of distilled, rainwater, or reverse osmosis water. Never let them dry out, especially in the hot summer months. These are bog plants that prefer water-logged conditions unless you live somewhere both very hot AND extremely humid, like Alabama. In that case, let the water tray dry out for a day or two between refills. Always use distilled, reverse osmosis, or rainwater only. These plants are especially sensitive to their water quality, and giving them mineral and salt-free water is very important. In winter, when the plants are dormant, you can let them dry out a bit between rain storms, but do not let the soil get so dry that it pulls away from the edges of the pots. Be sure to supplement water as needed in between rains in winter.
Temperature and Dormancy: These are warm-temperate plants, meaning they need warm summers and chilly winters. They should be grown outdoors year-round in areas with mild winters. They thrive in temperatures ranging from 20 degrees - 90F degrees and can take a brief freeze or high-temperature spike up to 105F degrees for a short period. If nighttime temps drop below 20 but rise again during the day above 40, your plant will be fine outside.
If you live in an area with very cold winters, where nighttime temperatures drop below 20 degrees for sustained periods, you have three options for providing them with winter dormancy: the garage method, mulching in, or the fridge method. Dormancy is triggered by a combination of exposure to shorter photo-periods and cooler temperatures in the 40-60's F. While you can skip a dormancy period once or twice, in the long term, your plant will begin to do poorly and will eventually die if you skip this crucial period.
The garage method: Bring your plant indoors to a sunny windowsill in an unheated room or garage, where the nighttime temperatures will dip down to 50-60F. Keep it well watered during this period, do not let it dry out, and put it outside again when the outside nighttime temperatures increase consistently above 20F.
The mulch method: Mulch them very, very well outdoors. Pack at least four inches of mulch on top of the plants and all around the sides to prevent winds from chilling them and freezing the roots. You can also dig the pots into the ground and then mulch heavily on top.
The fridge method: remove the plants from pots, gently clean the roots of soil, wrap the roots in a bit of damp long-fibered New Zealand sphagnum moss, place the plants in a resealable bag, and put the bag into the refrigerator. Leave them in the fridge from October to February, periodically checking on them to ensure they are still moist and not growing mold or fungus. Pot them back up in February. You can vary the timing to align with your outside nighttime temperatures so that your plants can come out of dormancy when it is safe to place them back outside. You can leave them in the fridge for an extended period if you have very long winters.
Soil and Repotting: We prefer a mix of four-part fertilizer-free peat moss to one-part perlite. You can add our pre-made mix to your order here. Repot, dividing out plants and refreshing the peat and perlite, every 3 years in January or winter.
Feeding and Fertilizer: These plants will catch plenty of food when grown outdoors. When grown indoors, they will significantly benefit from fertilizing, a foliar fertilizer, and feeding the traps. Plants grown outdoors will appreciate a foliar feed as well. Apply MaxSea fertilizer once per month to the foliage only. Dilute 1/4 teaspoon of MaxSea into one gallon of water and then apply to the leaves with a mister bottle. If you would like to feed the traps of your flytrap, it is recommended that you use live prey, as the traps usually require continued movement from their food to stimulate the complete absorption process. They will often open too soon if fed inert foods and do not absorb nutrients. We recommend live mealworms, which are available from any pet store. After digestion, Venus flytraps open back up, leaving the exoskeleton of their prey. They have liquified and absorbed the contents of the insect, but the exoskeleton remains. This does not need to be removed. Traps often die back after a big meal; new ones will grow, and the plant benefits greatly from the nutrients!
More Information: For further information on dormancy, repotting, dividing, and more, check out our website, or our YouTube channel.
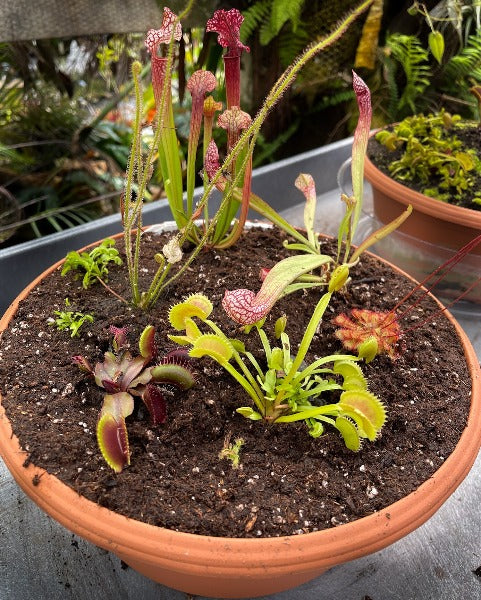
This is a great kit to make your very own container planting of a few different kinds of temperate carnivorous plants. These plants will enjoy being grown outdoors, in many areas and will catch tons of flies, yellow jackets, and gnats. Our kit is great if you are new to carnivorous plants, want a showpiece for your garden, or just want to get planty! And, we will ship this kit for free!
If you order this kit in the summer, it’s best to place it in full morning sun outside, where it will be protected from the afternoon sun a bit, just to reduce the shock to the plants. By the next year, they’ll be fully acclimated and will not need as much protection.
We send you a 12 x 5 inch terracotta plastic pot, XX-large water saucer, two bags of peat and perlite mix (premixed), a little long-fibered moss to the cover holes on the bottom of the pot, and a selection of temperate plants. The plants we send vary by month depending on what we have available but in general, you will receive:
Venus flytraps (Dionaea), American Pitcher Plants (Sarracenia),and temperate sundews (Drosera). We send an assortment of plants depending on the season and what looks the best! We send you plants either potted or in plugs based on availability. We cannot customize these collections.
Daniela will walk you through building your own bog and care instructions in this video:
Care Instructions:
Growth Habit: Venus flytraps are low-growing bog plants native to North and South Carolina. These plants grow their traps, modified leaves, from a rhizome that spreads over time. The traps will die back frequently all year, have high leaf turnover, and many new traps will grow throughout the spring and summer. In spring, the traps grow, often low to the ground and small. In summer, they grow their best traps, taller and more prominent. As Fall comes on, the traps start to die back, growing lower to the ground and smaller, and by winter, the plant will be dormant, with many or all of the traps gone, but the rhizome remains healthy and intact throughout winter dormancy even if you cannot see any traps growing.
Sarracenia will grow tall modified leaves, pitchers, that vary greatly in size and shape by the hybrid or species of Sarracenia. Each plant grows many pitchers from the rhizome in the soil over the spring, summer and fall. These are temperate plants like Venus flytraps, growing actively in the warm sunny months of the year and dying back to the rhizome in winter.
Drosera are found all over the world in many different forms, they have sticky leaves that catch small flying bugs. They have high leaf turnover, dying back frequently but growing lots of new leaves. Many of the temperate Drosera sent in this kit will die back to a hibernaculum in the soil in winter.
Sun: Full sun. These plants require lots of direct sun to grow and produce leaves. In many areas, they can be grown outdoors in full sun. If you live in a very hot AND very dry place like Arizona or Sacramento, for example, you will want to grow your plants in full morning sun with protection from the afternoon sun or under 30% shade cloth. It is common for several leaves to "burn" and die back when you first place your plant into the sun; your plant is acclimating to your conditions, and in most cases, new leaves will soon grow and fully acclimated. Thead can be grown indoors and on extremely sunny windowsills that receive all-day sun, but they will require a grow light in most circumstances due to the amount of light the plant needs. Grow lights should be 6-12” from the light depending on the light and a 10-12 hour day. These plants generally are not a good candidate for a terrarium as they need intense light and good airflow. Grow outdoors if possible for best results.
Water: Always keep them in a saucer with a few inches of distilled, rainwater, or reverse osmosis water. Never let them dry out, especially in the hot summer months. These are bog plants that prefer water-logged conditions unless you live somewhere both very hot AND extremely humid, like Alabama. In that case, let the water tray dry out for a day or two between refills. Always use distilled, reverse osmosis, or rainwater only. These plants are especially sensitive to their water quality, and giving them mineral and salt-free water is very important. In winter, when the plants are dormant, you can let them dry out a bit between rain storms, but do not let the soil get so dry that it pulls away from the edges of the pots. Be sure to supplement water as needed in between rains in winter.
Temperature and Dormancy: These are warm-temperate plants, meaning they need warm summers and chilly winters. They should be grown outdoors year-round in areas with mild winters. They thrive in temperatures ranging from 20 degrees - 90F degrees and can take a brief freeze or high-temperature spike up to 105F degrees for a short period. If nighttime temps drop below 20 but rise again during the day above 40, your plant will be fine outside.
If you live in an area with very cold winters, where nighttime temperatures drop below 20 degrees for sustained periods, you have three options for providing them with winter dormancy: the garage method, mulching in, or the fridge method. Dormancy is triggered by a combination of exposure to shorter photo-periods and cooler temperatures in the 40-60's F. While you can skip a dormancy period once or twice, in the long term, your plant will begin to do poorly and will eventually die if you skip this crucial period.
The garage method: Bring your plant indoors to a sunny windowsill in an unheated room or garage, where the nighttime temperatures will dip down to 50-60F. Keep it well watered during this period, do not let it dry out, and put it outside again when the outside nighttime temperatures increase consistently above 20F.
The mulch method: Mulch them very, very well outdoors. Pack at least four inches of mulch on top of the plants and all around the sides to prevent winds from chilling them and freezing the roots. You can also dig the pots into the ground and then mulch heavily on top.
The fridge method: remove the plants from pots, gently clean the roots of soil, wrap the roots in a bit of damp long-fibered New Zealand sphagnum moss, place the plants in a resealable bag, and put the bag into the refrigerator. Leave them in the fridge from October to February, periodically checking on them to ensure they are still moist and not growing mold or fungus. Pot them back up in February. You can vary the timing to align with your outside nighttime temperatures so that your plants can come out of dormancy when it is safe to place them back outside. You can leave them in the fridge for an extended period if you have very long winters.
Soil and Repotting: We prefer a mix of four-part fertilizer-free peat moss to one-part perlite. You can add our pre-made mix to your order here. Repot, dividing out plants and refreshing the peat and perlite, every 3 years in January or winter.
Feeding and Fertilizer: These plants will catch plenty of food when grown outdoors. When grown indoors, they will significantly benefit from fertilizing, a foliar fertilizer, and feeding the traps. Plants grown outdoors will appreciate a foliar feed as well. Apply MaxSea fertilizer once per month to the foliage only. Dilute 1/4 teaspoon of MaxSea into one gallon of water and then apply to the leaves with a mister bottle. If you would like to feed the traps of your flytrap, it is recommended that you use live prey, as the traps usually require continued movement from their food to stimulate the complete absorption process. They will often open too soon if fed inert foods and do not absorb nutrients. We recommend live mealworms, which are available from any pet store. After digestion, Venus flytraps open back up, leaving the exoskeleton of their prey. They have liquified and absorbed the contents of the insect, but the exoskeleton remains. This does not need to be removed. Traps often die back after a big meal; new ones will grow, and the plant benefits greatly from the nutrients!
More Information: For further information on dormancy, repotting, dividing, and more, check out our website, or our YouTube channel.
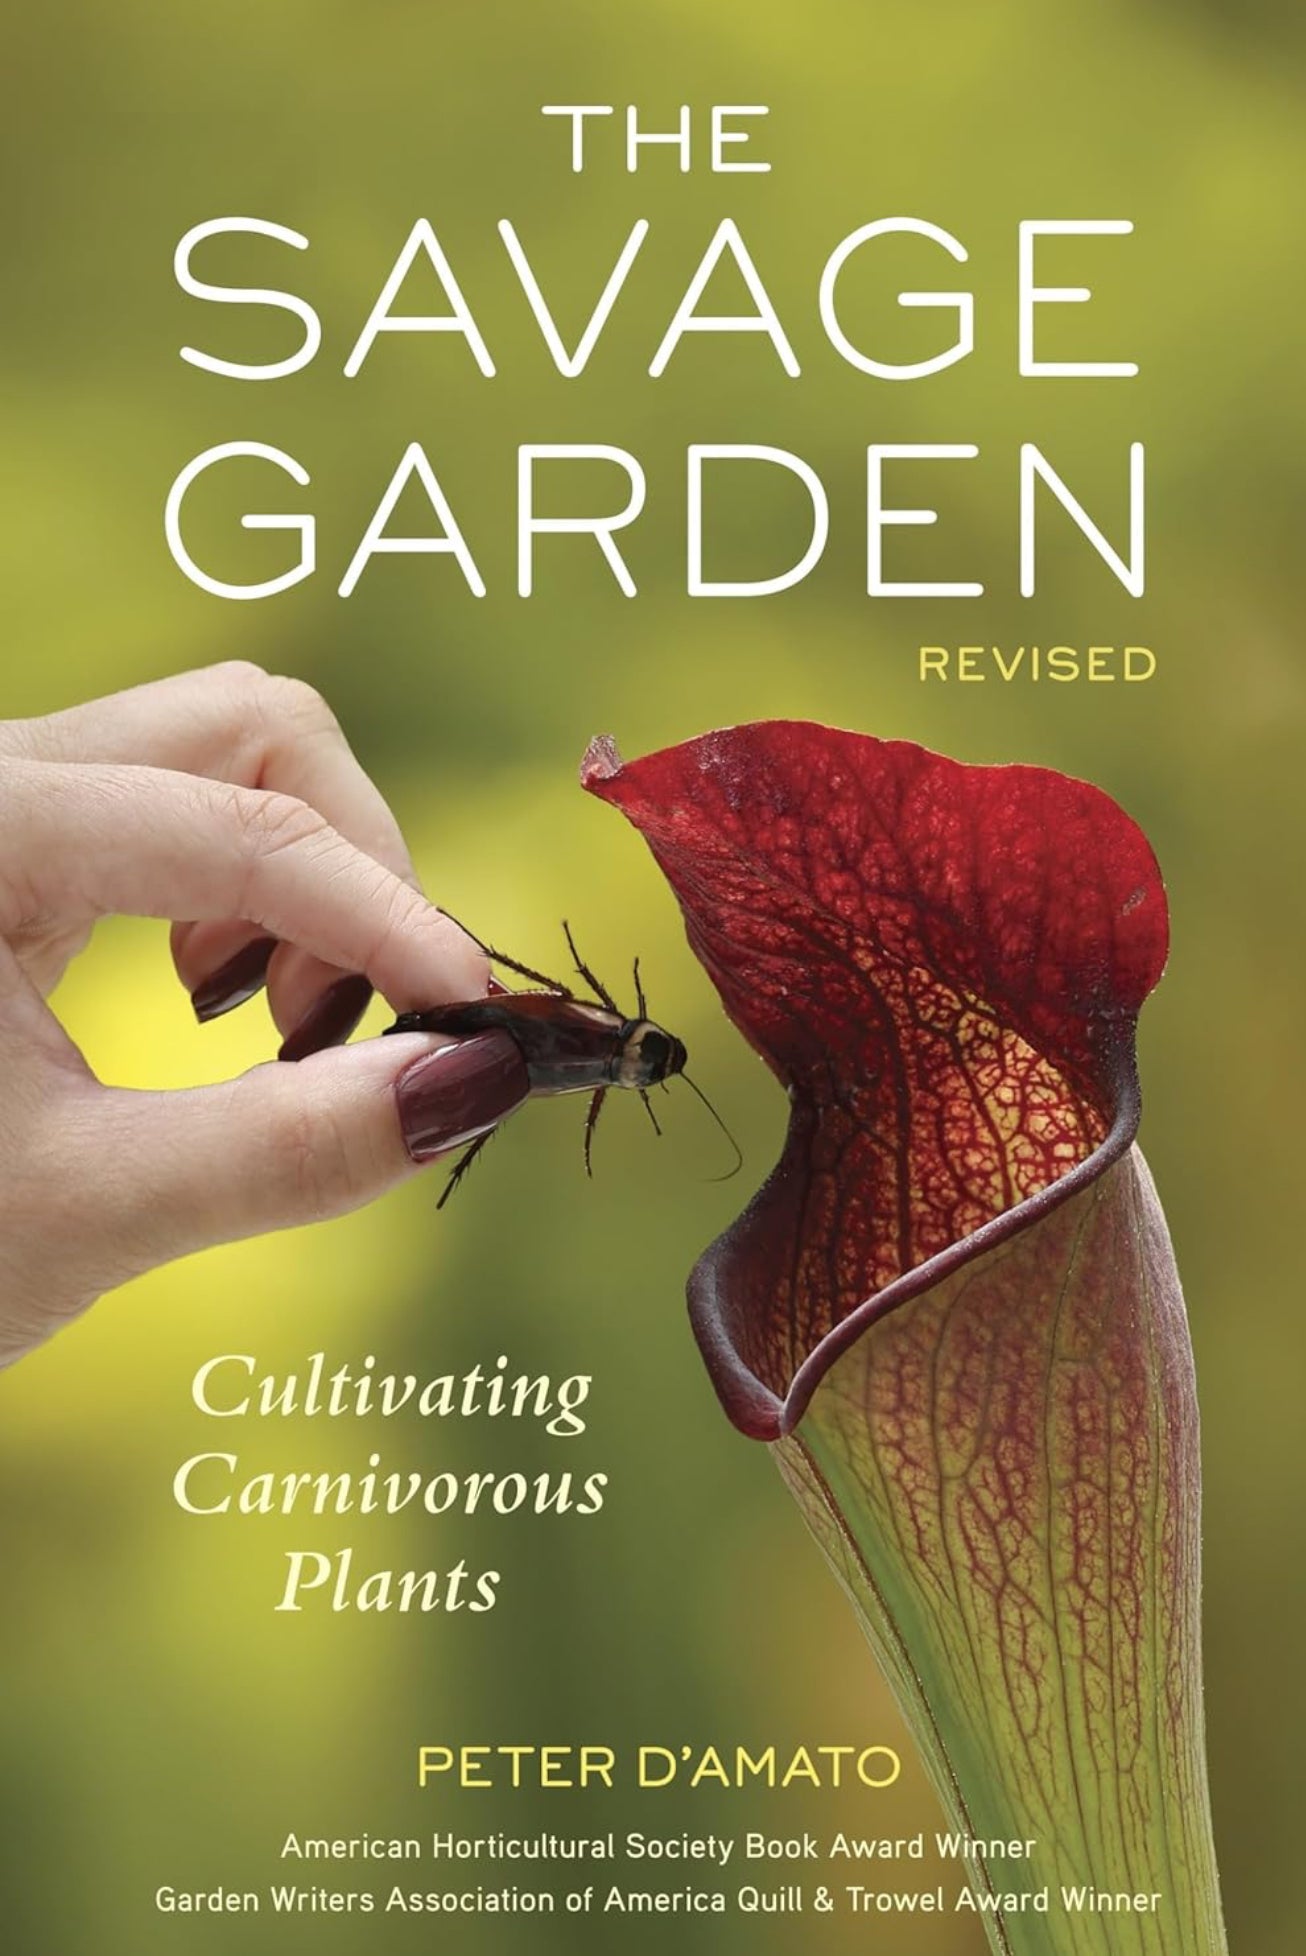
Peter D'Amato's award winning guide on how to grow carnivorous plants is hands-down the most comprehensive guide and the number one bestselling bible to these fascinating oddities.
Beautiful, exotic, and surprisingly easy to grow, flesh-eating plants thrive indoors and out, in a wide variety of climates. Whether you're a beginner with your first Venus flytrap or an expert looking for the latest specimen, this book covers everything you need to create and nurture your very own little garden of horrors.
This new edition is fully revised to include the latest developments and discoveries in the carnivorous plant world, making it the most accurate and up to date book of its kind. Now with 48 more pages and lots more photos, mostly taken by our own Damon Collingsworth!
This updated edition covers changes in soil and fertilizer products, water quality updates, advances in artificial lighting, new information on transplanting, pot sizes, and plant grooming, and the many incredible new species of carnivorous plants that have been discovered and hybridized, including a dozen new sun pitchers and over 50 tropical pitcher plants. It also includes the the metric system for our carnivorous plant friends abroad!- Winner of The American Horticultural Society's Book Award
- "The Savage Garden is a wonderful book." - Martha Stewart
- "Five Stars" - Amazon.com
- "An Exhaustive Work" - The Los Angeles Times
- "Stunning" - Science News
- "This book is a steal at this price" - The Richmond Times-Dispatch
A vicious-looking form of the Venus flytrap, 'Dente' has little shark teeth lining the trap instead of the more typical eyelash-like structures. This classic flytrap cultivar is a beautiful addition to any carnivorous garden and a vigorous plant!
We are shipping small plants. The second-to-last photo shows their size. These small plants will grow rapidly in summer!
PLEASE NOTE VENUS FLYTRAPS GO DORMANT SEASONALLY, STARTING AS EARLY AS OCTOBER AND LASTING AS LATE AS MARCH, DEPENDING ON THE CONDITIONS. During this time, they appear relatively small and grow a few traps; please see the final photo to see how flytraps look when dormant. They will begin to grow vigorously again in Spring when photoperiods lengthen and temperatures increase.
Care Instructions:
Growth Habit: Venus flytraps are low-growing bog plants native to North and South Carolina. These plants grow their traps, modified leaves, from a rhizome that spreads over time. The traps will die back frequently all year, have high leaf turnover, and many new traps will grow throughout the spring and summer. In spring, the traps grow, often low to the ground and small. In summer, they grow their best traps, taller and more prominent. As Fall comes on, the traps start to die back, growing lower to the ground and smaller, and by winter, the plant will be dormant, with many or all of the traps gone, but the rhizome remains healthy and intact throughout winter dormancy even if you cannot see any traps growing. Venus flytraps have black roots, and not generally not many of them.
Sun: Full sun. Venus flytraps require lots of direct sun to grow and produce traps. In many areas, they can be grown outdoors in full sun. If you live in a very hot AND very dry place like Arizona or Sacramento, for example, you will want to grow your plants in full morning sun with protection from the afternoon sun or under 30% shade cloth. It is common for several traps/leaves to "burn" and die back when you first place your plant into the sun; your plant is acclimating to your conditions, and in most cases, new leaves will soon grow and be fully acclimated. Venus flytraps can be grown indoors, on extremely sunny windowsills, that receive all-day sun, but they will require a grow light in most circumstances due to the amount of light the plant needs. Grow lights should be 6-12” from the plant, depending on the light, and on a 10-12 hour day length. Venus flytraps generally are not a good candidate for a terrarium as they need intense light and good airflow. Grow outdoors if possible for best results.
Water: Always keep them in a saucer with a few inches of distilled, rainwater, or reverse osmosis water. Never let them dry out, especially in the hot summer months. Venus flytraps are bog plants that prefer water-logged conditions unless you live somewhere both very hot AND extremely humid, like Alabama. In that case, let the water tray dry out for a day or two between refills. Always use distilled, reverse osmosis, or rainwater only. These plants are especially sensitive to their water quality, and giving them mineral and salt-free water is very important. In winter, when the plants are dormant, you can let them dry out a bit between rain storms, but do not let the soil get so dry that it pulls away from the edges of the pots. Be sure to supplement water as needed in between rains in winter.
Temperature and Dormancy: These are warm-temperate plants, meaning they need warm summers and chilly winters. They should be grown outdoors year-round in areas with mild winters. They thrive in temperatures ranging from 20 degrees - 90F degrees and can take a brief freeze or high-temperature spike up to 105F degrees for a short period. If nighttime temps drop below 20 but rise again during the day above 40, your plant will be fine outside.
If you live in an area with very cold winters, where nighttime temperatures drop below 20 degrees for sustained periods, you have three options for providing them with winter dormancy: the garage method, mulching in, or the fridge method. Dormancy is triggered by a combination of exposure to shorter photo-periods and cooler temperatures in the 40-60's F. While you can skip a dormancy period once or twice, in the long term, your plant will begin to do poorly and will eventually die if you skip this crucial period.
The garage method: Bring your plant indoors to a sunny windowsill in an unheated room or garage, where the nighttime temperatures will dip down to 50-60F. Keep it well watered during this period, do not let it dry out, and put it outside again when the outside nighttime temperatures increase consistently above 20F.
The mulch method: Mulch them in very, very well outdoors. Pack at least four inches of mulch on top of the plants and all around the sides to prevent winds from chilling them and freezing the roots. You can also dig the pots into the ground and then mulch heavily on top.
The fridge method: remove the plants from pots, gently clean the roots of soil, wrap the roots in a bit of damp long-fibered New Zealand sphagnum moss, place the plants in a resealable bag, and put the bag into the refrigerator. Leave them in the fridge from October to February, periodically checking on them to ensure they are still moist and not growing mold or fungus. Pot them back up in February. You can vary the timing to align with your outside nighttime temperatures so that your plants can come out of dormancy when it is safe to place them back outside. You can leave them in the fridge for an extended period if you have very long winters.
Soil and Repotting: We prefer a mix of four-part fertilizer-free peat moss to one-part perlite. You can add our pre-made mix to your order here. You do not need to repot your plant when you receive it from us for at least a year, and we recommend against it during the spring-summer months. Repot Venus flytraps every 1-3 years in January or winter. Avoid placing in excessively larger pots; size up only a few inches at a time. They do well in tall pots. Soil can also develop a swampy smell, especially right after shipping when the plant is wrapped in plastic and sealed. This is normal; these plants grow naturally in bogs and swampy conditions, and peat moss can develop a bit of an anaerobic smell, but this does not indicate a problem with the soil.
Feeding and Fertilizer: Venus flytraps will catch plenty of food when grown outdoors. When grown indoors, they will significantly benefit from fertilizing, a foliar fertilizer, and feeding the traps. Plants grown outdoors will appreciate a foliar feed as well. Apply MaxSea fertilizer once per month to the foliage only. Dilute 1/4 teaspoon of MaxSea into one gallon of water and then apply to the traps with a mister bottle. If you would like to feed the traps of your flytrap, it is recommended that you use live prey, as the traps usually require continued movement from their food to stimulate the complete absorption process. They will often open too soon if fed inert foods and do not absorb nutrients. We recommend live mealworms, which are available from any pet store. After digestion, Venus flytraps open back up, leaving the exoskeleton of their prey. They have liquified and absorbed the contents of the insect, but the exoskeleton remains. This does not need to be removed. Traps often die back after a big meal; new ones will grow, and the plant benefits greatly from the nutrients!
More Information: For further information on dormancy, repotting, dividing, and more, check out our website, Venus Flytrap Care, or our YouTube channel.
Also known as 'Akai Ryu,' 'Red Dragon' is an absolutely stunning cultivar of Dionaea and one of the classic all-red flytraps!
The entire plant is deep, dark, maroon, and almost black when grown in bright light. It can also reach enormous size on long summer petioles. 'Red Dragon' is a must-have for the serious flytrap collector!
The first three photos are of our botanical collection pots that have multiple, mature plants in them. We are shipping small, tissue culture plants. The second-to-last photo shows their size. These small plants will grow rapidly in summer!
TRAPS GO DORMANT SEASONALLY, STARTING AS EARLY AS OCTOBER AND LASTING AS LATE AS MARCH, DEPENDING ON THE CONDITIONS. During this time, they appear relatively small and grow a few traps; please see the final photo to see how flytraps look when dormant. They will begin to grow vigorously again in Spring when photoperiods lengthen and temperatures increase.
Care Instructions:
Growth Habit: Venus flytraps are low-growing bog plants native to North and South Carolina. These plants grow their traps, modified leaves, from a rhizome that spreads over time. The traps will die back frequently all year, have high leaf turnover, and many new traps will grow throughout the spring and summer. In spring, the traps grow, often low to the ground and small. In summer, they grow their best traps, taller and more prominent. As Fall comes on, the traps start to die back, growing lower to the ground and smaller, and by winter, the plant will be dormant, with many or all of the traps gone, but the rhizome remains healthy and intact throughout winter dormancy even if you cannot see any traps growing. Venus flytraps have black roots, and not generally not many of them.
Sun: Full sun. Venus flytraps require lots of direct sun to grow and produce traps. In many areas, they can be grown outdoors in full sun. If you live in a very hot AND very dry place like Arizona or Sacramento, for example, you will want to grow your plants in full morning sun with protection from the afternoon sun or under 30% shade cloth. It is common for several traps/leaves to "burn" and die back when you first place your plant into the sun; your plant is acclimating to your conditions, and in most cases, new leaves will soon grow and be fully acclimated. Venus flytraps can be grown indoors, on extremely sunny windowsills, that receive all-day sun, but they will require a grow light in most circumstances due to the amount of light the plant needs. Grow lights should be 6-12” from the plant, depending on the light, and on a 10-12 hour day length. Venus flytraps generally are not a good candidate for a terrarium as they need intense light and good airflow. Grow outdoors if possible for best results.
Water: Always keep them in a saucer with a few inches of distilled, rainwater, or reverse osmosis water. Never let them dry out, especially in the hot summer months. Venus flytraps are bog plants that prefer water-logged conditions unless you live somewhere both very hot AND extremely humid, like Alabama. In that case, let the water tray dry out for a day or two between refills. Always use distilled, reverse osmosis, or rainwater only. These plants are especially sensitive to their water quality, and giving them mineral and salt-free water is very important. In winter, when the plants are dormant, you can let them dry out a bit between rain storms, but do not let the soil get so dry that it pulls away from the edges of the pots. Be sure to supplement water as needed in between rains in winter.
Temperature and Dormancy: These are warm-temperate plants, meaning they need warm summers and chilly winters. They should be grown outdoors year-round in areas with mild winters. They thrive in temperatures ranging from 20 degrees - 90F degrees and can take a brief freeze or high-temperature spike up to 105F degrees for a short period. If nighttime temps drop below 20 but rise again during the day above 40, your plant will be fine outside.
If you live in an area with very cold winters, where nighttime temperatures drop below 20 degrees for sustained periods, you have three options for providing them with winter dormancy: the garage method, mulching in, or the fridge method. Dormancy is triggered by a combination of exposure to shorter photo-periods and cooler temperatures in the 40-60's F. While you can skip a dormancy period once or twice, in the long term, your plant will begin to do poorly and will eventually die if you skip this crucial period.
The garage method: Bring your plant indoors to a sunny windowsill in an unheated room or garage, where the nighttime temperatures will dip down to 50-60F. Keep it well watered during this period, do not let it dry out, and put it outside again when the outside nighttime temperatures increase consistently above 20F.
The mulch method: Mulch them in very, very well outdoors. Pack at least four inches of mulch on top of the plants and all around the sides to prevent winds from chilling them and freezing the roots. You can also dig the pots into the ground and then mulch heavily on top.
The fridge method: remove the plants from pots, gently clean the roots of soil, wrap the roots in a bit of damp long-fibered New Zealand sphagnum moss, place the plants in a resealable bag, and put the bag into the refrigerator. Leave them in the fridge from October to February, periodically checking on them to ensure they are still moist and not growing mold or fungus. Pot them back up in February. You can vary the timing to align with your outside nighttime temperatures so that your plants can come out of dormancy when it is safe to place them back outside. You can leave them in the fridge for an extended period if you have very long winters.
Soil and Repotting: We prefer a mix of four-part fertilizer-free peat moss to one-part perlite. You can add our pre-made mix to your order here. You do not need to repot your plant when you receive it from us for at least a year, and we recommend against it during the spring-summer months. Repot Venus flytraps every 1-3 years in January or winter. Avoid placing in excessively larger pots; size up only a few inches at a time. They do well in tall pots. Soil can also develop a swampy smell, especially right after shipping when the plant is wrapped in plastic and sealed. This is normal; these plants grow naturally in bogs and swampy conditions, and peat moss can develop a bit of an anaerobic smell, but this does not indicate a problem with the soil.
Feeding and Fertilizer: Venus flytraps will catch plenty of food when grown outdoors. When grown indoors, they will significantly benefit from fertilizing, a foliar fertilizer, and feeding the traps. Plants grown outdoors will appreciate a foliar feed as well. Apply MaxSea fertilizer once per month to the foliage only. Dilute 1/4 teaspoon of MaxSea into one gallon of water and then apply to the traps with a mister bottle. If you would like to feed the traps of your flytrap, it is recommended that you use live prey, as the traps usually require continued movement from their food to stimulate the complete absorption process. They will often open too soon if fed inert foods and do not absorb nutrients. We recommend live mealworms, which are available from any pet store. After digestion, Venus flytraps open back up, leaving the exoskeleton of their prey. They have liquified and absorbed the contents of the insect, but the exoskeleton remains. This does not need to be removed. Traps often die back after a big meal; new ones will grow, and the plant benefits greatly from the nutrients!
More Information: For further information on dormancy, repotting, dividing, and more, check out our website, Venus Flytrap Care, or our YouTube channel.
Everyone's favorite plant, the Venus Flytrap, is fantastic and easy to grow! Charismatic, beautiful, and voracious bug eaters are really fun to add to your plant collection! These flytraps are the perfect example of what a flytrap should be: bright green petioles and outer traps with cherry-red trap interiors! This is the ideal plant if you’ve always wanted to grow a flytrap! These plants do best outdoors in most places in the summer; be sure to read through the care instructions below. They catch flies, wasps, pill bugs, spiders, and more!
We are shipping small plants. The second-to-last photo shows their size. These small plants will grow rapidly in summer!
PLEASE NOTE VENUS FLYTRAPS GO DORMANT SEASONALLY, STARTING AS EARLY AS OCTOBER AND LASTING AS LATE AS MARCH, DEPENDING ON THE CONDITIONS. During this time, they appear relatively small and grow a few traps; please see the final photo to see how flytraps look when dormant. They will begin to grow vigorously again in Spring when photoperiods lengthen and temperatures increase.
Care Instructions:
Growth Habit: Venus flytraps are low-growing bog plants native to North and South Carolina. These plants grow their traps, modified leaves, from a rhizome that spreads over time. The traps will die back frequently all year, have high leaf turnover, and many new traps will grow throughout the spring and summer. In spring, the traps grow, often low to the ground and small. In summer, they grow their best traps, taller and more prominent. As Fall comes on, the traps start to die back, growing lower to the ground and smaller, and by winter, the plant will be dormant, with many or all of the traps gone, but the rhizome remains healthy and intact throughout winter dormancy even if you cannot see any traps growing. Venus flytraps have black roots, and not generally not many of them.
Sun: Full sun. Venus flytraps require lots of direct sun to grow and produce traps. In many areas, they can be grown outdoors in full sun. If you live in a very hot AND very dry place like Arizona or Sacramento, for example, you will want to grow your plants in full morning sun with protection from the afternoon sun or under 30% shade cloth. It is common for several traps/leaves to "burn" and die back when you first place your plant into the sun; your plant is acclimating to your conditions, and in most cases, new leaves will soon grow and be fully acclimated. Venus flytraps can be grown indoors, on extremely sunny windowsills, that receive all-day sun, but they will require a grow light in most circumstances due to the amount of light the plant needs. Grow lights should be 6-12” from the plant, depending on the light, and on a 10-12 hour day length. Venus flytraps generally are not a good candidate for a terrarium as they need intense light and good airflow. Grow outdoors if possible for best results.
Water: Always keep them in a saucer with a few inches of distilled, rainwater, or reverse osmosis water. Never let them dry out, especially in the hot summer months. Venus flytraps are bog plants that prefer water-logged conditions unless you live somewhere both very hot AND extremely humid, like Alabama. In that case, let the water tray dry out for a day or two between refills. Always use distilled, reverse osmosis, or rainwater only. These plants are especially sensitive to their water quality, and giving them mineral and salt-free water is very important. In winter, when the plants are dormant, you can let them dry out a bit between rain storms, but do not let the soil get so dry that it pulls away from the edges of the pots. Be sure to supplement water as needed in between rains in winter.
Temperature and Dormancy: These are warm-temperate plants, meaning they need warm summers and chilly winters. They should be grown outdoors year-round in areas with mild winters. They thrive in temperatures ranging from 20 degrees - 90F degrees and can take a brief freeze or high-temperature spike up to 105F degrees for a short period. If nighttime temps drop below 20 but rise again during the day above 40, your plant will be fine outside.
If you live in an area with very cold winters, where nighttime temperatures drop below 20 degrees for sustained periods, you have three options for providing them with winter dormancy: the garage method, mulching in, or the fridge method. Dormancy is triggered by a combination of exposure to shorter photo-periods and cooler temperatures in the 40-60's F. While you can skip a dormancy period once or twice, in the long term, your plant will begin to do poorly and will eventually die if you skip this crucial period.
The garage method: Bring your plant indoors to a sunny windowsill in an unheated room or garage, where the nighttime temperatures will dip down to 50-60F. Keep it well watered during this period, do not let it dry out, and put it outside again when the outside nighttime temperatures increase consistently above 20F.
The mulch method: Mulch them in very, very well outdoors. Pack at least four inches of mulch on top of the plants and all around the sides to prevent winds from chilling them and freezing the roots. You can also dig the pots into the ground and then mulch heavily on top.
The fridge method: remove the plants from pots, gently clean the roots of soil, wrap the roots in a bit of damp long-fibered New Zealand sphagnum moss, place the plants in a resealable bag, and put the bag into the refrigerator. Leave them in the fridge from October to February, periodically checking on them to ensure they are still moist and not growing mold or fungus. Pot them back up in February. You can vary the timing to align with your outside nighttime temperatures so that your plants can come out of dormancy when it is safe to place them back outside. You can leave them in the fridge for an extended period if you have very long winters.
Soil and Repotting: We prefer a mix of four-part fertilizer-free peat moss to one-part perlite. You can add our pre-made mix to your order here. You do not need to repot your plant when you receive it from us for at least a year, and we recommend against it during the spring-summer months. Repot Venus flytraps every 1-3 years in January or winter. Avoid placing in excessively larger pots; size up only a few inches at a time. They do well in tall pots. Soil can also develop a swampy smell, especially right after shipping when the plant is wrapped in plastic and sealed. This is normal; these plants grow naturally in bogs and swampy conditions, and peat moss can develop a bit of an anaerobic smell, but this does not indicate a problem with the soil.
Feeding and Fertilizer: Venus flytraps will catch plenty of food when grown outdoors. When grown indoors, they will significantly benefit from fertilizing, a foliar fertilizer, and feeding the traps. Plants grown outdoors will appreciate a foliar feed as well. Apply MaxSea fertilizer once per month to the foliage only. Dilute 1/4 teaspoon of MaxSea into one gallon of water and then apply to the traps with a mister bottle. If you would like to feed the traps of your flytrap, it is recommended that you use live prey, as the traps usually require continued movement from their food to stimulate the complete absorption process. They will often open too soon if fed inert foods and do not absorb nutrients. We recommend live mealworms, which are available from any pet store. After digestion, Venus flytraps open back up, leaving the exoskeleton of their prey. They have liquified and absorbed the contents of the insect, but the exoskeleton remains. This does not need to be removed. Traps often die back after a big meal; new ones will grow, and the plant benefits greatly from the nutrients!
More Information: For further information on dormancy, repotting, dividing, and more, check out our website, Venus Flytrap Care, or our YouTube channel.
Dionaea m. ‘Tiger Fang’ is a well-known species of dentate flytraps with vicious teeth that radiate out from the traps like the rays of the sun!
We are shipping small plants. The second-to-last photo shows their size. These small plants will grow rapidly in summer!
PLEASE NOTE VENUS FLYTRAPS GO DORMANT SEASONALLY, STARTING AS EARLY AS OCTOBER AND LASTING AS LATE AS MARCH, DEPENDING ON THE CONDITIONS. During this time, they appear relatively small and grow a few traps; please see the final photo to see how flytraps look when dormant. They will begin to grow vigorously again in Spring when photoperiods lengthen and temperatures increase.
Care Instructions:
Growth Habit: Venus flytraps are low-growing bog plants native to North and South Carolina. These plants grow their traps, modified leaves, from a rhizome that spreads over time. The traps will die back frequently all year, have high leaf turnover, and many new traps will grow throughout the spring and summer. In spring, the traps grow, often low to the ground and small. In summer, they grow their best traps, taller and more prominent. As Fall comes on, the traps start to die back, growing lower to the ground and smaller, and by winter, the plant will be dormant, with many or all of the traps gone, but the rhizome remains healthy and intact throughout winter dormancy even if you cannot see any traps growing. Venus flytraps have black roots, and not generally not many of them.
Sun: Full sun. Venus flytraps require lots of direct sun to grow and produce traps. In many areas, they can be grown outdoors in full sun. If you live in a very hot AND very dry place like Arizona or Sacramento, for example, you will want to grow your plants in full morning sun with protection from the afternoon sun or under 30% shade cloth. It is common for several traps/leaves to "burn" and die back when you first place your plant into the sun; your plant is acclimating to your conditions, and in most cases, new leaves will soon grow and be fully acclimated. Venus flytraps can be grown indoors, on extremely sunny windowsills, that receive all-day sun, but they will require a grow light in most circumstances due to the amount of light the plant needs. Grow lights should be 6-12” from the plant, depending on the light, and on a 10-12 hour day length. Venus flytraps generally are not a good candidate for a terrarium as they need intense light and good airflow. Grow outdoors if possible for best results.
Water: Always keep them in a saucer with a few inches of distilled, rainwater, or reverse osmosis water. Never let them dry out, especially in the hot summer months. Venus flytraps are bog plants that prefer water-logged conditions unless you live somewhere both very hot AND extremely humid, like Alabama. In that case, let the water tray dry out for a day or two between refills. Always use distilled, reverse osmosis, or rainwater only. These plants are especially sensitive to their water quality, and giving them mineral and salt-free water is very important. In winter, when the plants are dormant, you can let them dry out a bit between rain storms, but do not let the soil get so dry that it pulls away from the edges of the pots. Be sure to supplement water as needed in between rains in winter.
Temperature and Dormancy: These are warm-temperate plants, meaning they need warm summers and chilly winters. They should be grown outdoors year-round in areas with mild winters. They thrive in temperatures ranging from 20 degrees - 90F degrees and can take a brief freeze or high-temperature spike up to 105F degrees for a short period. If nighttime temps drop below 20 but rise again during the day above 40, your plant will be fine outside.
If you live in an area with very cold winters, where nighttime temperatures drop below 20 degrees for sustained periods, you have three options for providing them with winter dormancy: the garage method, mulching in, or the fridge method. Dormancy is triggered by a combination of exposure to shorter photo-periods and cooler temperatures in the 40-60's F. While you can skip a dormancy period once or twice, in the long term, your plant will begin to do poorly and will eventually die if you skip this crucial period.
The garage method: Bring your plant indoors to a sunny windowsill in an unheated room or garage, where the nighttime temperatures will dip down to 50-60F. Keep it well watered during this period, do not let it dry out, and put it outside again when the outside nighttime temperatures increase consistently above 20F.
The mulch method: Mulch them in very, very well outdoors. Pack at least four inches of mulch on top of the plants and all around the sides to prevent winds from chilling them and freezing the roots. You can also dig the pots into the ground and then mulch heavily on top.
The fridge method: remove the plants from pots, gently clean the roots of soil, wrap the roots in a bit of damp long-fibered New Zealand sphagnum moss, place the plants in a resealable bag, and put the bag into the refrigerator. Leave them in the fridge from October to February, periodically checking on them to ensure they are still moist and not growing mold or fungus. Pot them back up in February. You can vary the timing to align with your outside nighttime temperatures so that your plants can come out of dormancy when it is safe to place them back outside. You can leave them in the fridge for an extended period if you have very long winters.
Soil and Repotting: We prefer a mix of four-part fertilizer-free peat moss to one-part perlite. You can add our pre-made mix to your order here. You do not need to repot your plant when you receive it from us for at least a year, and we recommend against it during the spring-summer months. Repot Venus flytraps every 1-3 years in January or winter. Avoid placing in excessively larger pots; size up only a few inches at a time. They do well in tall pots. Soil can also develop a swampy smell, especially right after shipping when the plant is wrapped in plastic and sealed. This is normal; these plants grow naturally in bogs and swampy conditions, and peat moss can develop a bit of an anaerobic smell, but this does not indicate a problem with the soil.
Feeding and Fertilizer: Venus flytraps will catch plenty of food when grown outdoors. When grown indoors, they will significantly benefit from fertilizing, a foliar fertilizer, and feeding the traps. Plants grown outdoors will appreciate a foliar feed as well. Apply MaxSea fertilizer once per month to the foliage only. Dilute 1/4 teaspoon of MaxSea into one gallon of water and then apply to the traps with a mister bottle. If you would like to feed the traps of your flytrap, it is recommended that you use live prey, as the traps usually require continued movement from their food to stimulate the complete absorption process. They will often open too soon if fed inert foods and do not absorb nutrients. We recommend live mealworms, which are available from any pet store. After digestion, Venus flytraps open back up, leaving the exoskeleton of their prey. They have liquified and absorbed the contents of the insect, but the exoskeleton remains. This does not need to be removed. Traps often die back after a big meal; new ones will grow, and the plant benefits greatly from the nutrients!
More Information: For further information on dormancy, repotting, dividing, and more, check out our website, Venus Flytrap Care, or our YouTube channel.
Dionaea m. 'Trev’s Dracula' has fast become a favorite for us! This spectacular dentate trap has jagged teeth along large traps that blush red when grown in intense light and can develop a blood-red line along the outside rim of the arching trap! They have very tall petioles holding aloft their large, arching traps.
We are shipping small plants. The second-to-last photo shows their size. These small plants will grow rapidly in summer!
PLEASE NOTE VENUS FLYTRAPS GO DORMANT SEASONALLY, STARTING AS EARLY AS OCTOBER AND LASTING AS LATE AS MARCH, DEPENDING ON THE CONDITIONS. During this time, they appear relatively small and grow a few traps; please see the final photo to see how flytraps look when dormant. They will begin to grow vigorously again in Spring when photoperiods lengthen and temperatures increase.
Care Instructions:
Growth Habit: Venus flytraps are low-growing bog plants native to North and South Carolina. These plants grow their traps, modified leaves, from a rhizome that spreads over time. The traps will die back frequently all year, have high leaf turnover, and many new traps will grow throughout the spring and summer. In spring, the traps grow, often low to the ground and small. In summer, they grow their best traps, taller and more prominent. As Fall comes on, the traps start to die back, growing lower to the ground and smaller, and by winter, the plant will be dormant, with many or all of the traps gone, but the rhizome remains healthy and intact throughout winter dormancy even if you cannot see any traps growing. Venus flytraps have black roots, and not generally not many of them.
Sun: Full sun. Venus flytraps require lots of direct sun to grow and produce traps. In many areas, they can be grown outdoors in full sun. If you live in a very hot AND very dry place like Arizona or Sacramento, for example, you will want to grow your plants in full morning sun with protection from the afternoon sun or under 30% shade cloth. It is common for several traps/leaves to "burn" and die back when you first place your plant into the sun; your plant is acclimating to your conditions, and in most cases, new leaves will soon grow and be fully acclimated. Venus flytraps can be grown indoors, on extremely sunny windowsills, that receive all-day sun, but they will require a grow light in most circumstances due to the amount of light the plant needs. Grow lights should be 6-12” from the plant, depending on the light, and on a 10-12 hour day length. Venus flytraps generally are not a good candidate for a terrarium as they need intense light and good airflow. Grow outdoors if possible for best results.
Water: Always keep them in a saucer with a few inches of distilled, rainwater, or reverse osmosis water. Never let them dry out, especially in the hot summer months. Venus flytraps are bog plants that prefer water-logged conditions unless you live somewhere both very hot AND extremely humid, like Alabama. In that case, let the water tray dry out for a day or two between refills. Always use distilled, reverse osmosis, or rainwater only. These plants are especially sensitive to their water quality, and giving them mineral and salt-free water is very important. In winter, when the plants are dormant, you can let them dry out a bit between rain storms, but do not let the soil get so dry that it pulls away from the edges of the pots. Be sure to supplement water as needed in between rains in winter.
Temperature and Dormancy: These are warm-temperate plants, meaning they need warm summers and chilly winters. They should be grown outdoors year-round in areas with mild winters. They thrive in temperatures ranging from 20 degrees - 90F degrees and can take a brief freeze or high-temperature spike up to 105F degrees for a short period. If nighttime temps drop below 20 but rise again during the day above 40, your plant will be fine outside.
If you live in an area with very cold winters, where nighttime temperatures drop below 20 degrees for sustained periods, you have three options for providing them with winter dormancy: the garage method, mulching in, or the fridge method. Dormancy is triggered by a combination of exposure to shorter photo-periods and cooler temperatures in the 40-60's F. While you can skip a dormancy period once or twice, in the long term, your plant will begin to do poorly and will eventually die if you skip this crucial period.
The garage method: Bring your plant indoors to a sunny windowsill in an unheated room or garage, where the nighttime temperatures will dip down to 50-60F. Keep it well watered during this period, do not let it dry out, and put it outside again when the outside nighttime temperatures increase consistently above 20F.
The mulch method: Mulch them in very, very well outdoors. Pack at least four inches of mulch on top of the plants and all around the sides to prevent winds from chilling them and freezing the roots. You can also dig the pots into the ground and then mulch heavily on top.
The fridge method: remove the plants from pots, gently clean the roots of soil, wrap the roots in a bit of damp long-fibered New Zealand sphagnum moss, place the plants in a resealable bag, and put the bag into the refrigerator. Leave them in the fridge from October to February, periodically checking on them to ensure they are still moist and not growing mold or fungus. Pot them back up in February. You can vary the timing to align with your outside nighttime temperatures so that your plants can come out of dormancy when it is safe to place them back outside. You can leave them in the fridge for an extended period if you have very long winters.
Soil and Repotting: We prefer a mix of four-part fertilizer-free peat moss to one-part perlite. You can add our pre-made mix to your order here. You do not need to repot your plant when you receive it from us for at least a year, and we recommend against it during the spring-summer months. Repot Venus flytraps every 1-3 years in January or winter. Avoid placing in excessively larger pots; size up only a few inches at a time. They do well in tall pots. Soil can also develop a swampy smell, especially right after shipping when the plant is wrapped in plastic and sealed. This is normal; these plants grow naturally in bogs and swampy conditions, and peat moss can develop a bit of an anaerobic smell, but this does not indicate a problem with the soil.
Feeding and Fertilizer: Venus flytraps will catch plenty of food when grown outdoors. When grown indoors, they will significantly benefit from fertilizing, a foliar fertilizer, and feeding the traps. Plants grown outdoors will appreciate a foliar feed as well. Apply MaxSea fertilizer once per month to the foliage only. Dilute 1/4 teaspoon of MaxSea into one gallon of water and then apply to the traps with a mister bottle. If you would like to feed the traps of your flytrap, it is recommended that you use live prey, as the traps usually require continued movement from their food to stimulate the complete absorption process. They will often open too soon if fed inert foods and do not absorb nutrients. We recommend live mealworms, which are available from any pet store. After digestion, Venus flytraps open back up, leaving the exoskeleton of their prey. They have liquified and absorbed the contents of the insect, but the exoskeleton remains. This does not need to be removed. Traps often die back after a big meal; new ones will grow, and the plant benefits greatly from the nutrients!
More Information: For further information on dormancy, repotting, dividing, and more, check out our website, Venus Flytrap Care, or our YouTube channel.
Dionaea m. “Grant Line” is a beautifully colored cultivar with low lying traps!
We are shipping small plants. The second-to-last photo shows their size. These small plants will grow rapidly in summer!
*This cultivar was originally listed under the name “Great Line” which is a typo, it is called “Grant Line”.
PLEASE NOTE VENUS FLYTRAPS GO DORMANT SEASONALLY, STARTING AS EARLY AS OCTOBER AND LASTING AS LATE AS MARCH, DEPENDING ON THE CONDITIONS. During this time, they appear relatively small and grow a few traps; please see the final photo to see how flytraps look when dormant. They will begin to grow vigorously again in Spring when photoperiods lengthen and temperatures increase.
Care Instructions:
Growth Habit: Venus flytraps are low-growing bog plants native to North and South Carolina. These plants grow their traps, modified leaves, from a rhizome that spreads over time. The traps will die back frequently all year, have high leaf turnover, and many new traps will grow throughout the spring and summer. In spring, the traps grow, often low to the ground and small. In summer, they grow their best traps, taller and more prominent. As Fall comes on, the traps start to die back, growing lower to the ground and smaller, and by winter, the plant will be dormant, with many or all of the traps gone, but the rhizome remains healthy and intact throughout winter dormancy even if you cannot see any traps growing. Venus flytraps have black roots, and not generally not many of them.
Sun: Full sun. Venus flytraps require lots of direct sun to grow and produce traps. In many areas, they can be grown outdoors in full sun. If you live in a very hot AND very dry place like Arizona or Sacramento, for example, you will want to grow your plants in full morning sun with protection from the afternoon sun or under 30% shade cloth. It is common for several traps/leaves to "burn" and die back when you first place your plant into the sun; your plant is acclimating to your conditions, and in most cases, new leaves will soon grow and be fully acclimated. Venus flytraps can be grown indoors, on extremely sunny windowsills, that receive all-day sun, but they will require a grow light in most circumstances due to the amount of light the plant needs. Grow lights should be 6-12” from the plant, depending on the light, and on a 10-12 hour day length. Venus flytraps generally are not a good candidate for a terrarium as they need intense light and good airflow. Grow outdoors if possible for best results.
Water: Always keep them in a saucer with a few inches of distilled, rainwater, or reverse osmosis water. Never let them dry out, especially in the hot summer months. Venus flytraps are bog plants that prefer water-logged conditions unless you live somewhere both very hot AND extremely humid, like Alabama. In that case, let the water tray dry out for a day or two between refills. Always use distilled, reverse osmosis, or rainwater only. These plants are especially sensitive to their water quality, and giving them mineral and salt-free water is very important. In winter, when the plants are dormant, you can let them dry out a bit between rain storms, but do not let the soil get so dry that it pulls away from the edges of the pots. Be sure to supplement water as needed in between rains in winter.
Temperature and Dormancy: These are warm-temperate plants, meaning they need warm summers and chilly winters. They should be grown outdoors year-round in areas with mild winters. They thrive in temperatures ranging from 20 degrees - 90F degrees and can take a brief freeze or high-temperature spike up to 105F degrees for a short period. If nighttime temps drop below 20 but rise again during the day above 40, your plant will be fine outside.
If you live in an area with very cold winters, where nighttime temperatures drop below 20 degrees for sustained periods, you have three options for providing them with winter dormancy: the garage method, mulching in, or the fridge method. Dormancy is triggered by a combination of exposure to shorter photo-periods and cooler temperatures in the 40-60's F. While you can skip a dormancy period once or twice, in the long term, your plant will begin to do poorly and will eventually die if you skip this crucial period.
The garage method: Bring your plant indoors to a sunny windowsill in an unheated room or garage, where the nighttime temperatures will dip down to 50-60F. Keep it well watered during this period, do not let it dry out, and put it outside again when the outside nighttime temperatures increase consistently above 20F.
The mulch method: Mulch them in very, very well outdoors. Pack at least four inches of mulch on top of the plants and all around the sides to prevent winds from chilling them and freezing the roots. You can also dig the pots into the ground and then mulch heavily on top.
The fridge method: remove the plants from pots, gently clean the roots of soil, wrap the roots in a bit of damp long-fibered New Zealand sphagnum moss, place the plants in a resealable bag, and put the bag into the refrigerator. Leave them in the fridge from October to February, periodically checking on them to ensure they are still moist and not growing mold or fungus. Pot them back up in February. You can vary the timing to align with your outside nighttime temperatures so that your plants can come out of dormancy when it is safe to place them back outside. You can leave them in the fridge for an extended period if you have very long winters.
Soil and Repotting: We prefer a mix of four-part fertilizer-free peat moss to one-part perlite. You can add our pre-made mix to your order here. You do not need to repot your plant when you receive it from us for at least a year, and we recommend against it during the spring-summer months. Repot Venus flytraps every 1-3 years in January or winter. Avoid placing in excessively larger pots; size up only a few inches at a time. They do well in tall pots. Soil can also develop a swampy smell, especially right after shipping when the plant is wrapped in plastic and sealed. This is normal; these plants grow naturally in bogs and swampy conditions, and peat moss can develop a bit of an anaerobic smell, but this does not indicate a problem with the soil.
Feeding and Fertilizer: Venus flytraps will catch plenty of food when grown outdoors. When grown indoors, they will significantly benefit from fertilizing, a foliar fertilizer, and feeding the traps. Plants grown outdoors will appreciate a foliar feed as well. Apply MaxSea fertilizer once per month to the foliage only. Dilute 1/4 teaspoon of MaxSea into one gallon of water and then apply to the traps with a mister bottle. If you would like to feed the traps of your flytrap, it is recommended that you use live prey, as the traps usually require continued movement from their food to stimulate the complete absorption process. They will often open too soon if fed inert foods and do not absorb nutrients. We recommend live mealworms, which are available from any pet store. After digestion, Venus flytraps open back up, leaving the exoskeleton of their prey. They have liquified and absorbed the contents of the insect, but the exoskeleton remains. This does not need to be removed. Traps often die back after a big meal; new ones will grow, and the plant benefits greatly from the nutrients!
More Information: For further information on dormancy, repotting, dividing, and more, check out our website, Venus Flytrap Care, or our YouTube channel.
Dionaea m. “Sasquatch” is an exciting cultivar selected from a cross of two giant flytrap cultivars; ‘Ginormous’ x ’BCP Titan.’ We have several clones from this cross, and all should be huge, fast-growing plants with long teeth and arching traps! They’re all sure to be monsters, so we’re naming them all after famous monsters with ravenous appetites and huge reputations.
'Sasquatch’ has fantastic long cilia and huge, peachy colored traps!
We are shipping small plants. The second-to-last photo shows their size. These small plants will grow rapidly in summer!
PLEASE NOTE VENUS FLYTRAPS GO DORMANT SEASONALLY, STARTING AS EARLY AS OCTOBER AND LASTING AS LATE AS MARCH, DEPENDING ON THE CONDITIONS. During this time, they appear relatively small and grow a few traps; please see the final photo to see how flytraps look when dormant. They will begin to grow vigorously again in Spring when photoperiods lengthen and temperatures increase.
Care Instructions:
Growth Habit: Venus flytraps are low-growing bog plants native to North and South Carolina. These plants grow their traps, modified leaves, from a rhizome that spreads over time. The traps will die back frequently all year, have high leaf turnover, and many new traps will grow throughout the spring and summer. In spring, the traps grow, often low to the ground and small. In summer, they grow their best traps, taller and more prominent. As Fall comes on, the traps start to die back, growing lower to the ground and smaller, and by winter, the plant will be dormant, with many or all of the traps gone, but the rhizome remains healthy and intact throughout winter dormancy even if you cannot see any traps growing. Venus flytraps have black roots, and not generally not many of them.
Sun: Full sun. Venus flytraps require lots of direct sun to grow and produce traps. In many areas, they can be grown outdoors in full sun. If you live in a very hot AND very dry place like Arizona or Sacramento, for example, you will want to grow your plants in full morning sun with protection from the afternoon sun or under 30% shade cloth. It is common for several traps/leaves to "burn" and die back when you first place your plant into the sun; your plant is acclimating to your conditions, and in most cases, new leaves will soon grow and be fully acclimated. Venus flytraps can be grown indoors, on extremely sunny windowsills, that receive all-day sun, but they will require a grow light in most circumstances due to the amount of light the plant needs. Grow lights should be 6-12” from the plant, depending on the light, and on a 10-12 hour day length. Venus flytraps generally are not a good candidate for a terrarium as they need intense light and good airflow. Grow outdoors if possible for best results.
Water: Always keep them in a saucer with a few inches of distilled, rainwater, or reverse osmosis water. Never let them dry out, especially in the hot summer months. Venus flytraps are bog plants that prefer water-logged conditions unless you live somewhere both very hot AND extremely humid, like Alabama. In that case, let the water tray dry out for a day or two between refills. Always use distilled, reverse osmosis, or rainwater only. These plants are especially sensitive to their water quality, and giving them mineral and salt-free water is very important. In winter, when the plants are dormant, you can let them dry out a bit between rain storms, but do not let the soil get so dry that it pulls away from the edges of the pots. Be sure to supplement water as needed in between rains in winter.
Temperature and Dormancy: These are warm-temperate plants, meaning they need warm summers and chilly winters. They should be grown outdoors year-round in areas with mild winters. They thrive in temperatures ranging from 20 degrees - 90F degrees and can take a brief freeze or high-temperature spike up to 105F degrees for a short period. If nighttime temps drop below 20 but rise again during the day above 40, your plant will be fine outside.
If you live in an area with very cold winters, where nighttime temperatures drop below 20 degrees for sustained periods, you have three options for providing them with winter dormancy: the garage method, mulching in, or the fridge method. Dormancy is triggered by a combination of exposure to shorter photo-periods and cooler temperatures in the 40-60's F. While you can skip a dormancy period once or twice, in the long term, your plant will begin to do poorly and will eventually die if you skip this crucial period.
The garage method: Bring your plant indoors to a sunny windowsill in an unheated room or garage, where the nighttime temperatures will dip down to 50-60F. Keep it well watered during this period, do not let it dry out, and put it outside again when the outside nighttime temperatures increase consistently above 20F.
The mulch method: Mulch them in very, very well outdoors. Pack at least four inches of mulch on top of the plants and all around the sides to prevent winds from chilling them and freezing the roots. You can also dig the pots into the ground and then mulch heavily on top.
The fridge method: remove the plants from pots, gently clean the roots of soil, wrap the roots in a bit of damp long-fibered New Zealand sphagnum moss, place the plants in a resealable bag, and put the bag into the refrigerator. Leave them in the fridge from October to February, periodically checking on them to ensure they are still moist and not growing mold or fungus. Pot them back up in February. You can vary the timing to align with your outside nighttime temperatures so that your plants can come out of dormancy when it is safe to place them back outside. You can leave them in the fridge for an extended period if you have very long winters.
Soil and Repotting: We prefer a mix of four-part fertilizer-free peat moss to one-part perlite. You can add our pre-made mix to your order here. You do not need to repot your plant when you receive it from us for at least a year, and we recommend against it during the spring-summer months. Repot Venus flytraps every 1-3 years in January or winter. Avoid placing in excessively larger pots; size up only a few inches at a time. They do well in tall pots. Soil can also develop a swampy smell, especially right after shipping when the plant is wrapped in plastic and sealed. This is normal; these plants grow naturally in bogs and swampy conditions, and peat moss can develop a bit of an anaerobic smell, but this does not indicate a problem with the soil.
Feeding and Fertilizer: Venus flytraps will catch plenty of food when grown outdoors. When grown indoors, they will significantly benefit from fertilizing, a foliar fertilizer, and feeding the traps. Plants grown outdoors will appreciate a foliar feed as well. Apply MaxSea fertilizer once per month to the foliage only. Dilute 1/4 teaspoon of MaxSea into one gallon of water and then apply to the traps with a mister bottle. If you would like to feed the traps of your flytrap, it is recommended that you use live prey, as the traps usually require continued movement from their food to stimulate the complete absorption process. They will often open too soon if fed inert foods and do not absorb nutrients. We recommend live mealworms, which are available from any pet store. After digestion, Venus flytraps open back up, leaving the exoskeleton of their prey. They have liquified and absorbed the contents of the insect, but the exoskeleton remains. This does not need to be removed. Traps often die back after a big meal; new ones will grow, and the plant benefits greatly from the nutrients!
More Information: For further information on dormancy, repotting, dividing, and more, check out our website, Venus Flytrap Care, or our YouTube channel.
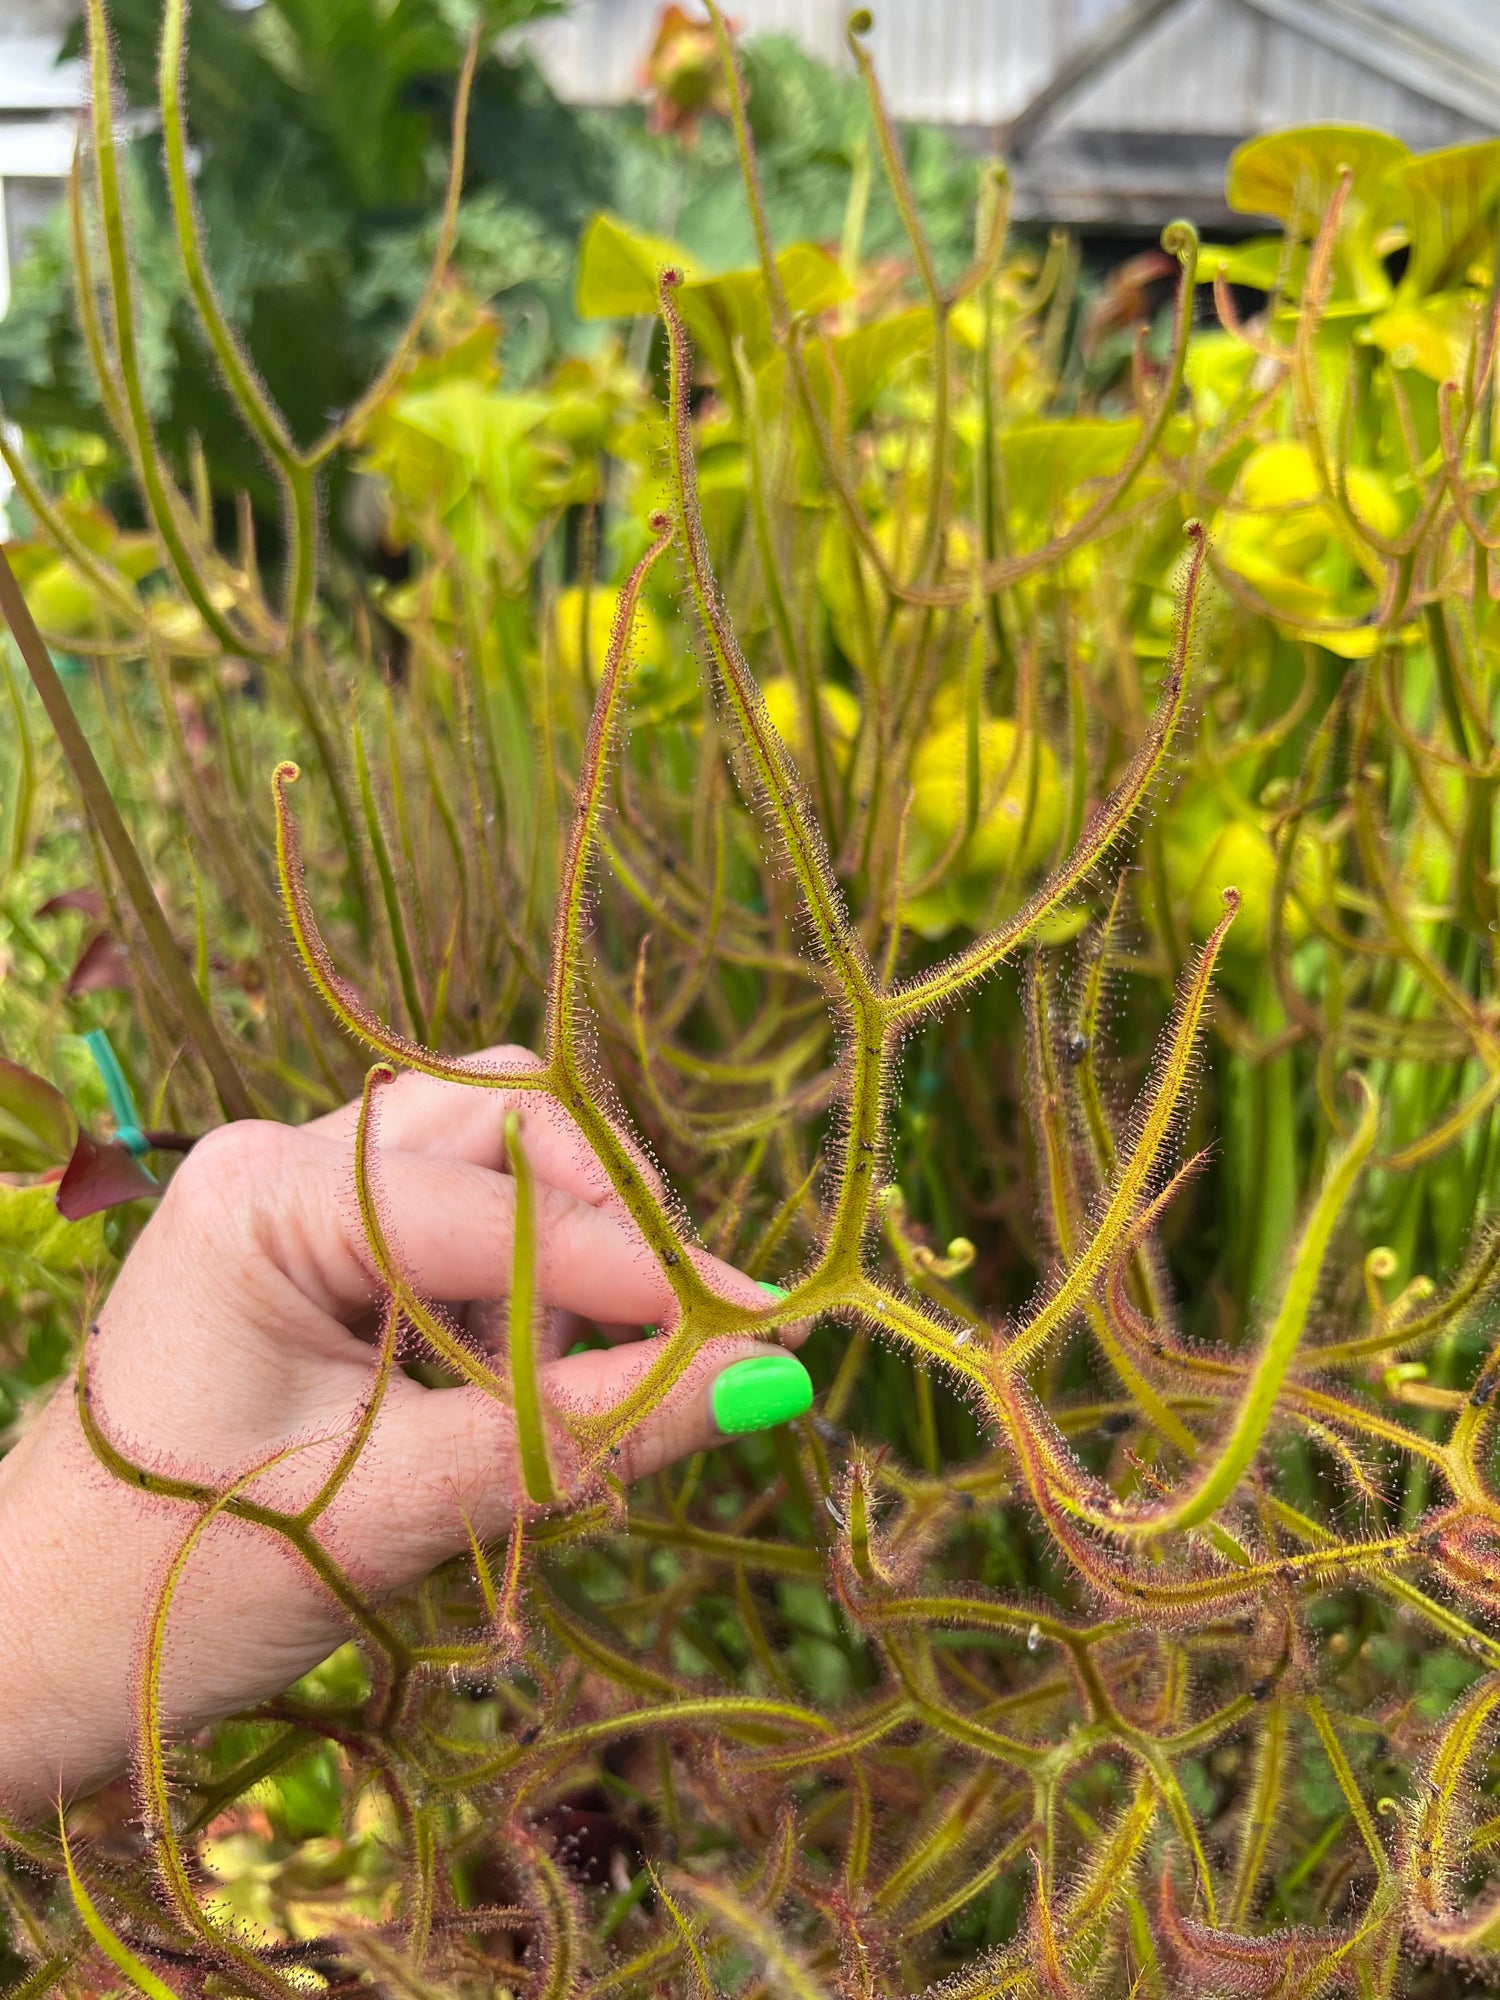
Drosera binata is a large, temperate forked sundew with leaves that are 'Y' shaped. At maturity they start to form multiple forks and fill out whatever pot they’re in! It requires a chilly to frosty winter dormancy. Drosera binata forms a beautiful tumble of large, dew covers forked leaves over time that sparkle and catch the sunlight! It’s a great addition to any bog! This is from Otaki Forks, New Zealand.
If you live in an area with very cold winters, where nighttime temperatures drop below 20 degrees for sustained periods, you have three options for providing them with winter dormancy: the garage method, mulching in, or the fridge method. Dormancy is triggered by a combination of exposure to shorter photo-periods and cooler temperatures in the 40-60's F. While you can skip a dormancy period once or twice, in the long term, your plant will begin to do poorly and will eventually die if you skip this crucial period.
The garage method: Bring your plant indoors to a sunny windowsill in an unheated room or garage, where the nighttime temperatures will dip down to 50-60F. Keep it well watered during this period, do not let it dry out, and put it outside again when the outside nighttime temperatures increase consistently above 20F.
The mulch method: Mulch them in very, very well outdoors. Pack at least four inches of mulch on top of the plants and all around the sides to prevent winds from chilling them and freezing the roots. You can also dig the pots into the ground and then mulch heavily on top.
The fridge method: leave your plant potted and place the pot in a resealable bag, and put the bag into the refrigerator. You can also treat the pot with super as a preventative before placing in the fridge. Leave them in the fridge from October to February, periodically checking on them to ensure they are still moist and not growing mold or fungus. Bring them out in February. You can vary the timing to align with your outside nighttime temperatures so that your plants can come out of dormancy when it is safe to place them back outside. You can leave them in the fridge for an extended period if you have very long winters.
Soil and Repotting: We prefer a mix of four-part fertilizer-free peat moss to one-part perlite. You can add our pre-made mix to your order here. You do not need to repot your plant when you receive it from us for at least a year, and we recommend against it during the spring-summer months. Repot Drosera every 3 years in winter when they are dormant. Avoid placing in excessively large pots; size up only a few inches at a time. They do well in tall pots. Soil can also develop a swampy smell, especially right after shipping, when the plant is wrapped in plastic and sealed. This is normal; these plants grow naturally in bogs and swampy conditions, and peat moss can develop a bit of an anaerobic smell, but this does not indicate a problem with the soil.
Feeding and Fertilizer: Drosera will catch plenty of food when grown outdoors. When grown indoors, they will significantly benefit from a foliar fertilizer. Plants grown outdoors will appreciate a foliar feed as well. Apply MaxSea fertilizer once per month to the foliage only. Dilute 1/4 teaspoon of MaxSea into one gallon of water and then apply with a mister bottle or a watering can.
More Information: For further information on dormancy, repotting, dividing, and more, check out our website or our YouTube channel.
If you have been thinking about growing carnivorous plants but don't know where to start, look no further than Drosera capensis. These plants are easy to grow, rewarding and will grow in a variety of conditions. They will thrive indoors in full sun, on a windowsill or under lights. They will also do well outside in lots of sun and are cold hardy down to 40 degrees reliably. They will even take a brief freeze with the leaves dying back but the plants regrowing readily from the roots in spring.
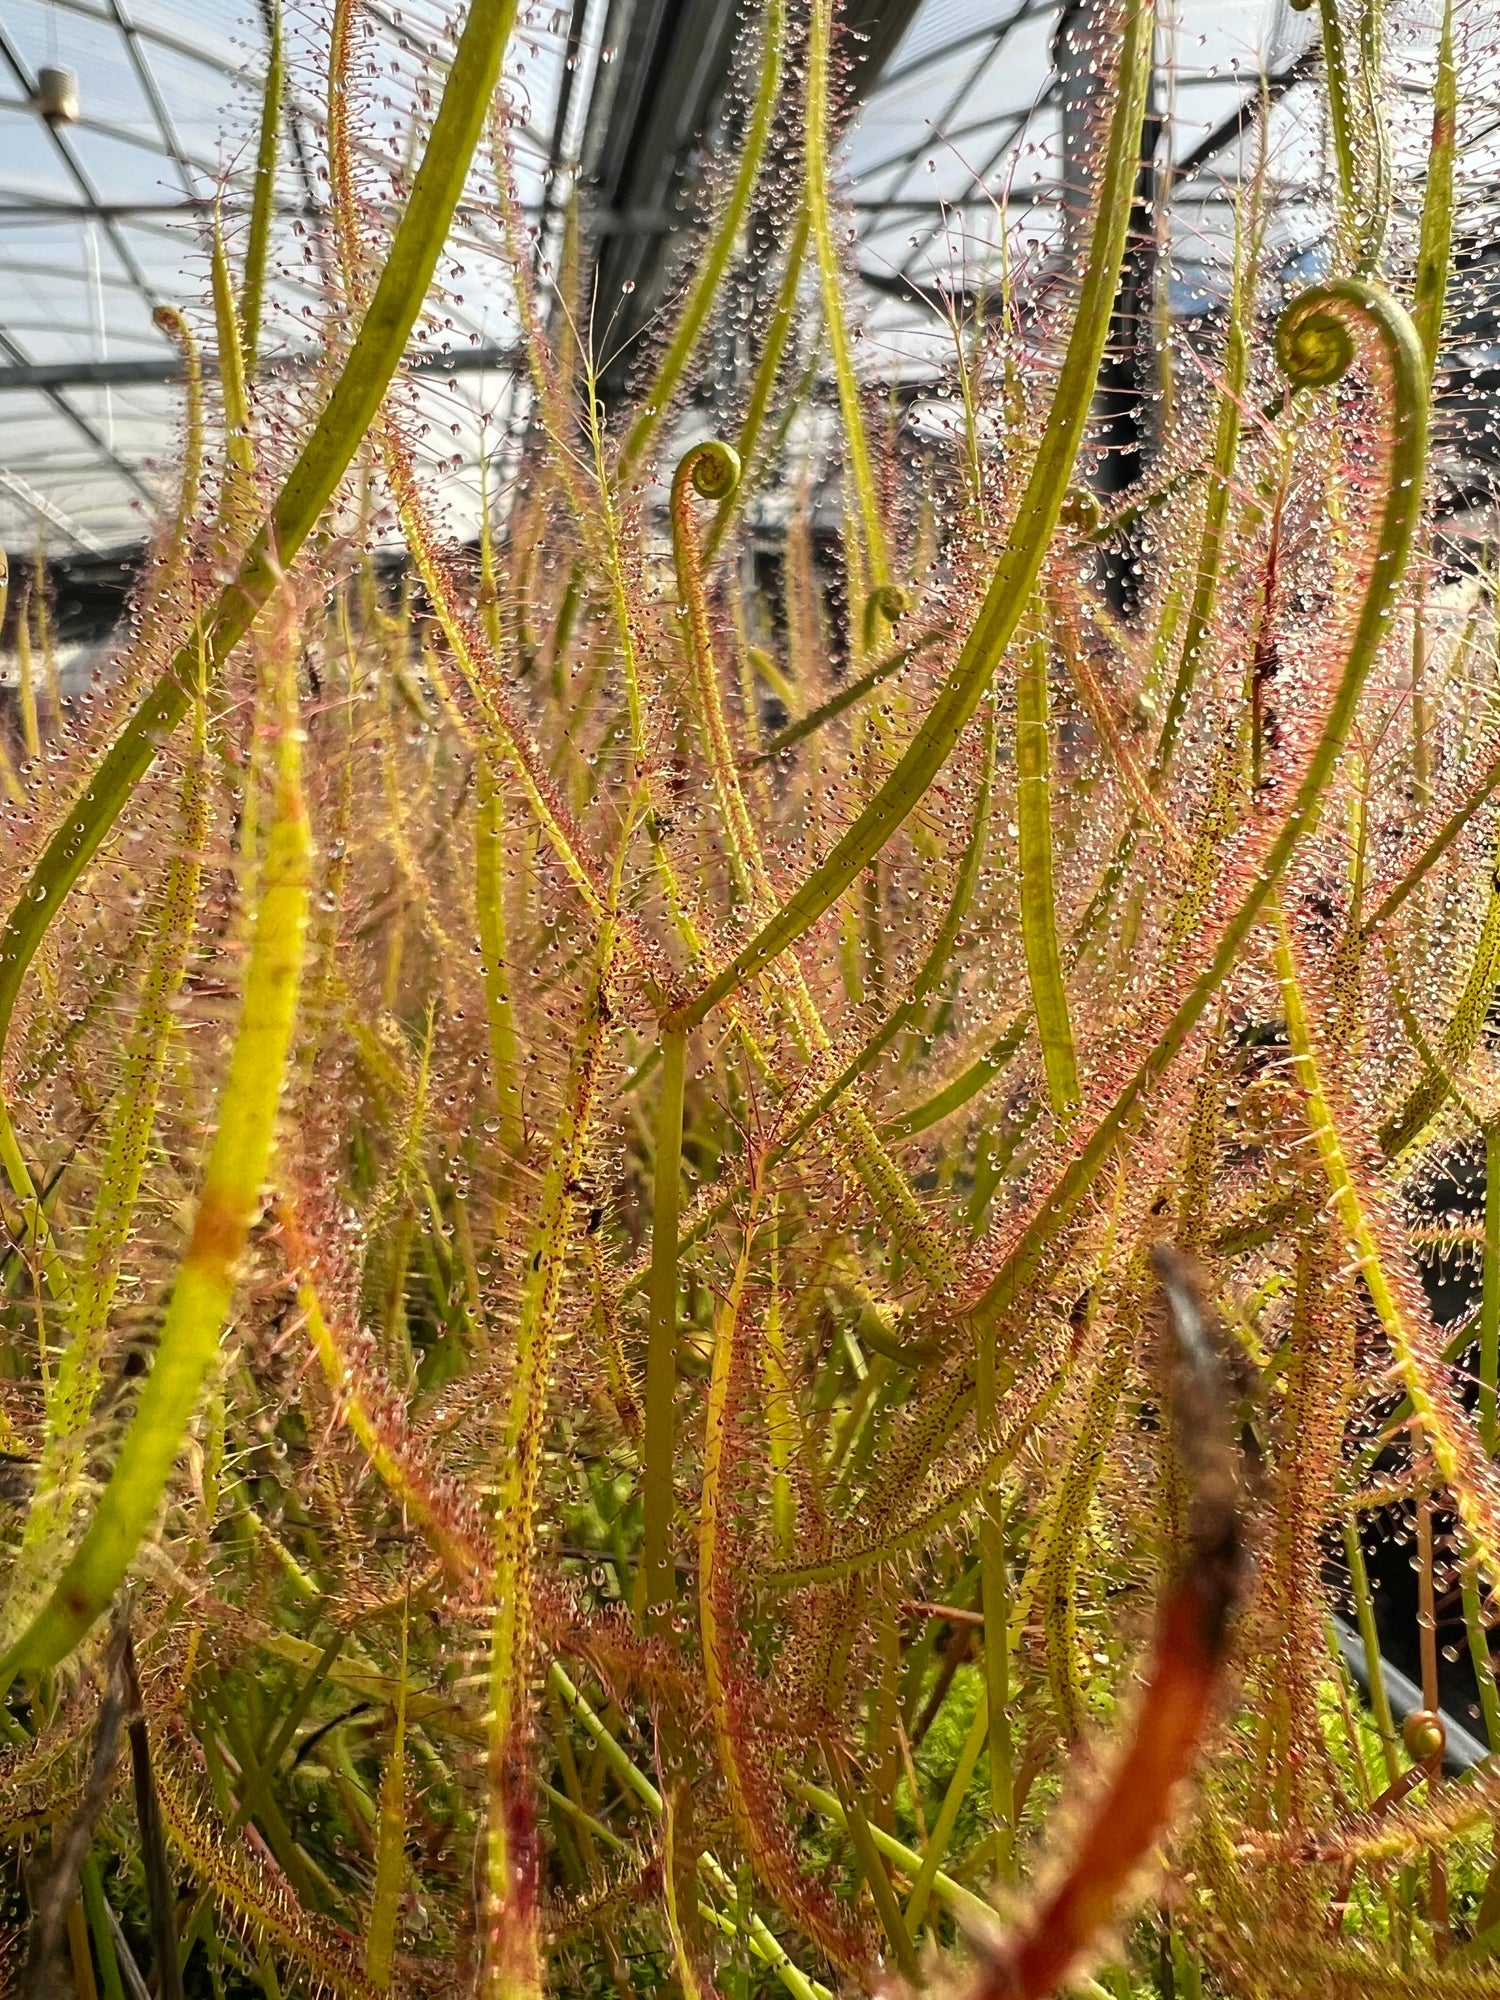
This is the most typical form of Drosera capensis; the leaves are thin and delicate looking with red tentacles tipped in mucilage. The pink flowers unfurl off of long, arching scapes. Cape Sundews catch many gnats, fruit flies and occasionally house flies.
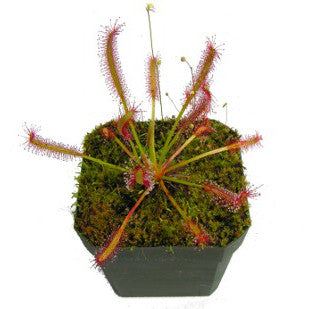
The plants we are shipping are about 2-4” tall.
Please note: shipping can be hard on the sticky dew covering the leaves so your plant may arrive without dew. It can take a few weeks for the plant to produce more dew, if after four weeks it has not produced dew, you may need to increase light.
Care Instructions
Growth Habit: Drosera capensis are small, bushy plants that grow about 6” tall at maturity, although some forms can be slightly larger. Capensis spread readily by dropping seeds from their abundant flowers in their pots, which do not need to be pollinated. As they grow, their leaves die back, starting from the base of the plant and moving up. The leaves die back and can be cut off. The stem will thicken and be black or brown. Sometimes larger, older plants will flop over and grow sideways as they age, growing taller and taller with new leaves emerging from the top of the plant. Capensis can regrow from the roots quite readily, so if your crown dies, keep nurturing it, and you should see new growth. These plants have a high leaf turnover, meaning their leaves die back frequently, but new leaves grow just as fast.
Sun: Full sun. Grow indoors on a sunny windowsill, in a terrarium under lights, or outdoors. If grown indoors, Drosera will require full sun to produce their sticky dew, so be sure to place them in a window where they will receive direct sunlight for most of the day. If grown under lights, keep your grow lights on a 10 to 12-hour day length and hang your grow lights 6 to 10 inches above the plants on the quality of your lights. Grown outdoors, these plants will enjoy a great deal of sun. If you live somewhere extremely hot, for example, Arizona, you will want to protect them from the Full intensity of the afternoon sunlight. You can either grow them in morning sun only, or use shade cloth to help protect them in these very hot areas. These plants may be more colorful and smaller when grown outdoors because the light is more intense. You can expect a few leaves to burn back when you first place your plant outdoors in the sun, and if you receive your plant in the summer, it is a good idea to slowly acclimate it to the sunlight over a day or two. Even in less sunny seasons, areas, or with acclimation, you can still expect to see some burned leaves when first placed outside. This is normal, and new leaves will grow that are more adjusted to the sun. In winter, when grown in sunlight, indoors or outdoors, it is very normal for color to fade from red varieties due to less sun. IF YOUR SUNDEW IS NOT PRODUCING DEW, IT MOST LIKELY NEEDS MORE SUNLIGHT. It can also take a few weeks after shipping for dew to generate.
Water: Always sitting in a few inches of distilled, rain, or reverse osmosis water. These plants always prefer to have their roots wet and can have their pots sitting in a deep saucer of water all the time.
Temperature and Dormancy: Drosera capensis tolerate a wide range of temperatures but will be happiest in 40 - 80 degrees. They can take temperatures from freezing to 100 degrees but only for short periods and can grow back from the roots after a freeze if the daytime temperatures increase above 40. Drosera capensis do not need a dormancy but will die back or slow growth in winter depending on the conditions they are exposed to. If exposed to freezes, they will die back. And many will slow their growth or grow smaller in winter. Drosera capensis does need a nighttime drop in temperatures of 10-20 degrees; if you’d like to grow this in a tropical zone, we recommend the ‘Alba’ cultivar as it can tolerate no nighttime drop in temperature.
Soil and Repotting: We prefer a mix of four-part fertilizer-free peat moss to one-part perlite. You can add our pre-made mix to your order here. You do not need to repot your plant when you receive it from us for at least a year, and we recommend against it during the spring-summer months. Repot Drosera every 1-3 years. Avoid placing in excessively large pots; size up only a few inches at a time. Soil can also develop a swampy smell, especially right after shipping, when the plant is wrapped in plastic and sealed. This is normal; these plants grow naturally in bogs and swampy conditions, and peat moss can develop a bit of an anaerobic smell, but this does not indicate a problem with the soil.
Feeding and Fertilizer: Drosera catch small insects like fungus gnats and fruit flies in their sticky dew. They can catch bigger prey like houseflies or crane flies and can slowly curl their leaves around these larger bugs to make better contact. Over time, their leaves will produce enzymes to digest the nutrients from the bug, absorbing them through their leaves, leaving only the exoskeleton on their sticky leaves. There’s no need to remove these as they often serve as a lure to other insects looking for an easy meal. When grown outdoors, they will catch plenty of food. When grown indoors, they will significantly benefit from a foliar fertilizer. Plants grown outdoors will appreciate a foliar feed as well. Apply MaxSea fertilizer once per month to the foliage only. Dilute 1/4 teaspoon of MaxSea into one gallon of water with a mister bottle or a watering can. Watch as the Drosera slowly curl their leaves after a foliar fertilizer application!
More Information: For further information on dormancy, repotting, growing from seed, and more, check out our website or our YouTube channel.
Drosera dichotoma 'Giant' is a stunning plant! It grows very large; we have old clumps that are three feet across. It has olive to bronze leaves with pale tentacles that eadult reach over one foot in length, perfect in the bog garden or a large hanging bowl.
When young, the leaves form simple fork shapes but mature leaves will display the intricate branching shown in the photos. It can take two or more years depending on growing conditions to start branching like this. But once it does, it can fork from four to twelve times as the diameter of the leaves grows wider and wider! The larger the pot, the more massive the plants will be!
The plants we are shipping will be 2-4” in size.
Please note: Shipping can be hard on the sticky dew covering the leaves, so your plant may arrive without dew. It can take a few weeks for the plant to produce more dew. If after four weeks it has not produced dew, you may need to increase light.
If you live in an area with very cold winters, where nighttime temperatures drop below 20 degrees for sustained periods, you have three options for providing them with winter dormancy: the garage method, mulching in, or the fridge method. Dormancy is triggered by a combination of exposure to shorter photo-periods and cooler temperatures in the 40-60's F. While you can skip a dormancy period once or twice, in the long term, your plant will begin to do poorly and will eventually die if you skip this crucial period.
The garage method: Bring your plant indoors to a sunny windowsill in an unheated room or garage, where the nighttime temperatures will dip down to 50-60F. Keep it well watered during this period, do not let it dry out, and put it outside again when the outside nighttime temperatures increase consistently above 20F.
The mulch method: Mulch them in very, very well outdoors. Pack at least four inches of mulch on top of the plants and all around the sides to prevent winds from chilling them and freezing the roots. You can also dig the pots into the ground and then mulch heavily on top.
The fridge method: leave your plant potted and place the pot in a resealable bag, and put the bag into the refrigerator. You can also treat the pot with super as a preventative before placing in the fridge. Leave them in the fridge from October to February, periodically checking on them to ensure they are still moist and not growing mold or fungus. Bring them out in February. You can vary the timing to align with your outside nighttime temperatures so that your plants can come out of dormancy when it is safe to place them back outside. You can leave them in the fridge for an extended period if you have very long winters.
Soil and Repotting: We prefer a mix of four-part fertilizer-free peat moss to one-part perlite. You can add our pre-made mix to your order here. You do not need to repot your plant when you receive it from us for at least a year, and we recommend against it during the spring-summer months. Repot Drosera every 3 years in winter when they are dormant. Avoid placing in excessively large pots; size up only a few inches at a time. They do well in tall pots. Soil can also develop a swampy smell, especially right after shipping, when the plant is wrapped in plastic and sealed. This is normal; these plants grow naturally in bogs and swampy conditions, and peat moss can develop a bit of an anaerobic smell, but this does not indicate a problem with the soil.
Feeding and Fertilizer: Drosera will catch plenty of food when grown outdoors. When grown indoors, they will significantly benefit from a foliar fertilizer. Plants grown outdoors will appreciate a foliar feed as well. Apply MaxSea fertilizer once per month to the foliage only. Dilute 1/4 teaspoon of MaxSea into one gallon of water and then apply with a mister bottle or a watering can.
More Information: For further information on dormancy, repotting, dividing, and more, check out our website or our YouTube channel.
We love Nepenthes aristolochioides x burkei! This charming hybrid keeps the best of Nepenthes aristolochioides with its compact, tubby, birdhouse-shaped pitchers. Adding the beauty and vigor of Nepenthes burkei gives this hybrid a little more size and easy growth!
These are from the best selected clone in tissue culture from Borneo Exotics, BE-3832.
Care Instructions
Growth Habit: Nepenthes are vines and start small; as the plant grows, each leaf will be larger than the last, as will the pitchers that develop from these leaves. It is normal for the pitchers and leaves to die back over time. As leaves and pitchers die back, the plant will continue to vine, turning brown and woody along the stem. Over time, these form large, sprawling vines that can be hung in baskets or trellised upright in large pots. Nepenthes have thin, black roots, and not many of them.
Sun: Nepenthes should be grown on a sunny windowsill where the plant receives direct light for at least four hours daily. Grow in a cooled greenhouse in full sun, but we recommend 30% shade cloth overhead in summer. Grow in a terrarium or shelf under grow lights for the best color and pitcher formation. When grown under lights, lights should be on a 10-12 hour day length, and the plants can be grown six to ten inches from the light, depending on the strength of the light. Poor pitcher formation is usually a sign of not enough light.
Water & Humidity: Water frequently with distilled, reverse osmosis, or rainwater. Do not let the pots sit in water for long periods. You can water from the bottom, fill trays with water, and let the plant dry out for a few days before watering again. Be careful not to dry the plants out completely. Watering overhead occasionally is also beneficial for the plants. Nepenthes appreciate humidity of at least 60% but can do very well in household conditions without increased humidity if watered regularly. Any added humidity will be enjoyed by your plant! Too little humidity is the second most likely cause of poor pitcher formation.
Temperature: Daytime temperatures should be in the 70s-80s, with a 10-20 degree drop in night temperatures. Never expose your plants to temperatures below 40 degrees or above 90 degrees, as this can damage or kill them. Nepenthes do best indoors and should not be grown outdoors in most areas unless you have very mild temperatures.
Dormancy: Nepenthes do not have a dormancy as they are tropical plants, but they can slow down growth in winter when photo periods shorten.
Fertilizer: Apply diluted Maxsea fertilizer once or twice a month to the leaves and inside the pitchers. Slow-release osmocote pellets can be added to the pitchers along with a bit of distilled water. Small pitchers may burn back upon feeding, but this will still greatly benefit the plant with nutrients. Small insects can also be fed to pitchers.
Soil & Repotting: Nepenthes should be grown in a mix of long-fibered New Zealand sphagnum moss, orchid bark, pumice, and perlite. We have all of our custom Nepenthes soil blends available to add to your order, but you do not need to repot your plant for at least a year after receiving it from us. Nepenthes appreciate frequent repotting every three years and only move to a slightly bigger pot.
More Information: For more information on repotting, pests, growing habits, and more, check out our FAQ page or our YouTube channel!
Nepenthes veitchii x ventricosa is a stunning hybrid that combines the fantastical, collector-worthy veitchii with the ease and vigor of ventricosa! The large, fast-growing pitchers have huge peristomes, flaring back, glowingly colored and with scalloped edges. This is a must-have for collectors and beginners alike!
These are from assorted clones in tissue culture from Borneo Exotics, BE-4500.
Care Instructions
Growth Habit: Nepenthes are vines and start small; as the plant grows, each leaf will be larger than the last, as will the pitchers that develop from these leaves. It is normal for the pitchers and leaves to die back over time. As leaves and pitchers die back, the plant will continue to vine, turning brown and woody along the stem. Over time, these form large, sprawling vines that can be hung in baskets or trellised upright in large pots. Nepenthes have thin, black roots, and not many of them.
Sun: Nepenthes should be grown on a sunny windowsill where the plant receives direct light for at least four hours daily. Grow in a cooled greenhouse in full sun, but we recommend 30% shade cloth overhead in summer. Grow in a terrarium or shelf under grow lights for the best color and pitcher formation. When grown under lights, lights should be on a 10-12 hour day length, and the plants can be grown six to ten inches from the light, depending on the strength of the light. Poor pitcher formation is usually a sign of not enough light.
Water & Humidity: Water frequently with distilled, reverse osmosis, or rainwater. Do not let the pots sit in water for long periods. You can water from the bottom, fill trays with water, and let the plant dry out for a few days before watering again. Be careful not to dry the plants out completely. Watering overhead occasionally is also beneficial for the plants. Nepenthes appreciate humidity of at least 60% but can do very well in household conditions without increased humidity if watered regularly. Any added humidity will be enjoyed by your plant! Too little humidity is the second most likely cause of poor pitcher formation.
Temperature: Daytime temperatures should be in the 70s-80s, with a 10-20 degree drop in night temperatures. Never expose your plants to temperatures below 40 degrees or above 90 degrees, as this can damage or kill them. Nepenthes do best indoors and should not be grown outdoors in most areas unless you have very mild temperatures.
Dormancy: Nepenthes do not have a dormancy as they are tropical plants, but they can slow down growth in winter when photo periods shorten.
Fertilizer: Apply diluted Maxsea fertilizer once or twice a month to the leaves and inside the pitchers. Slow-release osmocote pellets can be added to the pitchers along with a bit of distilled water. Small pitchers may burn back upon feeding, but this will still greatly benefit the plant with nutrients. Small insects can also be fed to pitchers.
Soil & Repotting: Nepenthes should be grown in a mix of long-fibered New Zealand sphagnum moss, orchid bark, pumice, and perlite. We have all of our custom Nepenthes soil blends available to add to your order, but you do not need to repot your plant for at least a year after receiving it from us. Nepenthes appreciate frequent repotting every three years and only move to a slightly bigger pot.
More Information: For more information on repotting, pests, growing habits, and more, check out our FAQ page or our YouTube channel!
Nepenthes ventricosa is one of the easiest Nepenthes species to grow, making it perfect for most people. Among all the variations within the species, the Madja-as form stands out with its perfectly pinched-waist and wide, ruffled, red peristome. It's a truly distinctive and captivating variety!
These are from tissue culture from Borneo Exotics, BE-3278.
Care Instructions
Growth Habit: Nepenthes are vines and start small; as the plant grows, each leaf will be larger than the last, as will the pitchers that develop from these leaves. It is normal for the pitchers and leaves to die back over time. As leaves and pitchers die back, the plant will continue to vine, turning brown and woody along the stem. Over time, these form large, sprawling vines that can be hung in baskets or trellised upright in large pots. Nepenthes have thin, black roots, and not many of them.
Sun: Nepenthes should be grown on a sunny windowsill where the plant receives direct light for at least four hours daily. Grow in a cooled greenhouse in full sun, but we recommend 30% shade cloth overhead in summer. Grow in a terrarium or shelf under grow lights for the best color and pitcher formation. When grown under lights, lights should be on a 10-12 hour day length, and the plants can be grown six to ten inches from the light, depending on the strength of the light. Poor pitcher formation is usually a sign of not enough light.
Water & Humidity: Water frequently with distilled, reverse osmosis, or rainwater. Do not let the pots sit in water for long periods. You can water from the bottom, fill trays with water, and let the plant dry out for a few days before watering again. Be careful not to dry the plants out completely. Watering overhead occasionally is also beneficial for the plants. Nepenthes appreciate humidity of at least 60% but can do very well in household conditions without increased humidity if watered regularly. Any added humidity will be enjoyed by your plant! Too little humidity is the second most likely cause of poor pitcher formation.
Temperature: Daytime temperatures should be in the 70s-80s, with a 10-20 degree drop in night temperatures. Never expose your plants to temperatures below 40 degrees or above 90 degrees, as this can damage or kill them. Nepenthes do best indoors and should not be grown outdoors in most areas unless you have very mild temperatures.
Dormancy: Nepenthes do not have a dormancy as they are tropical plants, but they can slow down growth in winter when photo periods shorten.
Fertilizer: Apply diluted Maxsea fertilizer once or twice a month to the leaves and inside the pitchers. Slow-release osmocote pellets can be added to the pitchers along with a bit of distilled water. Small pitchers may burn back upon feeding, but this will still greatly benefit the plant with nutrients. Small insects can also be fed to pitchers.
Soil & Repotting: Nepenthes should be grown in a mix of long-fibered New Zealand sphagnum moss, orchid bark, pumice, and perlite. We have all of our custom Nepenthes soil blends available to add to your order, but you do not need to repot your plant for at least a year after receiving it from us. Nepenthes appreciate frequent repotting every three years and only move to a slightly bigger pot.
More Information: For more information on repotting, pests, growing habits, and more, check out our FAQ page or our YouTube channel!
Nepenthes ventricosa x sibuyanensis is an easy and rewarding hybrid. Both parents are very closely related; because of the much larger sibuyanensis, these will be like ventricosa on steroids! The deep, burgundy peristomes roll back and undulate. The large, orangey-red pitchers have a delicate pinch at the waist and grow to colossal size, 8 inches or more at maturity! One of the best aspects of this cross is that it tends to have a profusion of pitchers, like ventricosa!
These are from a single selected clone in tissue culture from Borneo Exotics, BE-3757.
Care Instructions
Growth Habit: Nepenthes are vines and start small; as the plant grows, each leaf will be larger than the last, as will the pitchers that develop from these leaves. It is normal for the pitchers and leaves to die back over time. As leaves and pitchers die back, the plant will continue to vine, turning brown and woody along the stem. Over time, these form large, sprawling vines that can be hung in baskets or trellised upright in large pots. Nepenthes have thin, black roots, and not many of them.
Sun: Nepenthes should be grown on a sunny windowsill where the plant receives direct light for at least four hours daily. Grow in a cooled greenhouse in full sun, but we recommend 30% shade cloth overhead in summer. Grow in a terrarium or shelf under grow lights for the best color and pitcher formation. When grown under lights, lights should be on a 10-12 hour day length, and the plants can be grown six to ten inches from the light, depending on the strength of the light. Poor pitcher formation is usually a sign of not enough light.
Water & Humidity: Water frequently with distilled, reverse osmosis, or rainwater. Do not let the pots sit in water for long periods. You can water from the bottom, fill trays with water, and let the plant dry out for a few days before watering again. Be careful not to dry the plants out completely. Watering overhead occasionally is also beneficial for the plants. Nepenthes appreciate humidity of at least 60% but can do very well in household conditions without increased humidity if watered regularly. Any added humidity will be enjoyed by your plant! Too little humidity is the second most likely cause of poor pitcher formation.
Temperature: Daytime temperatures should be in the 70s-80s, with a 10-20 degree drop in night temperatures. Never expose your plants to temperatures below 40 degrees or above 90 degrees, as this can damage or kill them. Nepenthes do best indoors and should not be grown outdoors in most areas unless you have very mild temperatures.
Dormancy: Nepenthes do not have a dormancy as they are tropical plants, but they can slow down growth in winter when photo periods shorten.
Fertilizer: Apply diluted Maxsea fertilizer once or twice a month to the leaves and inside the pitchers. Slow-release osmocote pellets can be added to the pitchers along with a bit of distilled water. Small pitchers may burn back upon feeding, but this will still greatly benefit the plant with nutrients. Small insects can also be fed to pitchers.
Soil & Repotting: Nepenthes should be grown in a mix of long-fibered New Zealand sphagnum moss, orchid bark, pumice, and perlite. We have all of our custom Nepenthes soil blends available to add to your order, but you do not need to repot your plant for at least a year after receiving it from us. Nepenthes appreciate frequent repotting every three years and only move to a slightly bigger pot.
More Information: For more information on repotting, pests, growing habits, and more, check out our FAQ page or our YouTube channel!
Nepenthes ventricosa has proven to be a great parent in countless hybrids by lending its forgiving, easy-to-grow nature and compact habit. Nepenthes dubia is a beautiful little species with small, funnel-shaped pitchers and a backward-pointed lid. These hybrids should have a lot of the charm of N. dubia and would be great for people with less-than-ideal conditions.
This plant is from assorted clones in tissue culture from Borneo Exotics, BE-3742.
Care Instructions
Growth Habit: Nepenthes are vines and start small; as the plant grows, each leaf will be larger than the last, as will the pitchers that develop from these leaves. It is normal for the pitchers and leaves to die back over time. As leaves and pitchers die back, the plant will continue to vine, turning brown and woody along the stem. Over time, these form large, sprawling vines that can be hung in baskets or trellised upright in large pots. Nepenthes have thin, black roots, and not many of them.
Sun: Nepenthes should be grown on a sunny windowsill where the plant receives direct light for at least four hours daily. Grow in a cooled greenhouse in full sun, but we recommend 30% shade cloth overhead in summer. Grow in a terrarium or shelf under grow lights for the best color and pitcher formation. When grown under lights, lights should be on a 10-12 hour day length, and the plants can be grown six to ten inches from the light, depending on the strength of the light. Poor pitcher formation is usually a sign of not enough light.
Water & Humidity: Water frequently with distilled, reverse osmosis, or rainwater. Do not let the pots sit in water for long periods. You can water from the bottom, fill trays with water, and let the plant dry out for a few days before watering again. Be careful not to dry the plants out completely. Watering overhead occasionally is also beneficial for the plants. Nepenthes appreciate humidity of at least 60% but can do very well in household conditions without increased humidity if watered regularly. Any added humidity will be enjoyed by your plant! Too little humidity is the second most likely cause of poor pitcher formation.
Temperature: Daytime temperatures should be in the 70s-80s, with a 10-20 degree drop in night temperatures. Never expose your plants to temperatures below 40 degrees or above 90 degrees, as this can damage or kill them. Nepenthes do best indoors and should not be grown outdoors in most areas unless you have very mild temperatures.
Dormancy: Nepenthes do not have a dormancy as they are tropical plants, but they can slow down growth in winter when photo periods shorten.
Fertilizer: Apply diluted Maxsea fertilizer once or twice a month to the leaves and inside the pitchers. Slow-release osmocote pellets can be added to the pitchers along with a bit of distilled water. Small pitchers may burn back upon feeding, but this will still greatly benefit the plant with nutrients. Small insects can also be fed to pitchers.
Soil & Repotting: Nepenthes should be grown in a mix of long-fibered New Zealand sphagnum moss, orchid bark, pumice, and perlite. We have all of our custom Nepenthes soil blends available to add to your order, but you do not need to repot your plant for at least a year after receiving it from us. Nepenthes appreciate frequent repotting every three years and only move to a slightly bigger pot.
More Information: For more information on repotting, pests, growing habits, and more, check out our FAQ page or our YouTube channel!
Nepenthes x ‘St Gaya’ is an interesting hybrid; khasiana x (ventricosa x maxima). This plant will do well indoors, on a sunny windowsill year round but will appreciate heat and humidity as a bonus. One of the fun things about ‘St Gaya’ is the amazing contrast between the outside of the bright red speckled pitchers and the lime green interiors! It also is a vigorous grower and can make tremendously large pitchers quickly. Grown under strong light the leaves will blush a reddish color! This is a perfect beginner plant!
This is a tissue culture plant.
Care Instructions
Growth Habit: Nepenthes are vines and start small; as the plant grows, each leaf will be larger than the last, as will the pitchers that develop from these leaves. It is normal for the pitchers and leaves to die back over time. As leaves and pitchers die back, the plant will continue to vine, turning brown and woody along the stem. Over time, these form large, sprawling vines that can be hung in baskets or trellised upright in large pots. Nepenthes have thin, black roots, and not many of them.
Sun: Nepenthes should be grown on a sunny windowsill where the plant receives direct light for at least four hours daily. Grow in a cooled greenhouse in full sun, but we recommend 30% shade cloth overhead in summer. Grow in a terrarium or shelf under grow lights for the best color and pitcher formation. When grown under lights, lights should be on a 10-12 hour day length, and the plants can be grown six to ten inches from the light, depending on the strength of the light. Poor pitcher formation is usually a sign of not enough light.
Water & Humidity: Water frequently with distilled, reverse osmosis, or rainwater. Do not let the pots sit in water for long periods. You can water from the bottom, fill trays with water, and let the plant dry out for a few days before watering again. Be careful not to dry the plants out completely. Watering overhead occasionally is also beneficial for the plants. Nepenthes appreciate humidity of at least 60% but can do very well in household conditions without increased humidity if watered regularly. Any added humidity will be enjoyed by your plant! Too little humidity is the second most likely cause of poor pitcher formation.
Temperature: Daytime temperatures should be in the 70s-90s, with a 10-20 degree drop in night temperatures. Never expose your plants to temperatures below 40 degrees or above 90 degrees, as this can damage or kill them. Nepenthes do best indoors and should not be grown outdoors in most areas unless you have very mild temperatures.
Dormancy: Nepenthes do not have a dormancy as they are tropical plants, but they can slow down growth in winter when photo periods shorten.
Fertilizer: Apply diluted Maxsea fertilizer once or twice a month to the leaves and inside the pitchers. Slow-release osmocote pellets can be added to the pitchers along with a bit of distilled water. Small pitchers may burn back upon feeding, but this will still greatly benefit the plant with nutrients. Small insects can also be fed to pitchers.
Soil & Repotting: Nepenthes should be grown in a mix of long-fibered New Zealand sphagnum moss, orchid bark, pumice, and perlite. We have all of our custom Nepenthes soil blends available to add to your order, but you do not need to repot your plant for at least a year after receiving it from us. Nepenthes appreciate frequent repotting every three years and only move to a slightly bigger pot.
More Information: For more information on repotting, pests, growing habits, and more, check out our FAQ page or our YouTube channel!
Pinguicula agnata x potosiensis is a winner for the windowsill; growing large pink rosettes with loads of bright, purple flowers!
These plants we are shipping are about the size of a quarter and will grow to 2-3” at full growth.
This plant will not come potted; you will need to pot it up upon arrival. Mexican/Tropical Pinguicula prefer our sandy PINGUICULA SOIL MIX.
IF YOU ORDER IN WINTER/EARLY SPRING YOUR PLANT MAY ARRIVE IN WINTER SUCCULENT MODE. DURING THIS TIME, IT WILL GROW SUBSTANTIALLY SMALLER, TIGHT, SUCCULENT LEAVES. DO NOT OVER WATER DURING THIS TIME. IT WILL GROW CARNIVOROUS LEAVES IN THE SPRING.
Care Instructions
Growth Habit: Pinguicula are generally small plants; depending on the species and growth phase, they can range from 1/2” to 8” across at maturity. Most are 2-4” across. They form rosettes of leaves covered in glistening dew, which have a high turnover rate, meaning that they die back frequently, and new leaves grow at the center from the plant. They have pretty leaves, some blush red or purple, and all are covered in sparkling dew. Their flowers are hummingbird and butterfly pollinated in the wild and because their pollinators are attracted to colorful flowers, they have beautiful flowers With long neck spurs! Many species will experience a winter succulent phase. A combination of shorter photo periods, cooler temperatures, and dryer conditions trigger this phase. While this phase is not necessary for the plant to thrive, it is often out of our control whether the plants do this or not. During their succulent phase, they grow small, rounded leaves that look very different from their large carnivorous leaves. Plants in this stage will be significantly smaller than they will be in carnivorous growth. The natural cycle of Pinguicula can lead them to be in succulent growth in spring, not starting their carnivorous growth until late spring, sometimes even early summer. Watching them grow their carnivorous leaves is like watching a magic trick; tiny, tight leaves begin to transform into huge, sticky, carnivorous leaves! Pinguicula can easily propagate from leaf pullings, like a succulent. They will also form small clumps over time, dividing naturally. While they can have a long life, they won’t live forever, so it is a good idea to take pullings every year. They do not have significant root systems, and the roots they have are often minimal and very short. The roots can be white, transparent, or brown, and they use these roots mainly to anchor themselves to the soil's surface (they still offer benefits, though, so please do not cut them off).
Sun: Full to part sun. Sunny windowsills indoors, in a temperature-regulated greenhouse, or under grow lights. In tropical parts of the world or very mild climates, they can be grown outdoors in dappled sun, morning sun only, or under shade cloth. They must be protected from the full afternoon sun. It is best to grow under 30% shade cloth in the summer months when grown in a greenhouse. They can benefit from 30% shade cloth if grown outdoors as well. If your plant is much greener than it should be, developing larger, more elongated leaves than normal for the species or hybrid, and does not have much dew, it may need more light.
Water & Humidity: In the late spring, summer, and early autumn, Pinguicula can be kept in the tray system with overhead watering as long as they still have carnivorous foliage. This means setting the pots in a deep saucer or tray and routinely filling that with 1/4”-1/2” water. If grown in a non-draining pot, allow room to water and water overhead frequently to keep soil media moist, but do not water so deeply as to have standing water sitting on the surface of the soil; all the water should be absorbed. When the rosettes show their very first signs of growing their smaller, tighter succulent leaves immediately begin to dry out your plants. Keep the soil on the dry side, watering them only a little and let dry out in between watering. You can usually tell how dry a species enjoys its winter by the size of its succulent leaves. The tighter, smaller leafed rosettes such a Pinguicula gypsicola or the bulb-like heterophylla and macrophylla require bone-dry conditions. Species with larger winter leaves, like a few of the moranensis varieties or agnata, enjoy winters soils just slightly damp. Cuban species should be kept wet year-round, with only slight winter drying. When these plants are transitioning between carnivorous and succulent growth they are at the most risk of rotting, so it is better to air on the side of drier when the temperatures start to get colder and the photo periods shorten. In spring, as soon as the temperatures start to warm and the photo periods lengthen, start watering your plants more. When carnivorous leaves start to grow, begin the tray method again. (If your plant decides it does not want to make carnivorous leaves, don’t worry, sometimes they are stubborn! Water frequently and make sure your plant gets lots of light, preferably some natural light from the sun as well, to try to trigger carnivorous leaf growth. But don’t worry if your ping stays in succulent mode for a whole year, eventually it will grow carnivorous leaves again!) Pinguicula are extremely susceptible to dissolved minerals and salts in their water and poor water quality will directly contribute to decline of plants and death. Be sure to only use rainwater, reverse osmosis water, or distilled water. Pinguicula prefer drier conditions and do not require high humidity.
Temperature: 50 degrees - 90 degrees. While not ideal, Pinguicula can tolerate brief nighttime dips to 40 as long as daytime temperatures warm back up and can tolerate brief heat waves over 90 as long as they are protected from the sun and sitting in water AND nighttime temperatures decrease. Cold temperatures are likely to kill Pinguicula, so avoid exposing them to anything below 50 if possible.
Dormancy: No true dormancy but does have a winter succulent phase during which the plant will produce small succulent leaves instead of flat sticky leaves. Pinguicula do not need this period of succulent growth to grow well. If your plant does not grow succulent leaves, there is no need to try to induce the transition. See the section on watering for in depth care during this time.
Fertilizer: Apply Schultz Cactus Fertilizer once or twice a month to the leaves with a mister bottle, during the grow season. Do not apply in winter or during succulent winter mode. We use seven drops of fertilizer in 20 ounces of distilled water.
Soil & Repotting: Pinguicula grow in very dry and rocky soil mixes, do not use a mix that holds a lot of moisture. We use equal parts sand, peat moss, pumice, and perlite. You can order our custom Pinguicula soil mix! These plants ship bare-root so you will have to order potting media and pot them up upon arrival. Pinguicula do not have extensive roots and anchor to the surface of their soil making them ideal candidates for quirky, cute, small, non-draining planters like teacups or vintage pottery. You can plant them in all variety of pots as long as they are glazed ceramic, glazed terracotta, glass or plastic. Avoid un-glazed terracotta. They can be in small pots and do not need much room for roots. Pinguicula are one of the most sensitive plants to a build of minerals and salts in their soil or water. Repot every year to refresh soil.
More Information: For more information on repotting, pests, growing habits, and more, check out our FAQ page or our YouTube channel!
Pinguicula gigantea “red flush” x cyclosecta is a sensational hybrid combining the famously huge gigantea with the unparalleled beauty of cyclosecta to make a super-sized, chonky cyclosecta! By using “red flush” in this hybrid, we expect the color to be exceptional! Glowy, large, dew-covered leaves will develop a lovely purple tint, and the flowers will have a deep, amethyst-purple color with rounded, flared-back petals.
These plants we are shipping out are about the size of a quarter and will grow to 2-3” at full growth.
This plant will not come potted; you will need to pot it up upon arrival. Mexican/Tropical Pinguicula prefer our sandy PINGUICULA SOIL MIX.
IF YOU ORDER IN WINTER/EARLY SPRING YOUR PLANT MAY ARRIVE IN WINTER SUCCULENT MODE. DURING THIS TIME, IT WILL GROW SUBSTANTIALLY SMALLER, TIGHT, SUCCULENT LEAVES. DO NOT OVER WATER DURING THIS TIME. IT WILL GROW CARNIVOROUS LEAVES IN THE SPRING.
Care Instructions
Growth Habit: Pinguicula are generally small plants; depending on the species and growth phase, they can range from 1/2” to 8” across at maturity. Most are 2-4” across. They form rosettes of leaves covered in glistening dew, which have a high turnover rate, meaning that they die back frequently, and new leaves grow at the center from the plant. They have pretty leaves, some blush red or purple, and all are covered in sparkling dew. Their flowers are hummingbird and butterfly pollinated in the wild and because their pollinators are attracted to colorful flowers, they have beautiful flowers With long neck spurs! Many species will experience a winter succulent phase. A combination of shorter photo periods, cooler temperatures, and dryer conditions trigger this phase. While this phase is not necessary for the plant to thrive, it is often out of our control whether the plants do this or not. During their succulent phase, they grow small, rounded leaves that look very different from their large carnivorous leaves. Plants in this stage will be significantly smaller than they will be in carnivorous growth. The natural cycle of Pinguicula can lead them to be in succulent growth in spring, not starting their carnivorous growth until late spring sometimes even early summer. Watching them grow their carnivorous leaves is like watching a magic trick; tiny, tight leaves begin to transform into huge, sticky, carnivorous leaves! Pinguicula can easily propagate from leaf pullings, like a succulent. They will also form small clumps over time, dividing naturally. While they can have a long life, they won’t live forever, so it is a good idea to take pullings every year. They do not have significant root systems, and the roots they have are often minimal and very short. The roots can be white, transparent, or brown, and they use these roots mainly to anchor themselves to the soil's surface (they still offer benefits, though, so please do not cut them off).
Sun: Full to part sun. Sunny windowsills indoors, in a temperature-regulated greenhouse, or under grow lights. In tropical parts of the world or very mild climates, they can be grown outdoors in dappled sun, morning sun only, or under shade cloth. They must be protected from the full afternoon sun. It is best to grow under 30% shade cloth in the summer months when grown in a greenhouse. They can benefit from 30% shade cloth if grown outdoors as well. If your plant is much greener than it should be, developing larger, more elongated leaves than normal for the species or hybrid, and does not have much dew, it may need more light.
Water & Humidity: In the late spring, summer, and early autumn, Pinguicula can be kept in the tray system with overhead watering as long as they still have carnivorous foliage. This means setting the pots in a deep saucer or tray and routinely filling that with 1/4”-1/2” water. If grown in a non-draining pot, allow room to water and water overhead frequently to keep soil media moist but do not water so deeply as to have standing water sitting on the surface of the soil, all the water should be absorbed. When the rosettes show their very first signs of growing their smaller, tighter succulent leaves immediately begin to dry out your plants. Keep the soil on the dry side, watering them only a little and let dry out in between watering. You can usually tell how dry a species enjoys its winter by the size of its succulent leaves. The tighter, smaller leafed rosettes such a Pinguicula gypsicola or the bulb-like heterophylla and macrophylla require bone-dry conditions. Species with larger winter leaves, like a few of the moranensis varieties or agnata, enjoy winters soils just slightly damp. Cuban species should be kept wet year-round, with only slight winter drying. When these plants are transitioning between carnivorous and succulent growth they are at the most risk of rotting, so it is better to air on the side of drier when the temperatures start to get colder and the photo periods shorten. In spring, as soon as the temperatures start to warm and the photo periods lengthen, start watering your plants more. When carnivorous leaves start to grow, begin the tray method again. (If your plant decides it does not want to make carnivorous leaves, don’t worry, sometimes they are stubborn! Water frequently and make sure your plant gets lots of light, preferably some natural light from the sun as well, to try to trigger carnivorous leaf growth. But don’t worry if your ping stays in succulent mode for a whole year, eventually it will grow carnivorous leaves again!) Pinguicula are extremely susceptible to dissolved minerals and salts in their water and poor water quality will directly contribute to decline of plants and death. Be sure to only use rainwater, reverse osmosis water, or distilled water. Pinguicula prefer drier conditions and do not require high humidity.
Temperature: 50 degrees - 90 degrees. While not ideal, Pinguicula can tolerate brief nighttime dips to 40 as long as daytime temperatures warm back up and can tolerate brief heat waves over 90 as long as they are protected from the sun and sitting in water AND nighttime temperatures decrease. Cold temperatures are likely to kill Pinguicula, so avoid exposing them to anything below 50 if possible.
Dormancy: No true dormancy but does have a winter succulent phase during which the plant will produce small succulent leaves instead of flat sticky leaves. Pinguicula do not need this period of succulent growth to grow well. If your plant does not grow succulent leaves, there is no need to try to induce the transition. See the section on watering for in depth care during this time.
Fertilizer: Apply Schultz Cactus Fertilizer once or twice a month to the leaves with a mister bottle, during the grow season. Do not apply in winter or during succulent winter mode. We use seven drops of fertilizer in 20 ounces of distilled water.
Soil & Repotting: Pinguicula grow in very dry and rocky soil mixes, do not use a mix that holds a lot of moisture. We use equal parts sand, peat moss, pumice, and perlite. You can order our custom Pinguicula soil mix! These plants ship bare-root so you will have to order potting media and pot them up upon arrival. Pinguicula do not have extensive roots and anchor to the surface of their soil making them ideal candidates for quirky, cute, small, non-draining planters like teacups or vintage pottery. You can plant them in all variety of pots as long as they are glazed ceramic, glazed terracotta, glass or plastic. Avoid un-glazed terracotta. They can be in small pots and do not need much room for roots. Pinguicula are one of the most sensitive plants to a build of minerals and salts in their soil or water. Repot every year to refresh soil.
More Information: For more information on repotting, pests, growing habits, and more, check out our FAQ page or our YouTube channel!
This pinguicula is a moranensis; it will be beautifully tinted pink when grown under strong light with large, gently pointed leaves. This is a generic moranensis and will likely have pink flowers.
These plants we are shipping are about the size of a quarter and will be 3-4” at full growth.
This plant will not come potted; you will need to pot it up upon arrival. Mexican/Tropical Pinguicula prefer our sandy PINGUICULA SOIL MIX.
IF YOU ORDER IN WINTER/EARLY SPRING YOUR PLANT MAY ARRIVE IN WINTER SUCCULENT MODE. DURING THIS TIME, IT WILL GROW SUBSTANTIALLY SMALLER, TIGHT, SUCCULENT LEAVES. DO NOT OVER WATER DURING THIS TIME. IT WILL GROW CARNIVOROUS LEAVES IN THE SPRING.
Care Instructions
Growth Habit: Pinguicula are generally small plants; depending on the species and growth phase, they can range from 1/2” to 8” across at maturity. Most are 2-4” across. They form rosettes of leaves covered in glistening dew, which have a high turnover rate, meaning that they die back frequently, and new leaves grow at the center from the plant. They have pretty leaves, some blush red or purple, and all are covered in sparkling dew. Their flowers are hummingbird and butterfly pollinated in the wild and because their pollinators are attracted to colorful flowers, they have beautiful flowers With long neck spurs! Many species will experience a winter succulent phase. A combination of shorter photo periods, cooler temperatures, and dryer conditions trigger this phase. While this phase is not necessary for the plant to thrive, it is often out of our control whether the plants do this or not. During their succulent phase, they grow small, rounded leaves that look very different from their large carnivorous leaves. Plants in this stage will be significantly smaller than they will be in carnivorous growth. The natural cycle of Pinguicula can lead them to be in succulent growth in spring, not starting their carnivorous growth until late spring sometimes even early summer. Watching them grow their carnivorous leaves is like watching a magic trick; tiny, tight leaves begin to transform into huge, sticky, carnivorous leaves! Pinguicula can easily propagate from leaf pullings, like a succulent. They will also form small clumps over time, dividing naturally. While they can have a long life, they won’t live forever, so it is a good idea to take pullings every year. They do not have significant root systems, and the roots they have are often minimal and very short. The roots can be white, transparent, or brown, and they use these roots mainly to anchor themselves to the soil's surface (they still offer benefits, though, so please do not cut them off).
Sun: Full to part sun. Sunny windowsills indoors, in a temperature-regulated greenhouse, or under grow lights. In tropical parts of the world or very mild climates, they can be grown outdoors in dappled sun, morning sun only, or under shade cloth. They must be protected from the full afternoon sun. It is best to grow under 30% shade cloth in the summer months when grown in a greenhouse. They can benefit from 30% shade cloth if grown outdoors as well. If your plant is much greener than it should be, developing larger, more elongated leaves than normal for the species or hybrid, and does not have much dew, it may need more light.
Water & Humidity: In the late spring, summer, and early autumn, Pinguicula can be kept in the tray system with overhead watering as long as they still have carnivorous foliage. This means setting the pots in a deep saucer or tray and routinely filling that with 1/4”-1/2” water. If grown in a non-draining pot, allow room to water and water overhead frequently to keep soil media moist, but do not water so deeply as to have standing water sitting on the surface of the soil; all the water should be absorbed. When the rosettes show their very first signs of growing their smaller, tighter succulent leaves immediately begin to dry out your plants. Keep the soil on the dry side, watering them only a little and let dry out in between watering. You can usually tell how dry a species enjoys its winter by the size of its succulent leaves. The tighter, smaller leafed rosettes such a Pinguicula gypsicola or the bulb-like heterophylla and macrophylla require bone-dry conditions. Species with larger winter leaves, like a few of the moranensis varieties or agnata, enjoy winters soils just slightly damp. Cuban species should be kept wet year-round, with only slight winter drying. When these plants are transitioning between carnivorous and succulent growth they are at the most risk of rotting, so it is better to air on the side of drier when the temperatures start to get colder and the photo periods shorten. In spring, as soon as the temperatures start to warm and the photo periods lengthen, start watering your plants more. When carnivorous leaves start to grow, begin the tray method again. (If your plant decides it does not want to make carnivorous leaves, don’t worry, sometimes they are stubborn! Water frequently and make sure your plant gets lots of light, preferably some natural light from the sun as well, to try to trigger carnivorous leaf growth. But don’t worry if your ping stays in succulent mode for a whole year, eventually it will grow carnivorous leaves again!) Pinguicula are extremely susceptible to dissolved minerals and salts in their water and poor water quality will directly contribute to decline of plants and death. Be sure to only use rainwater, reverse osmosis water, or distilled water. Pinguicula prefer drier conditions and do not require high humidity.
Temperature: 50 degrees - 90 degrees. While not ideal, Pinguicula can tolerate brief nighttime dips to 40 as long as daytime temperatures warm back up and can tolerate brief heat waves over 90 as long as they are protected from the sun and sitting in water AND nighttime temperatures decrease. Cold temperatures are likely to kill Pinguicula, so avoid exposing them to anything below 50 if possible.
Dormancy: No true dormancy but does have a winter succulent phase during which the plant will produce small succulent leaves instead of flat sticky leaves. Pinguicula do not need this period of succulent growth to grow well. If your plant does not grow succulent leaves, there is no need to try to induce the transition. See the section on watering for in depth care during this time.
Fertilizer: Apply Schultz Cactus Fertilizer once or twice a month to the leaves with a mister bottle, during the grow season. Do not apply in winter or during succulent winter mode. We use seven drops of fertilizer in 20 ounces of distilled water.
Soil & Repotting: Pinguicula grow in very dry and rocky soil mixes, do not use a mix that holds a lot of moisture. We use equal parts sand, peat moss, pumice, and perlite. You can order our custom Pinguicula soil mix! These plants ship bare-root so you will have to order potting media and pot them up upon arrival. Pinguicula do not have extensive roots and anchor to the surface of their soil making them ideal candidates for quirky, cute, small, non-draining planters like teacups or vintage pottery. You can plant them in all variety of pots as long as they are glazed ceramic, glazed terracotta, glass or plastic. Avoid un-glazed terracotta. They can be in small pots and do not need much room for roots. Pinguicula are one of the most sensitive plants to a build of minerals and salts in their soil or water. Repot every year to refresh soil.
More Information: For more information on repotting, pests, growing habits, and more, check out our FAQ page or our YouTube channel!
We are excited to offer these particular moranensis because they are so beautiful. Pinguicula moranensis var. rosei will blush a deep pink-red when grown under strong light.
These plants we are shipping are about the size of a quarter and will grow to 2-4” at full growth.
This plant will not come potted; you will need to pot it up upon arrival. Mexican/Tropical Pinguicula prefer our sandy PINGUICULA SOIL MIX.
IF YOU ORDER IN WINTER/EARLY SPRING YOUR PLANT MAY ARRIVE IN WINTER SUCCULENT MODE. DURING THIS TIME, IT WILL GROW SUBSTANTIALLY SMALLER, TIGHT, SUCCULENT LEAVES. DO NOT OVER WATER DURING THIS TIME. IT WILL GROW CARNIVOROUS LEAVES IN THE SPRING.
Care Instructions
Growth Habit: Pinguicula are generally small plants; depending on the species and growth phase, they can range from 1/2” to 8” across at maturity. Most are 2-4” across. They form rosettes of leaves covered in glistening dew, which have a high turnover rate, meaning that they die back frequently, and new leaves grow at the center from the plant. They have pretty leaves, some blush red or purple, and all are covered in sparkling dew. Their flowers are hummingbird and butterfly pollinated in the wild and because their pollinators are attracted to colorful flowers, they have beautiful flowers With long neck spurs! Many species will experience a winter succulent phase. A combination of shorter photo periods, cooler temperatures, and dryer conditions trigger this phase. While this phase is not necessary for the plant to thrive, it is often out of our control whether the plants do this or not. During their succulent phase, they grow small, rounded leaves that look very different from their large carnivorous leaves. Plants in this stage will be significantly smaller than they will be in carnivorous growth. The natural cycle of Pinguicula can lead them to be in succulent growth in spring, not starting their carnivorous growth until late spring, sometimes even early summer. Watching them grow their carnivorous leaves is like watching a magic trick; tiny, tight leaves begin to transform into huge, sticky, carnivorous leaves! Pinguicula can easily propagate from leaf pullings, like a succulent. They will also form small clumps over time, dividing naturally. While they can have a long life, they won’t live forever, so it is a good idea to take pullings every year. They do not have significant root systems, and the roots they have are often minimal and very short. The roots can be white, transparent, or brown, and they use these roots mainly to anchor themselves to the soil's surface (they still offer benefits, though, so please do not cut them off).
Sun: Full to part sun. Sunny windowsills indoors, in a temperature-regulated greenhouse, or under grow lights. In tropical parts of the world or very mild climates, they can be grown outdoors in dappled sun, morning sun only, or under shade cloth. They must be protected from the full afternoon sun. It is best to grow under 30% shade cloth in the summer months when grown in a greenhouse. They can benefit from 30% shade cloth if grown outdoors as well. If your plant is much greener than it should be, developing larger, more elongated leaves than normal for the species or hybrid, and does not have much dew, it may need more light.
Water & Humidity: In the late spring, summer, and early autumn, Pinguicula can be kept in the tray system with overhead watering as long as they still have carnivorous foliage. This means setting the pots in a deep saucer or tray and routinely filling that with 1/4”-1/2” water. If grown in a non-draining pot, allow room to water and water overhead frequently to keep soil media moist, but do not water so deeply as to have standing water sitting on the surface of the soil; all the water should be absorbed. When the rosettes show their very first signs of growing their smaller, tighter succulent leaves immediately begin to dry out your plants. Keep the soil on the dry side, watering them only a little and let dry out in between watering. You can usually tell how dry a species enjoys its winter by the size of its succulent leaves. The tighter, smaller leafed rosettes such a Pinguicula gypsicola or the bulb-like heterophylla and macrophylla require bone-dry conditions. Species with larger winter leaves, like a few of the moranensis varieties or agnata, enjoy winters soils just slightly damp. Cuban species should be kept wet year-round, with only slight winter drying. When these plants are transitioning between carnivorous and succulent growth they are at the most risk of rotting, so it is better to air on the side of drier when the temperatures start to get colder and the photo periods shorten. In spring, as soon as the temperatures start to warm and the photo periods lengthen, start watering your plants more. When carnivorous leaves start to grow, begin the tray method again. (If your plant decides it does not want to make carnivorous leaves, don’t worry, sometimes they are stubborn! Water frequently and make sure your plant gets lots of light, preferably some natural light from the sun as well, to try to trigger carnivorous leaf growth. But don’t worry if your ping stays in succulent mode for a whole year, eventually it will grow carnivorous leaves again!) Pinguicula are extremely susceptible to dissolved minerals and salts in their water and poor water quality will directly contribute to decline of plants and death. Be sure to only use rainwater, reverse osmosis water, or distilled water. Pinguicula prefer drier conditions and do not require high humidity.
Temperature: 50 degrees - 90 degrees. While not ideal, Pinguicula can tolerate brief nighttime dips to 40 as long as daytime temperatures warm back up and can tolerate brief heat waves over 90 as long as they are protected from the sun and sitting in water AND nighttime temperatures decrease. Cold temperatures are likely to kill Pinguicula, so avoid exposing them to anything below 50 if possible.
Dormancy: No true dormancy but does have a winter succulent phase during which the plant will produce small succulent leaves instead of flat sticky leaves. Pinguicula do not need this period of succulent growth to grow well. If your plant does not grow succulent leaves, there is no need to try to induce the transition. See the section on watering for in depth care during this time.
Fertilizer: Apply Schultz Cactus Fertilizer once or twice a month to the leaves with a mister bottle, during the grow season. Do not apply in winter or during succulent winter mode. We use seven drops of fertilizer in 20 ounces of distilled water.
Soil & Repotting: Pinguicula grow in very dry and rocky soil mixes, do not use a mix that holds a lot of moisture. We use equal parts sand, peat moss, pumice, and perlite. You can order our custom Pinguicula soil mix! These plants ship bare-root so you will have to order potting media and pot them up upon arrival. Pinguicula do not have extensive roots and anchor to the surface of their soil making them ideal candidates for quirky, cute, small, non-draining planters like teacups or vintage pottery. You can plant them in all variety of pots as long as they are glazed ceramic, glazed terracotta, glass or plastic. Avoid un-glazed terracotta. They can be in small pots and do not need much room for roots. Pinguicula are one of the most sensitive plants to a build of minerals and salts in their soil or water. Repot every year to refresh soil.
More Information: For more information on repotting, pests, growing habits, and more, check out our FAQ page or our YouTube channel!
Showing 25/47


